
How to Cut Width of Fabric Strips
When it comes to cutting fabric for traditionally pieced quilts, width of fabric cuts are the most common cuts you will make, followed by subcutting those strips into smaller squares and rectangles. In this blog post, I will review how to make width of fabric cuts using a 24″ acrylic quilting ruler as well as the Stripology XL Ruler from Creative Grids. I will follow that up by showing you how to subcut your fabric using the same two rulers.
This post may contain affiliate links, which means that I may earn a commission if you make a purchase using these links. As an Amazon Associate, I earn from qualifying purchases.
Video Tutorial
Tools
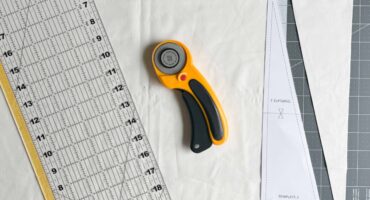
Rotary Cutters
When it comes to cutting layers of fabric, you will need a good rotary cutter, preferably with a new rotary blade. A sharp blade with make cutting much easier. If you find yourself having to repeat cuts or use more pressure while cutting, change your rotary blade. Don’t even think about trying to use fabric scissors to snip your fabric. A 45mm rotary cutter is a great, all-purpose size for most cutting you will be doing. My current favorite is the Olfa Ergonomic Rotary Cutter (pictured below). If you want to learn more about rotary cutters and get a run-down on all the best ones, check out my blog post Best Rotary Cutters for Quilting and Sewing (2023).

Cutting Mat
The next tool you will need is a self-healing cutting mat. This is the surface you will cut your fabric on. It will protect your table or counter and allow your rotary cutting blades to roll smoothly, making cutting easier. I would suggest an 18″ x 24″ cutting mat to start. cutting mats come in lots of shapes and sizes, but an 18″ x 24″ is a good all-purpose size that will fit on most tables and counters.
I love this bundle that includes two cutting mats, a 45mm rotary cutter, and a 24″ ruler! Perfect for the new quilter!
Acrylic Rulers
A variety of acrylic rulers is the other tool you will need for cutting fabric. Currently, I own a 24″ x 6″ ruler, a 12″ x 6″ ruler, a 6″ square ruler, and a 12.5″ square ruler. These 4 are great for almost all cutting I do. If you are looking to purchase one quilting ruler to start, I would suggest the 24″ ruler. This will allow you to cut long strips of fabric. It will be a bit cumbersome for smaller cuts, but will get the job done!

Stripology XL Ruler from Creative Grids
Additionally, I have a Stripology XL Ruler from Creative Grids that I use when cutting lots of strips.

Pre-Washing Fabric
When it comes to pre-washing fabric, this is completely up to the individual quilter. If you are using fabrics that are deeply saturated colors like reds and blue, you may want to pre-wash them to minimize any fabric bleeding in your finished quilt.
Also, if you are using different types of fabrics (like cotton and cotton blends) that may shrink at different rates, this would be another good reason to pre-wash. However, please note that if you plan to pre-wash your fabrics, this will cause the fabric to shrink and fray and this needs to be taken into consideration for fabric requirements. You will need to purchase slightly more fabric to account for the fabric loss. Most quilt pattern fabric requirements are written for unwashed fabrics.
I wouldn’t suggest pre-washing any piece of fabric that is smaller than a fat quarter. The reason for this is that washing causes the raw edge of the fabric to fray and you will lose some fabric yardage this way. Fat quarters and fat eighths are already small cuts of fabric
Ironing
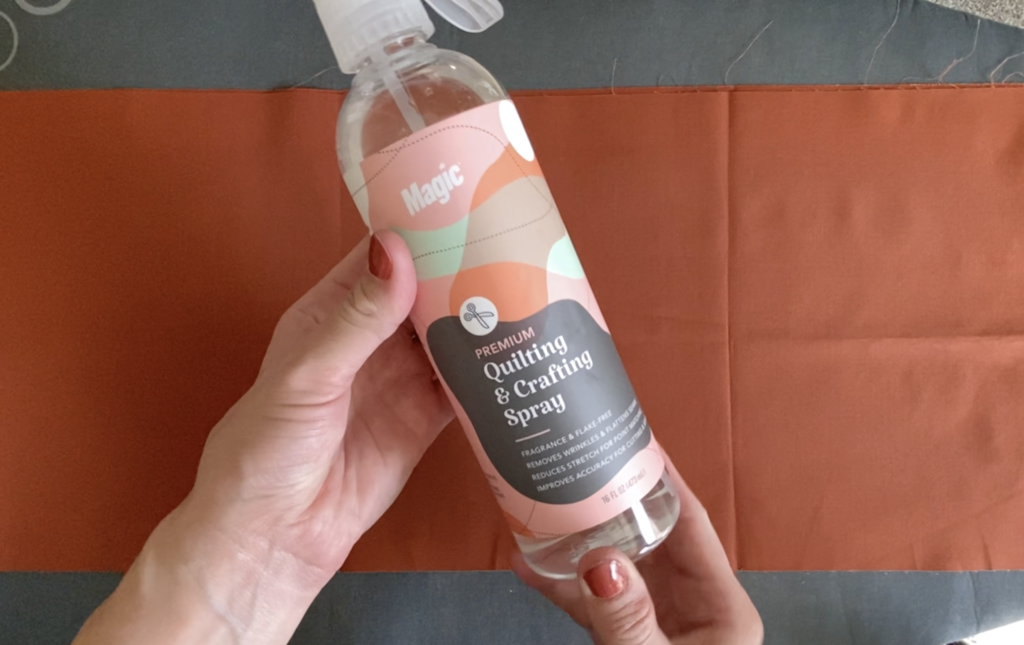
I would highly suggest ironing your fabric before cutting. Attempting to cut wrinkled fabric can result in uneven cuts. Giving your fabric a quick press is the best way to ensure clean, even cuts. I would also recommend using a starch or finishing spray like Magic Premium Quilting & Crafting Spray. It helps get out stubborn wrinkles and gives fabric a little more “structure” which will help with more accurate cutting AND piecing.
What is the selvage?
The selvedge, or selvage edges are the tightly woven, “finished” edges of the fabric. Typically it will contain some information about the fabric like the fabric manufacturers, the fabric collection, and the specific color.
What is WOF?
The cutting instructions in most quilt patterns will include a reference to the “width of fabric”. The width of the fabric, abbreviated WOF, runs from selvage to selvage. For most fabrics, this will be 42″ – 45″ and will be noted on the end of the bolt.
How to Cut Width of Fabric (WOF) Strips
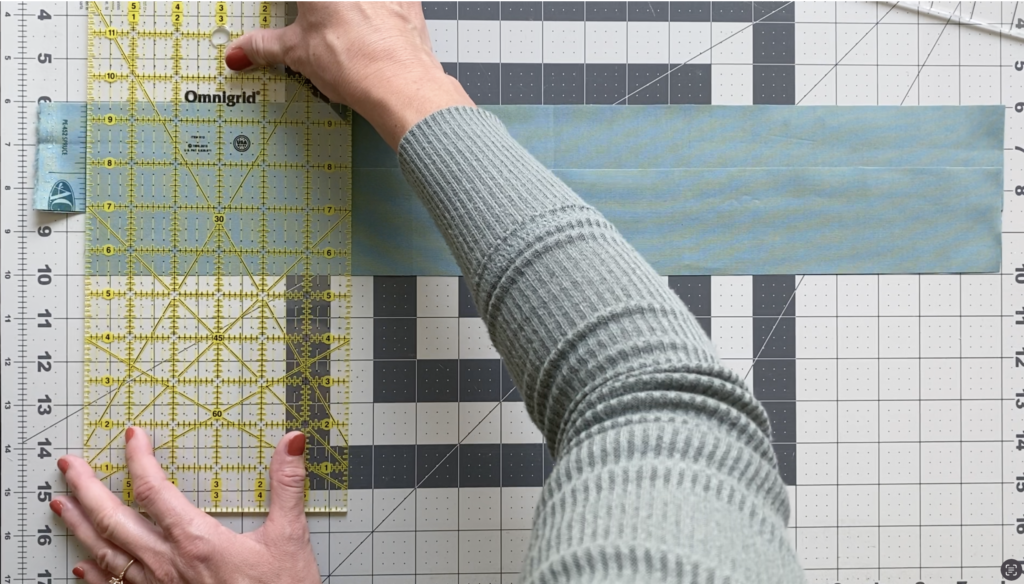
When cutting strips of fabric, the first step should always be to square up the raw edge of the fabric. To do this, lay the fabric on the cutting mat, keeping the fabric folded in half the way it came off the bold. Use the folded edge of the fabric to create a 90-degree angle with your 24″ ruler. Trim off as little fabric as possible to create a nice straight fabric edge that you can now work from.

Next, position the fabric with the freshly cut edge to the bottom and the remaining fabric to the top. Line up your ruler with the cut edge of the fabric to meet whatever width your quilt pattern requires.

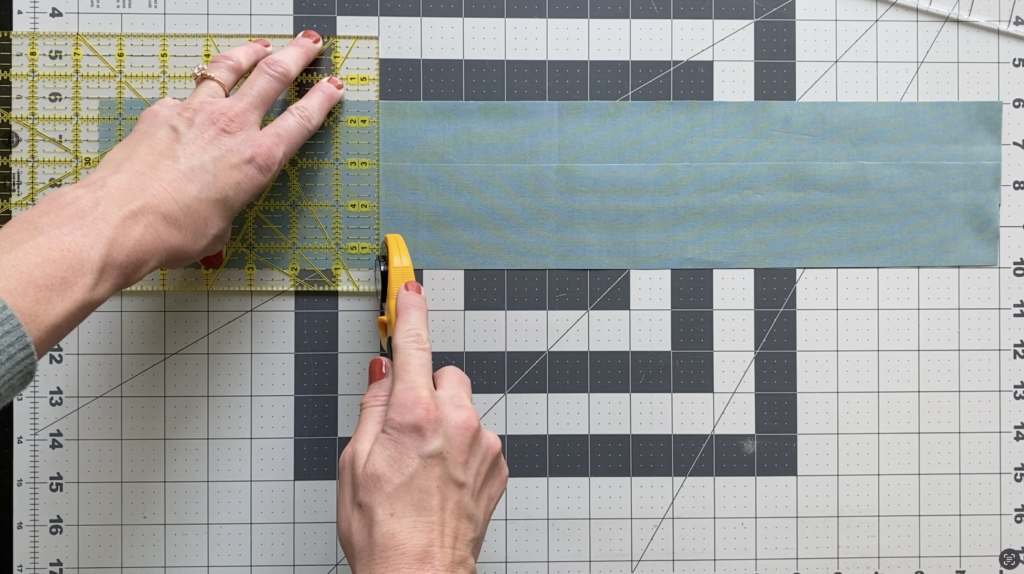
Use your non-dominant hand to put pressure on the acrylic ruler, taking care to not shift the ruler or the fabric. As a safety reminder, keep your fingertips clear of the edge of the ruler. Roll the rotary cutter along the edge of the ruler to make a nice straight cut.
Repeat this process, moving the ruler to make the next cut and checking that you are maintaining a 90-degree angle with the folded edge of the fabric. If your cuts are not 90 degrees to the fold, you will find you have an elbow (or a bend) in your strips of fabric.

How to Subcut Squares and Rectangles
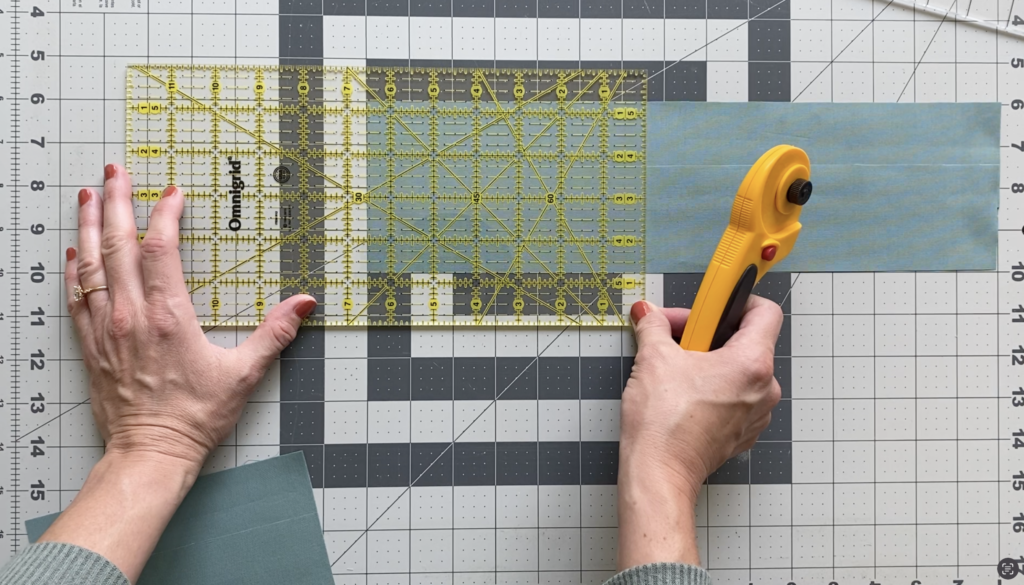
To create squares or rectangles, you will need to subcut the strip of fabric created in the previous step. To do this, line up the strips on the cutting mat so that the strips are parallel to each other. You can do this by using the grid lines on the rotary mat. Keep the strips folded in half, so you can make double the cuts.
Next, cut off the selvedge, making sure to make the cut perpendicular to the strips.
Then, use the marks on your ruler to line up the ruler parallel to the strips of fabric. Adjust the ruler so that it is for the specific width required for the quilt pattern. Below, I am cutting 6.5″ wide rectangles.
Continue cutting from left to right until the correct number of pieces are cut or you run out of fabric.
How to Cut WOF Strips Using the Stripology XL Ruler
The Stripology XL Ruler from Creative Grids is a favorite among quilters and for good reason! This extra grippy, slotted ruler has cutting slits every 1/2″. It is also marked for 1.5″ (star) and 2.5″ (square) cuts. If you do a lot of strip cutting, this is a game-changer!
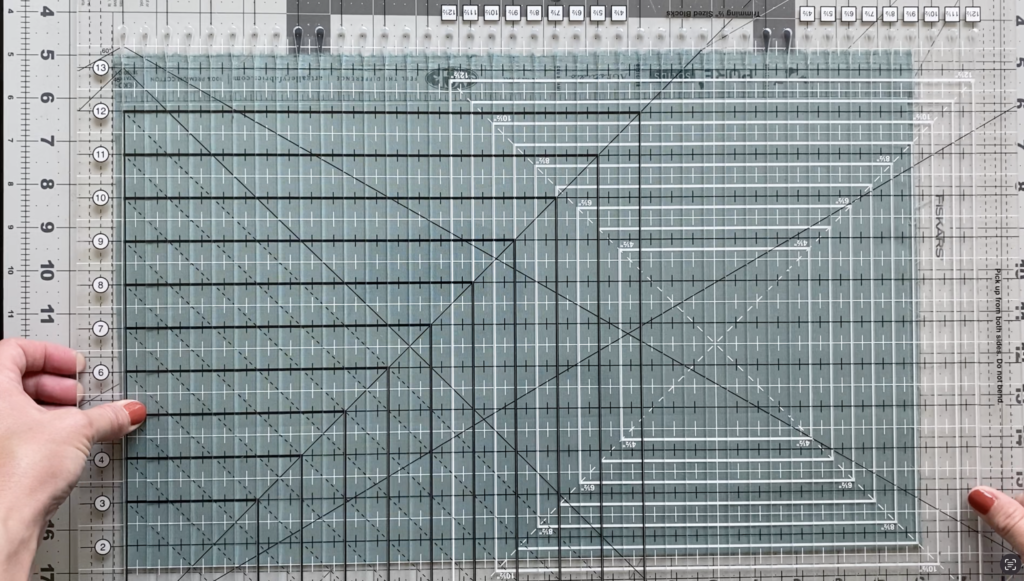
To use this ruler, fold your fabric in half lengthwise (bringing the center fold to the selvedge) and ensure the edges are parallel.

Place the Stripology XL Ruler over the top of the folded fabric, lining up the line of the ruler with the edges of the fabric. This ensures perfectly straight cuts without any elbows in your strips.

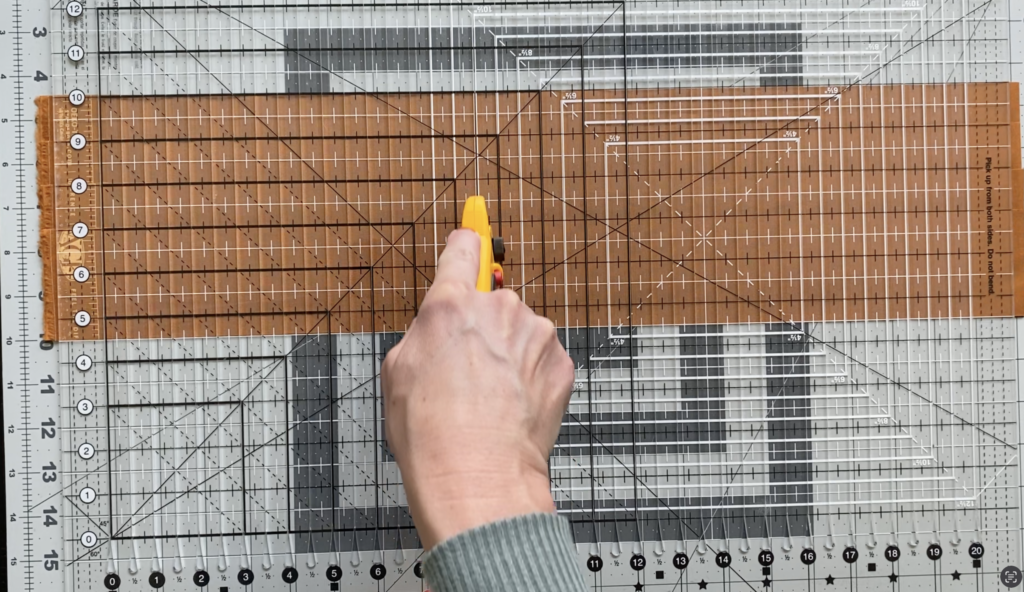
Place the rotary blade in the teardrop opening at the bottom of the slit and roll the rotary cutter up the slot of the ruler to cut. Continue cutting strips at whatever width you need.

Once you have finished cutting, you can remove the ruler and stack up your perfect width of fabric strips! Below, I will show you how to subcut using the Stripology Ruler.

How to Subcut Strips of Fabric with the Stripology XL Ruler
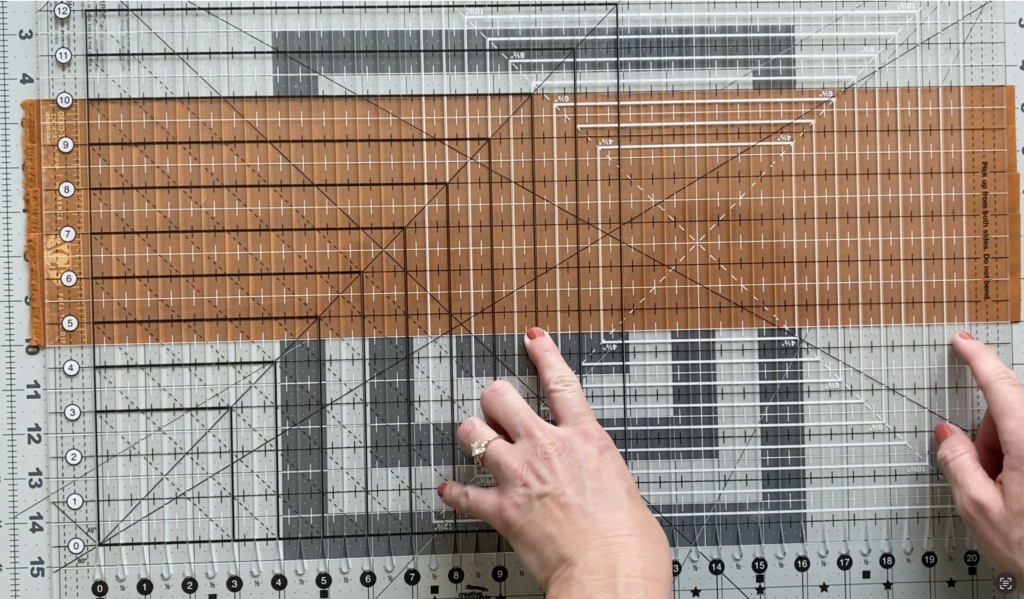
To subcut strips of fabric using the Stripology XL Ruler, start by laying out the strips of fabric cut in the previous step so that they overlap slightly and are parallel to each other. You can use the grid line on your cutting mat to keep everything level. I overlap mine about 1″.

Next, lay the Stripology Ruler over the strips of fabric and use the grid line on the ruler to line up the strips of fabric. You want the horizontal lines of the ruler to be parallel with the strips of fabric and then cutting slots to run perpendicular to the strips of fabric. Also, check that the selvedge is past the 0″ mark on the ruler so that this is properly cut off.
After the ruler is lined up with the strips of fabric, make your first cut down the slot at the 0″ mark. This will remove the excess fabric/selvedge and square up the ends. Then, make your second cut at whatever length you need. Below, I am cutting 8.5″ wide rectangles.
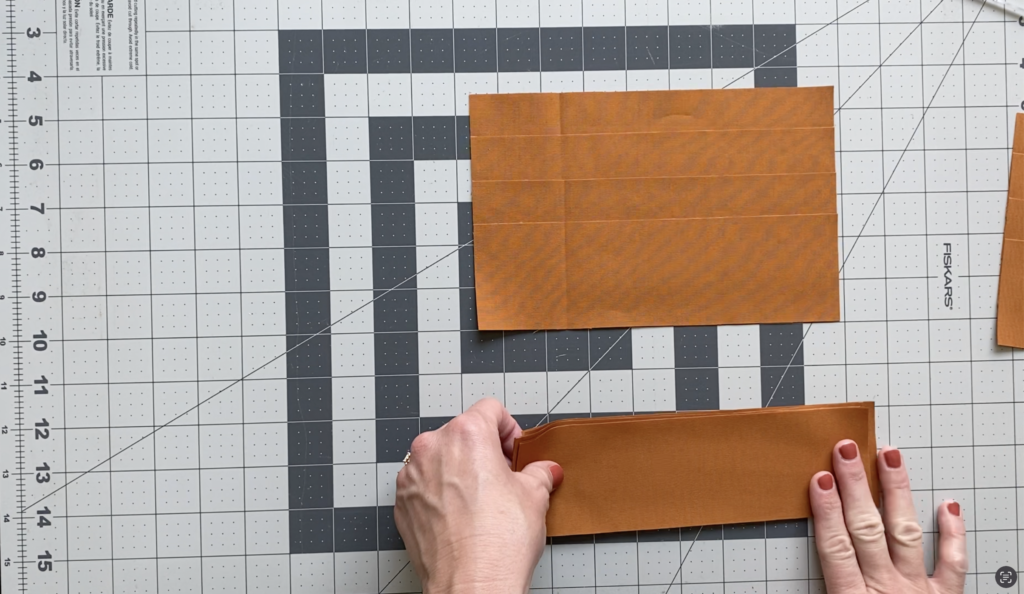
After you have made all the subcuts that you need, you can remove the ruler and collect all the perfectly cut pieces of fabric!
Pin it for Later


Find more Quilt Scout content on these other platforms!
Featured Posts

Quilt Camp 2024: The Virtual Quilting Retreat for Quilt Scouts


How to Construct a Pennant Flag Quilt Block

How to Cut Fabric Using Paper Templates

Related Posts

Quilt Camp 2024: The Virtual Quilting Retreat for Quilt Scouts
As the weather cools and quilters everywhere hunker down with cozy projects, Quilt Scouts are preparing …

How to Construct a Pennant Flag Quilt Block
The Hey, Scout quilt is the free pattern designed exclusively for Quilt Scout members. As part …
How to Cut Fabric Using Paper Templates
One of the key steps in making your “Hey, Scout” quilt top is accurately cutting your …