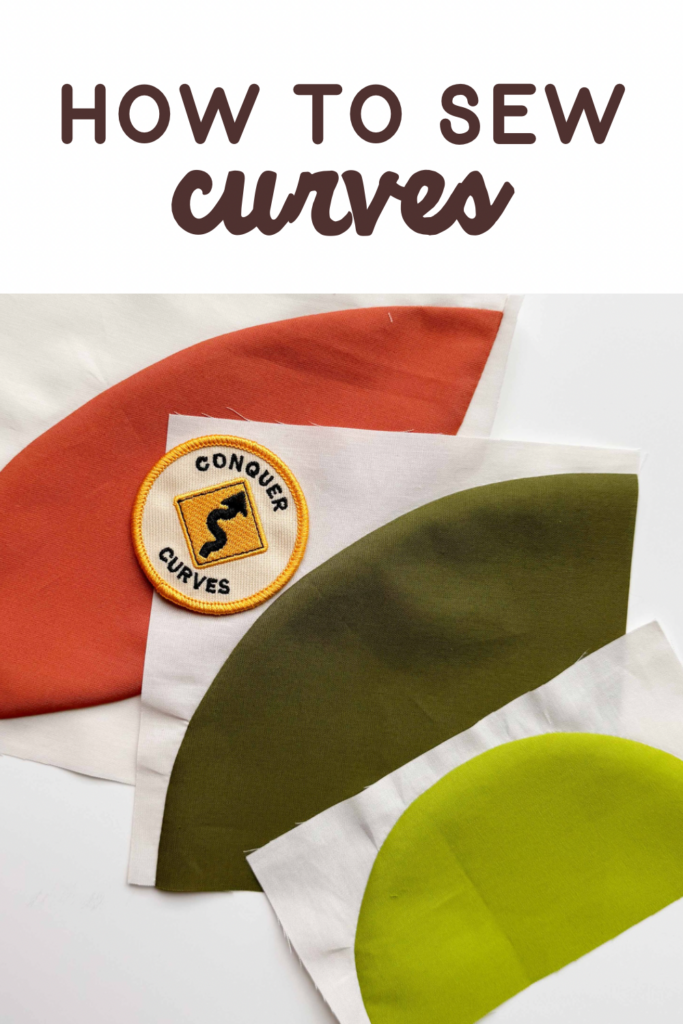
Conquering Curves: A Step-by-Step Guide
Sewing curves for a quilt top can feel very strange when you’re used to only sewing straight seams and they can certainly be a bit intimidating. However, it’s definitely worthwhile to add curves to your list of sewing skills. There are so many wonderful quilt patterns that utilize this technique. You’ll find that learning how to sew curves can open up a whole new world of quilt patterns.
In this blog post, I am going to take the mystery out of sewing curves once and for all and show you how to get smooth curves. I included step-by-step instructions for three common curve blocks: quarter-circles, half-circles, and orange peels. I’ve also linked video tutorials for each block. With a little patience and some practice, you’ll be sewing beautiful curves in no time!
Curve Basics
Concave Vs. Convex
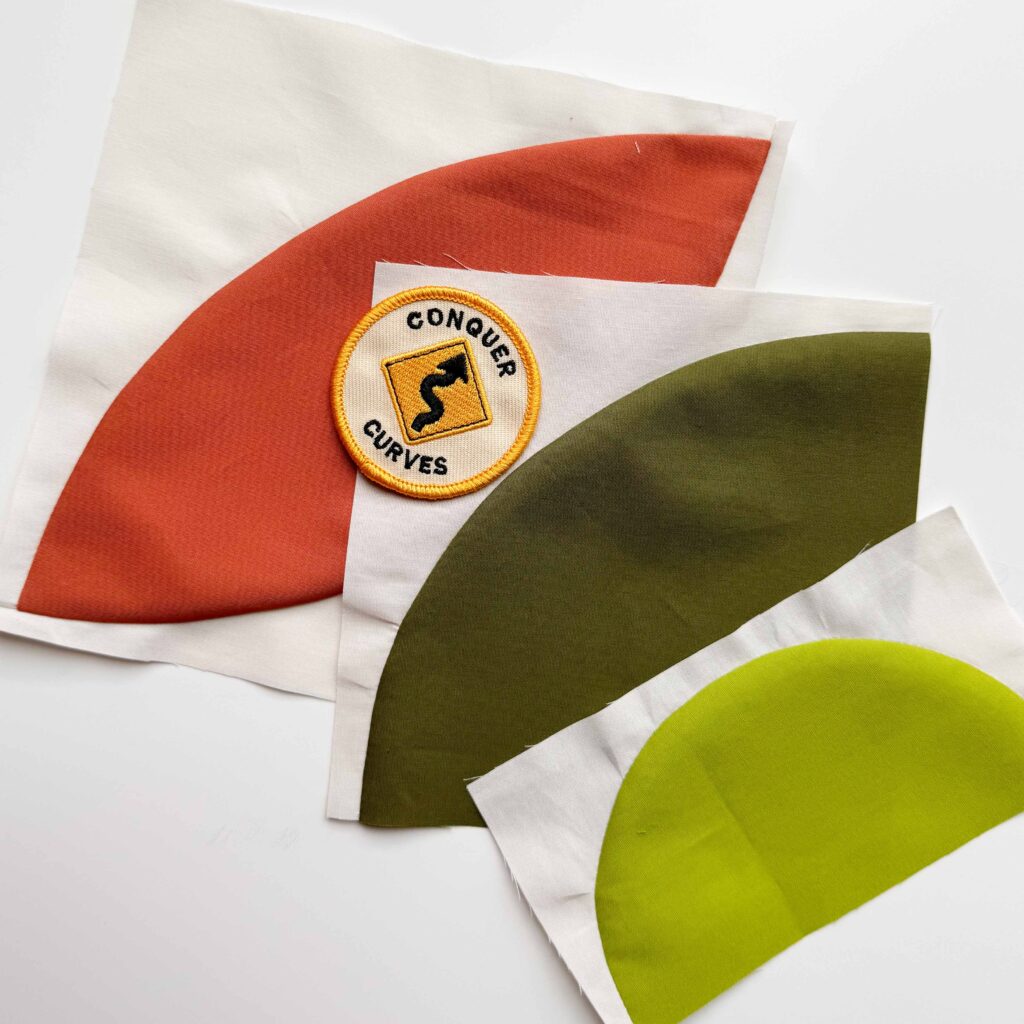
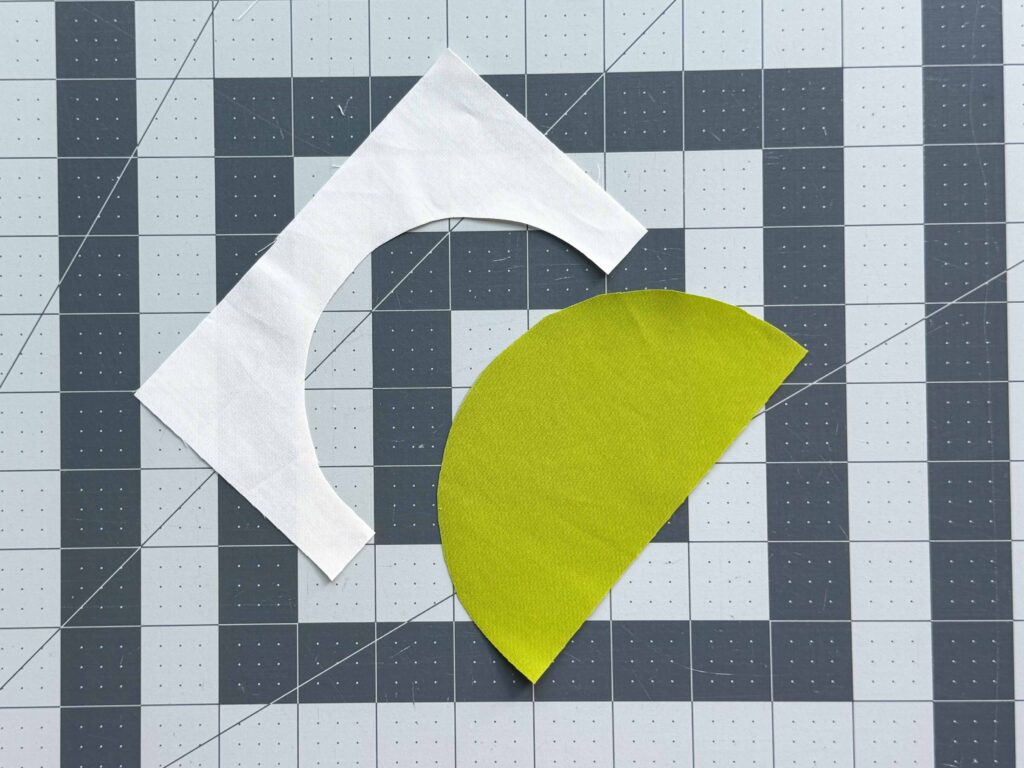
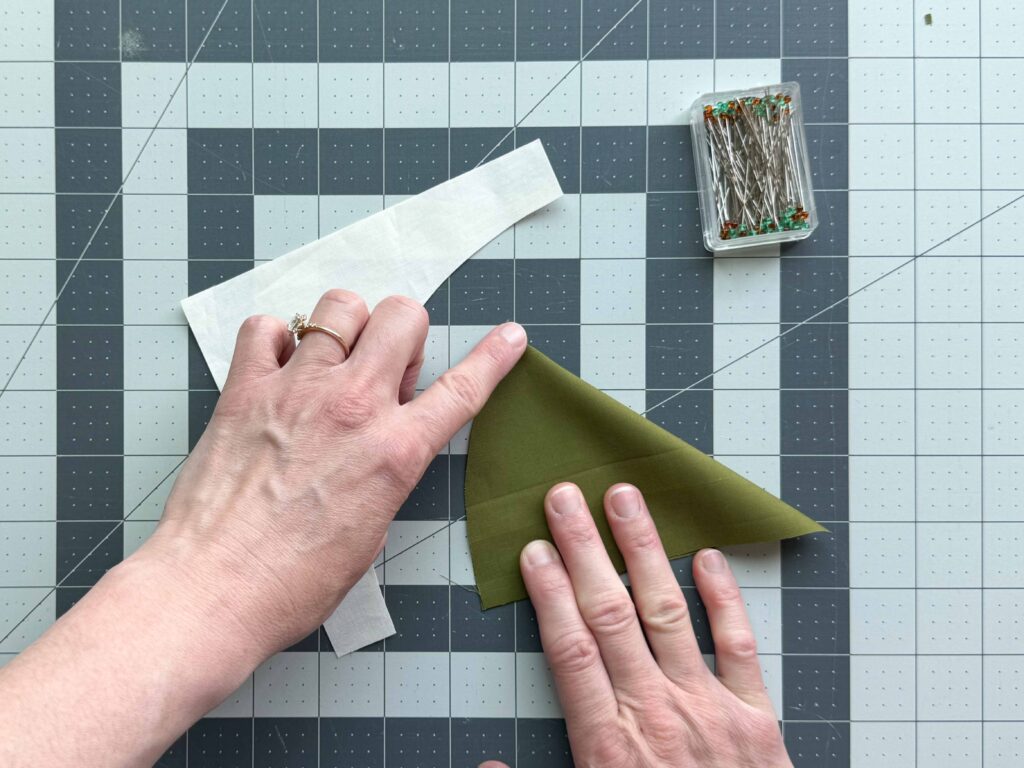
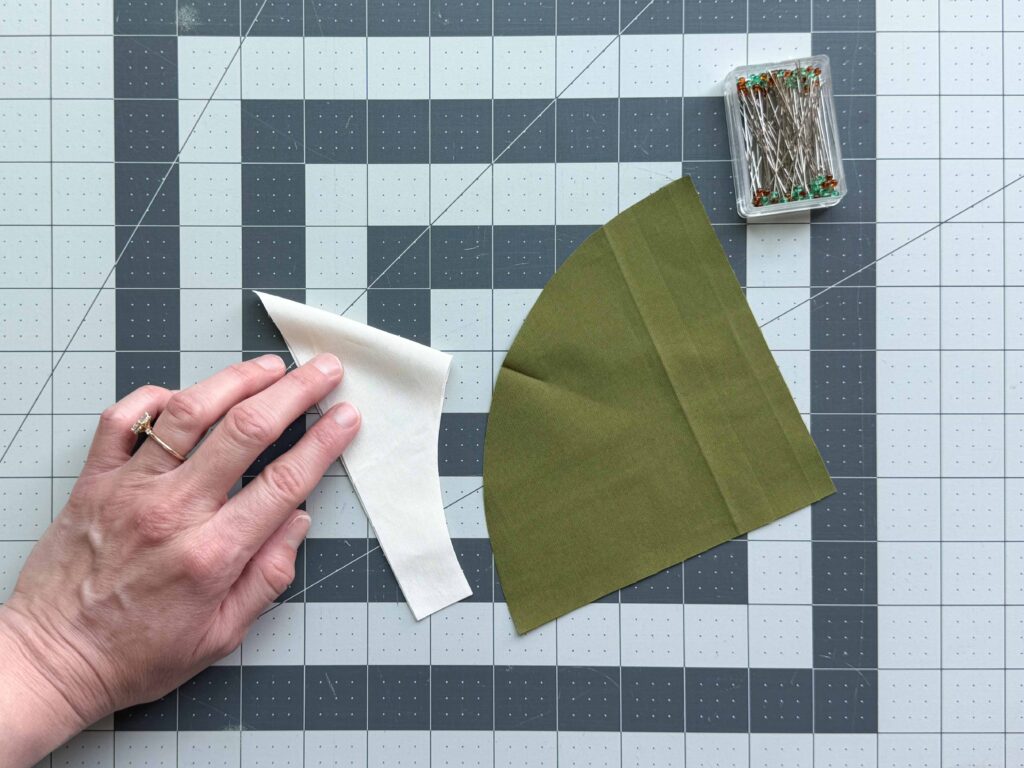
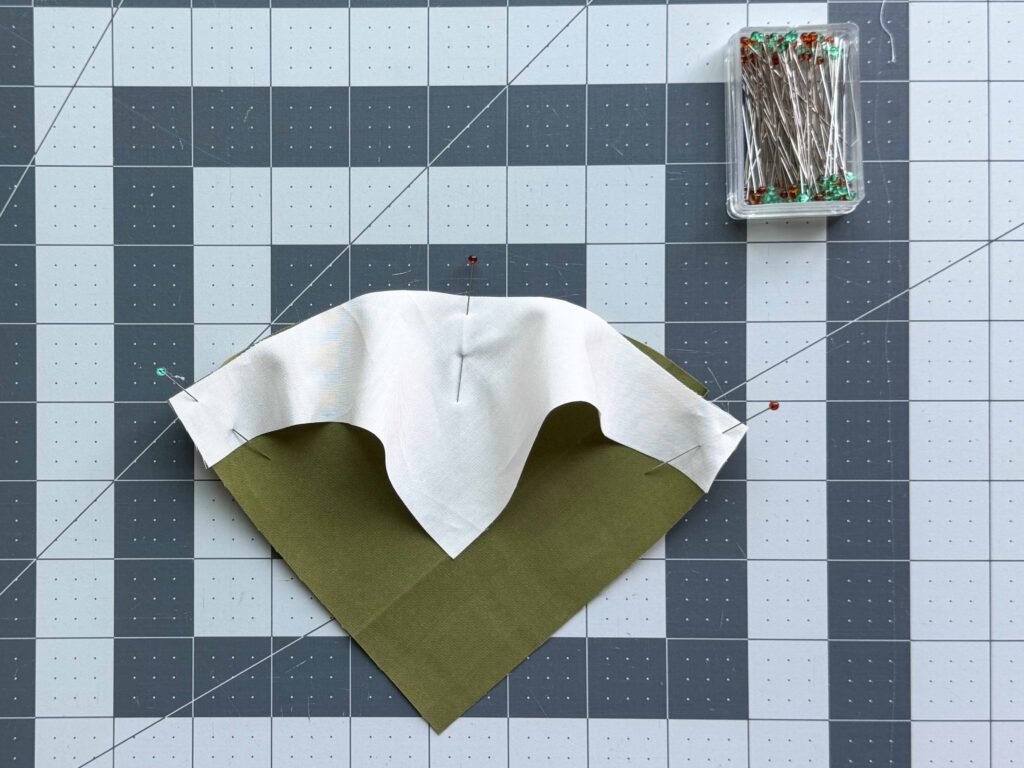
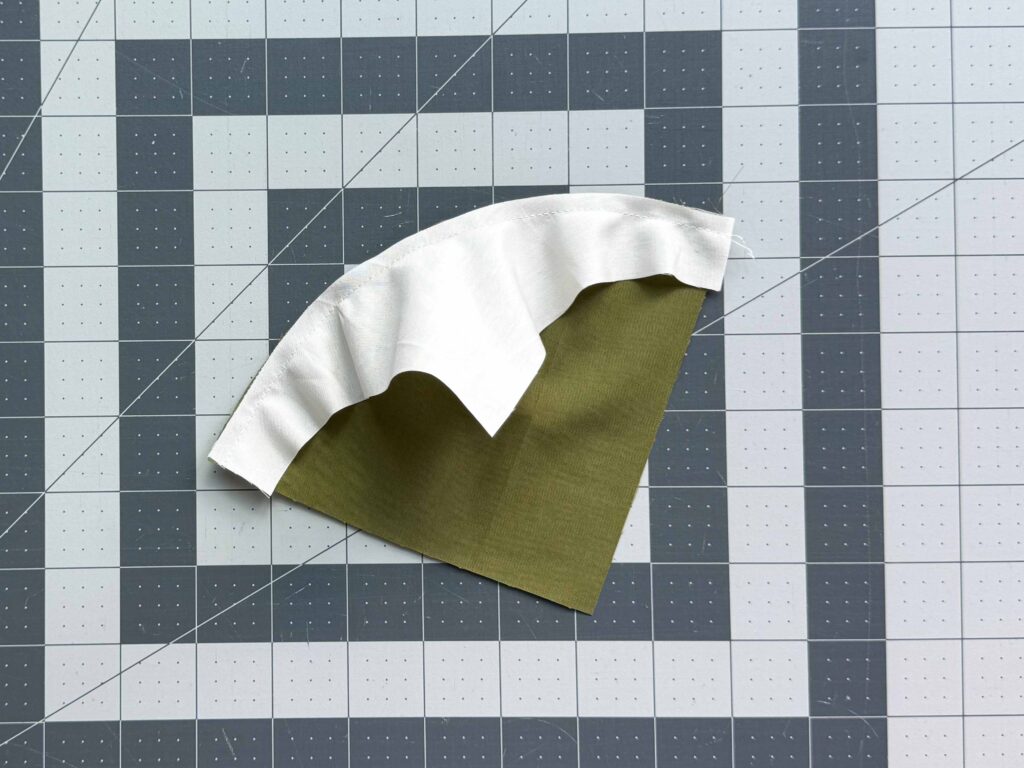
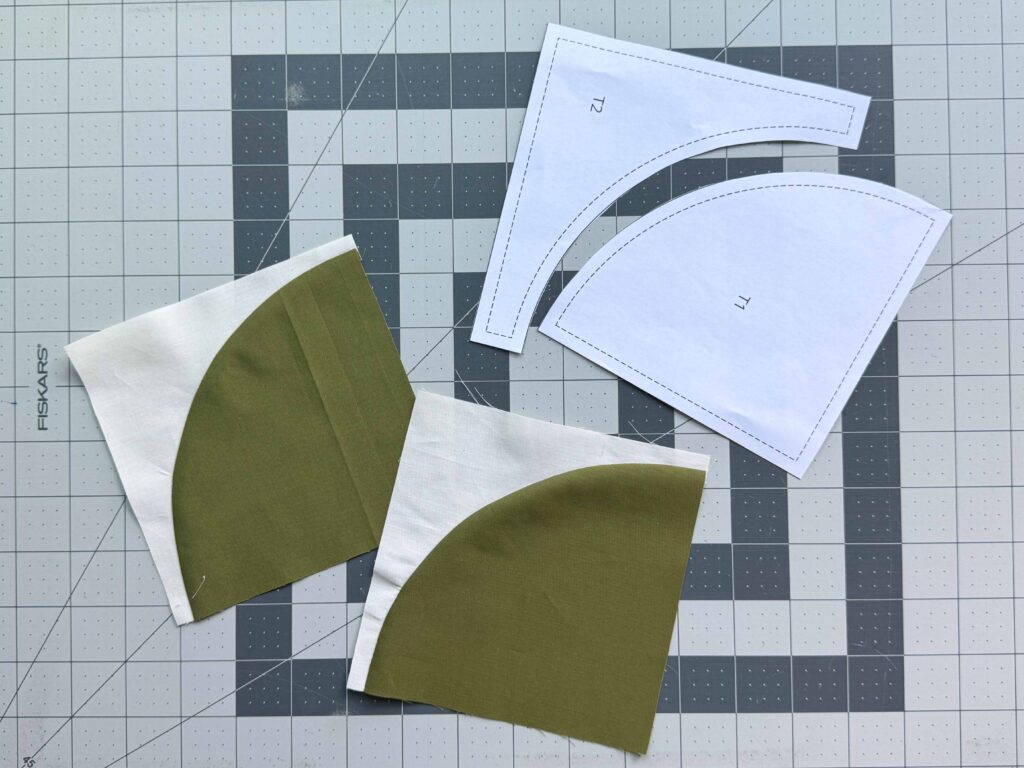
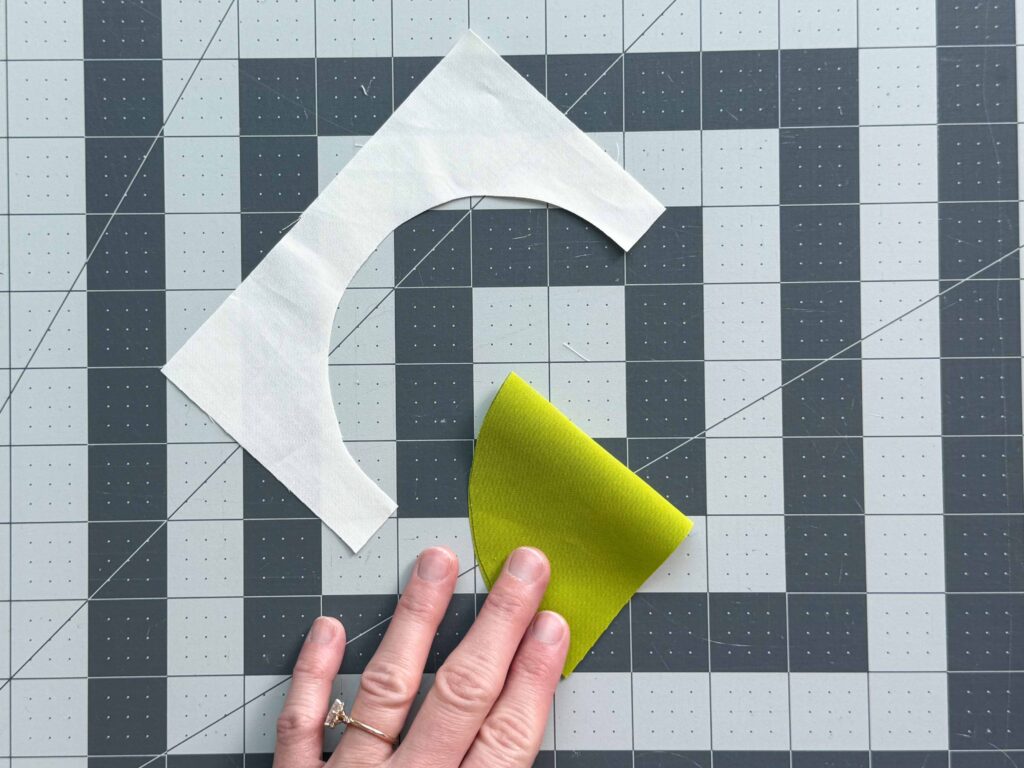
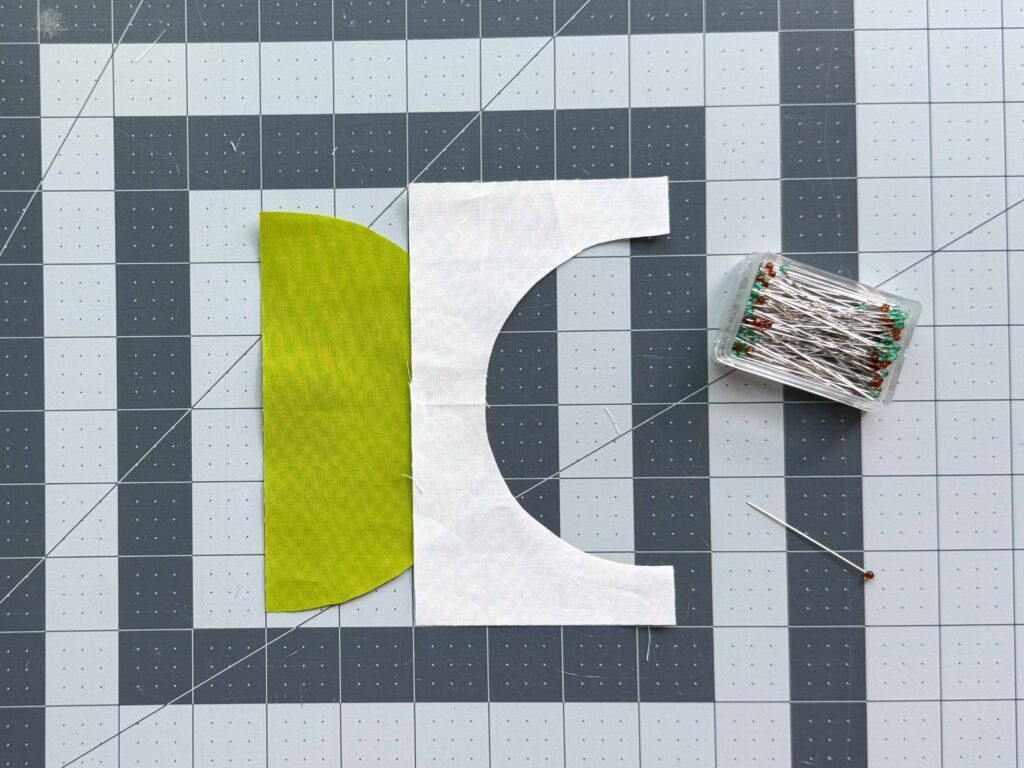
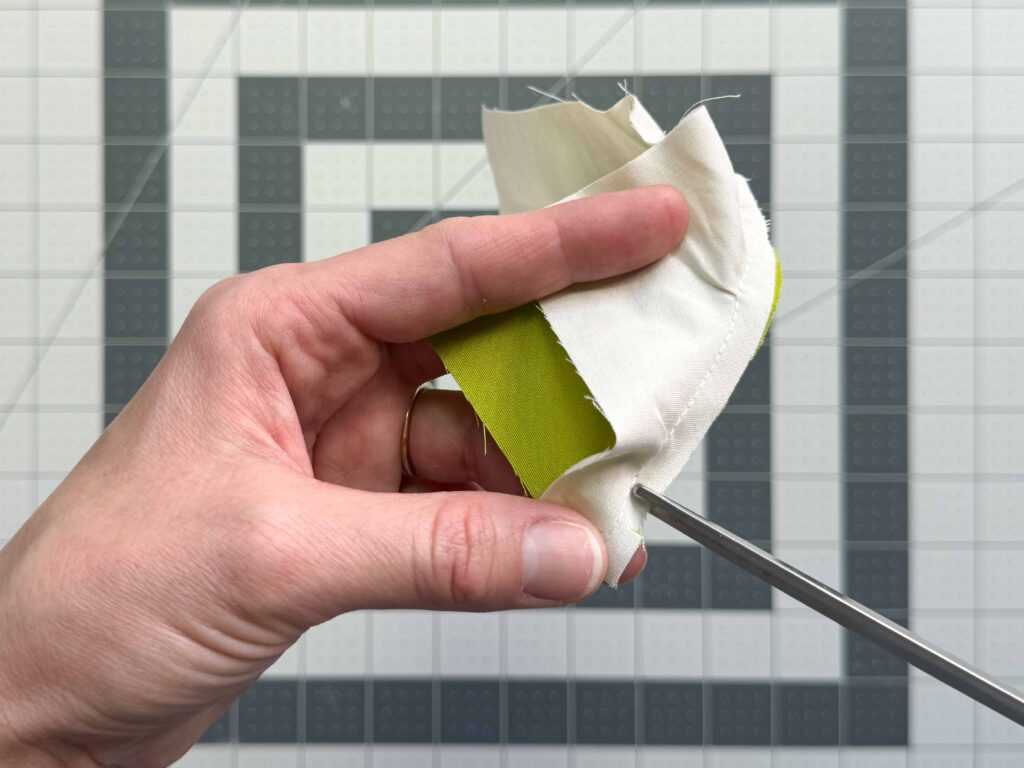
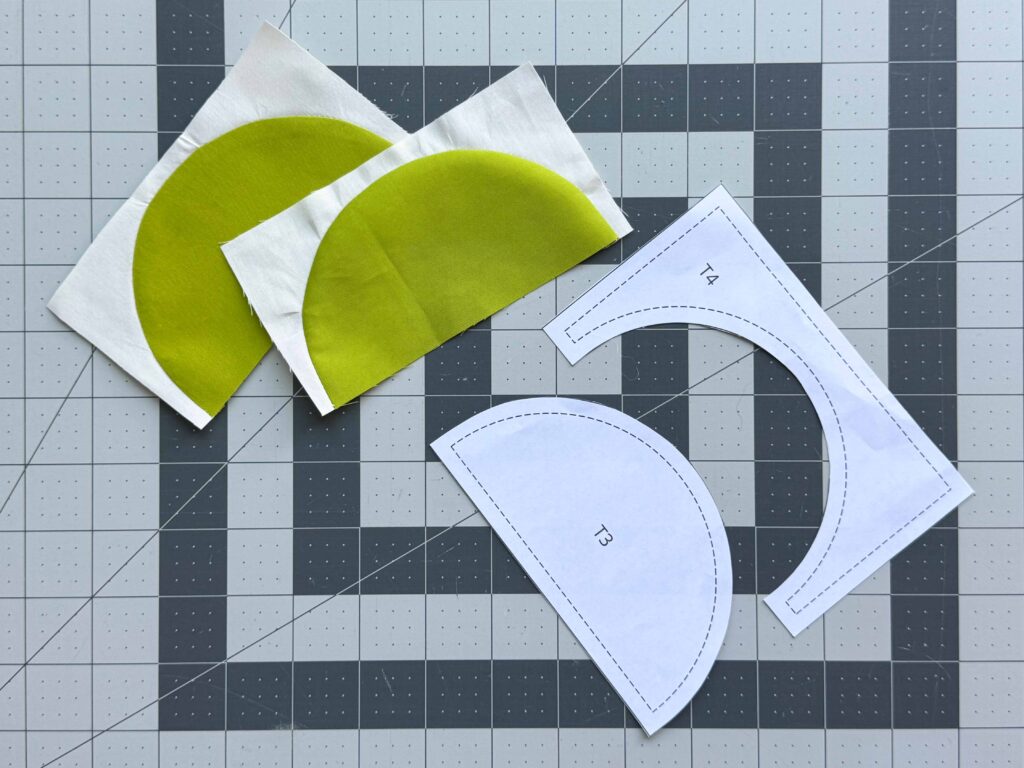
First things first, let’s cover some basic curve geometry. Concave and convex are terms you will read often when it comes to sewing curves. The concave curve is the inward curve; it’s hallowed out and is rounded inward. In the photo below, the concave curve is the white fabric. A convex curve is the outward curve; it’s rounded outward. In the photo below, the convex curve is the green fabric.
Radius
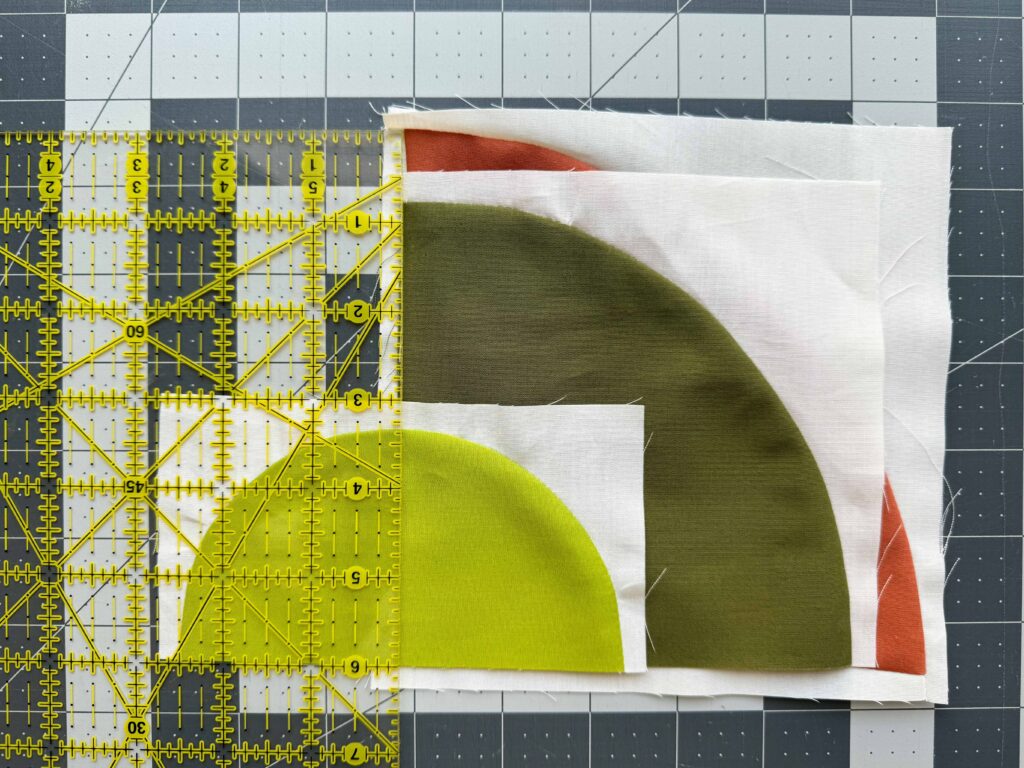
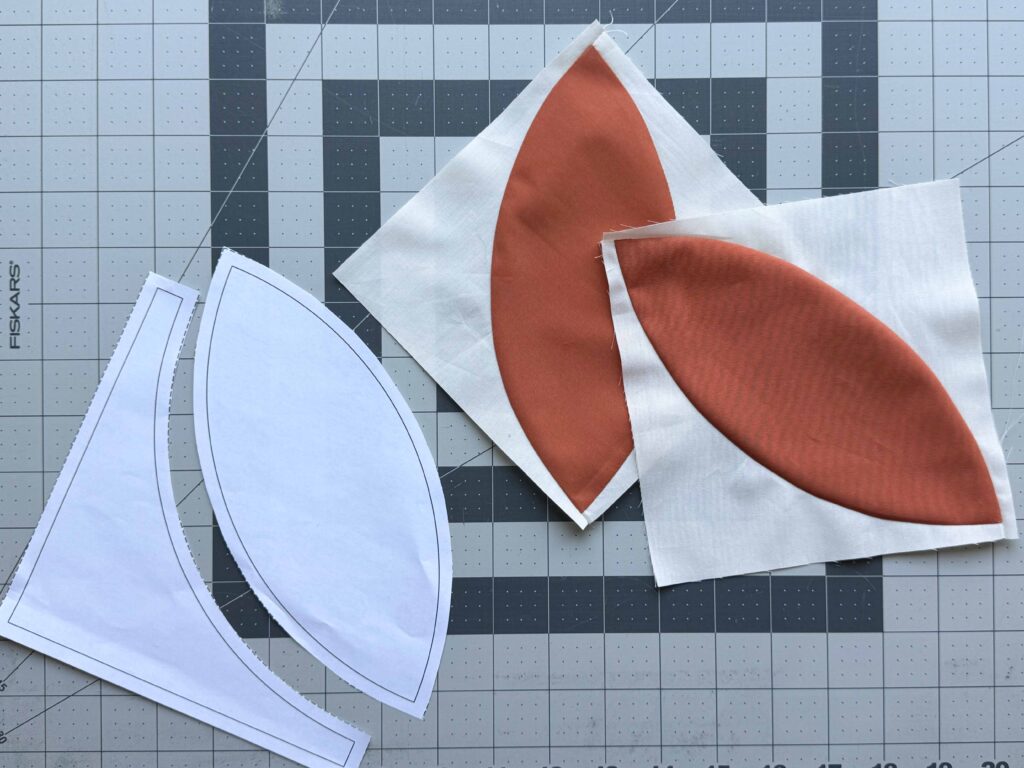
Radius is, by definition, the distance from the center of a circle to the edge of a circle. The only reason I am torturing you with a geometry lesson is because the smaller the radius, the more difficult a curved quilt block will be to piece. For reference, the orange peel unit shown in this tutorial has a radius of 6″, making it the easiest to construct. The quarter-circle templates have a radius of 5″ while the half-circle templates have a radius of only 2.5″, making it more difficult, but not impossible, to piece. So, if you are new to sewing curves, start with a large radius and work your way to smaller curves!
How to Cut Fabric
Paper Templates
Video Tutorial
PDF Templates
Print to Scale
If you purchased a quilt pattern that has curves, chances are it includes some paper templates or PDF templates that will need to be cut out. If you have PDF templates, print them out and make sure they are to 100% scale. Templates that are not printed to scale will cause your fabric pieces to be the incorrect size for your quilt top.
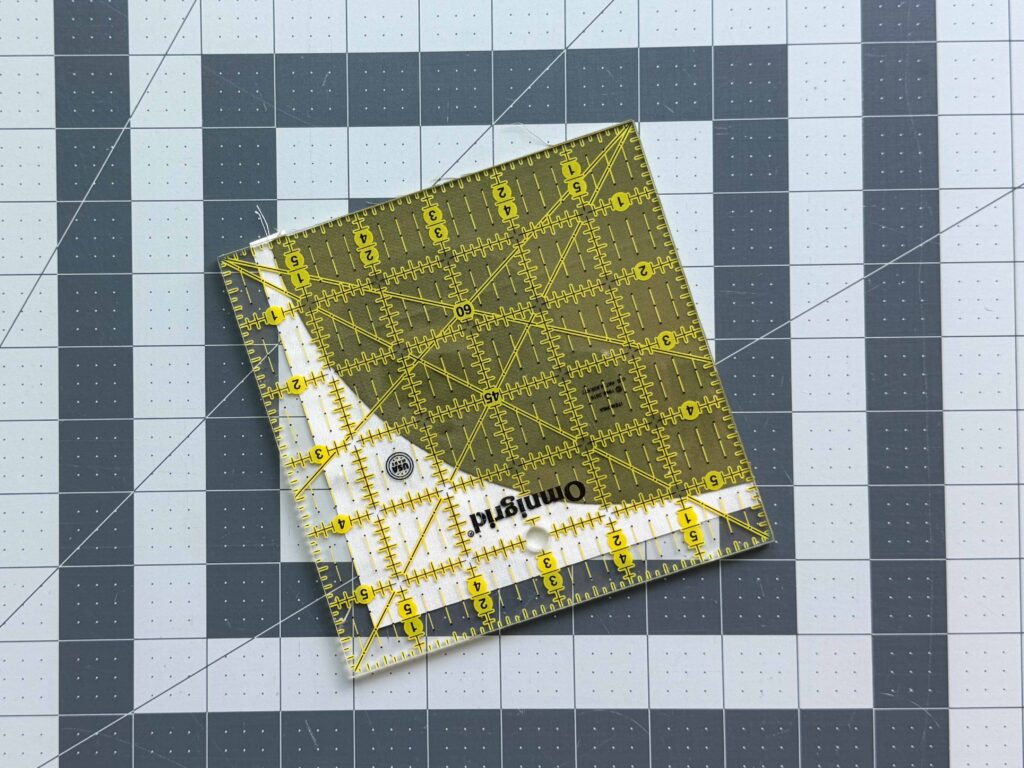
Your template should have a 1-inch square on it, so you can confirm it is the correct size before you get started. Simply place one of your quilting rulers on the piece of paper and measure the square. If it measures more or less than 1″, then you need to adjust your printer settings.


Cut Out Template
Once you have your template printed to the correct size, cut them out using either scissors or a rotary blade. Cut slowly and try to be as accurate as possible.

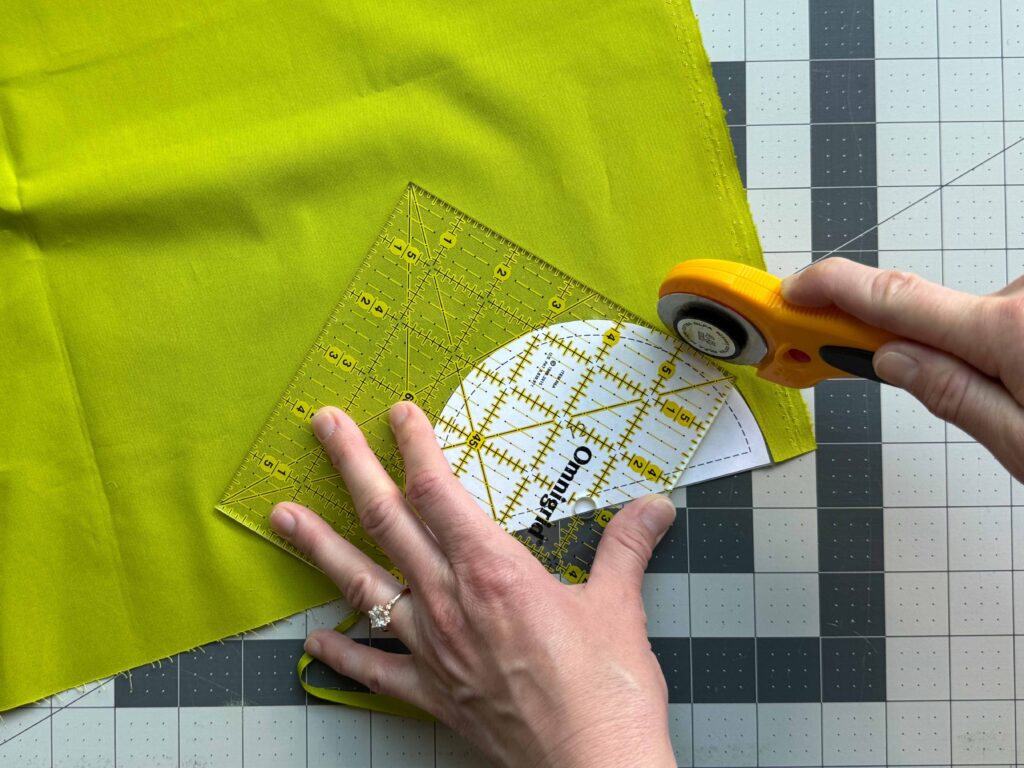
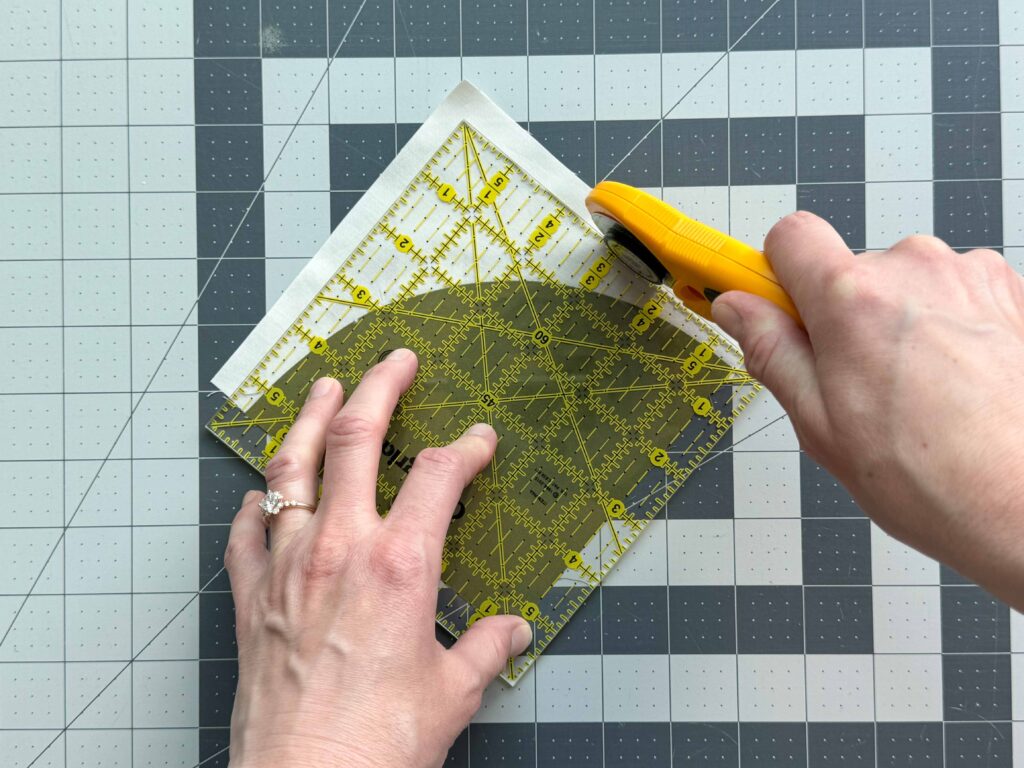
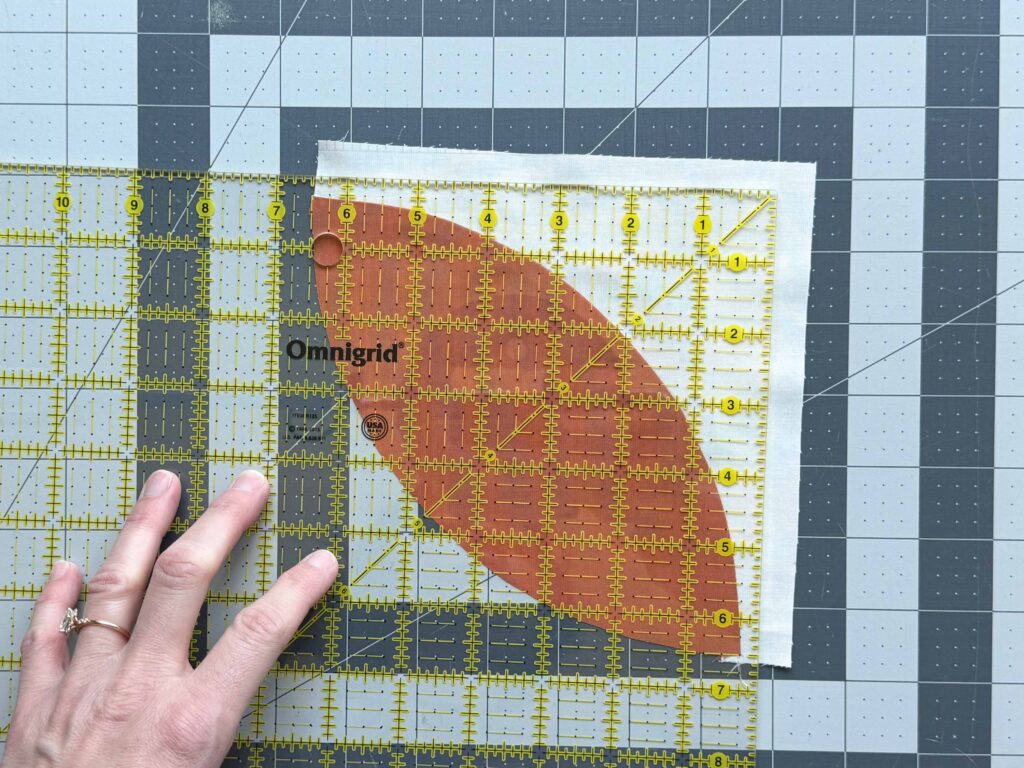
Now that you have your pattern pieces, it’s time to cut your fabric. Lay the template piece on top of the fabric lining up any edges as necessary. Use your rotary cutter to slowly cut around the template. I like to use a small, acrylic ruler to help guide my rotary cutter while I go around the template. I have found it keeps the fabric and the paper nice and flat and prevents the templates from shifting. I am able to make smoother cuts this way.
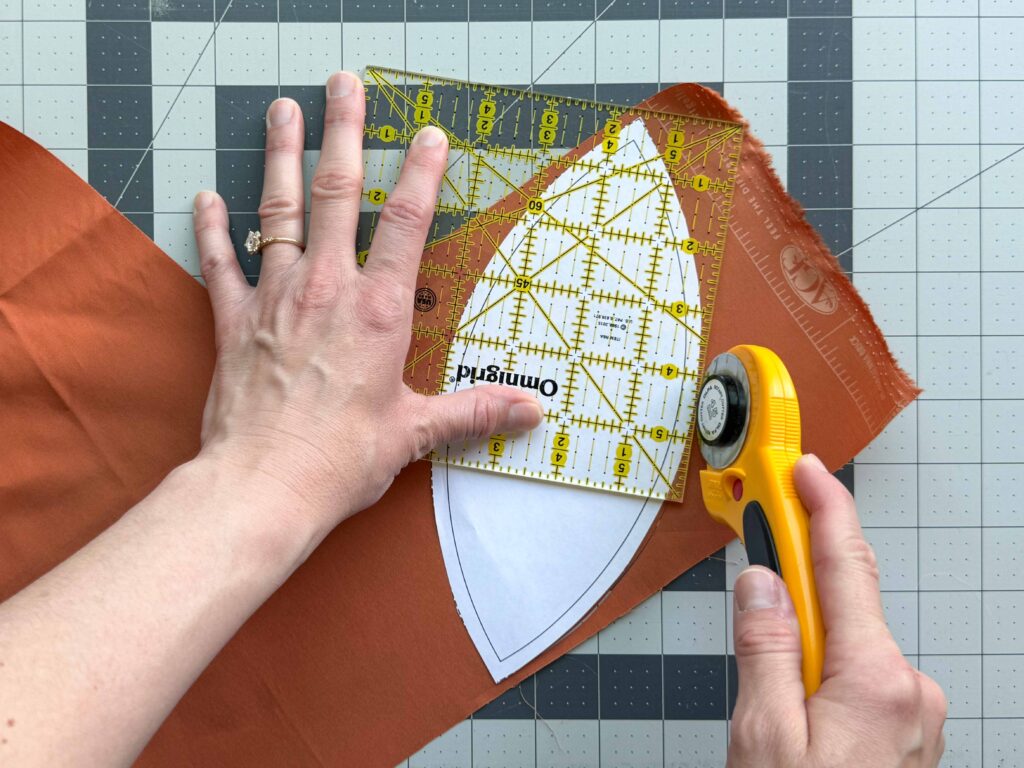
Using a ruler also allows me to follow the inner line, rather than the outside edge, which can become smaller and smaller as little bits of paper get trimmed off in the the cutting process. To use a ruler to cut your curves, line up the 1/4″ mark of your ruler on the 1/4″ seam allowance line and guide the ruler and your rotary cutter around the template. Follow your pattern directions regarding the correct number of pieces to cut.

Cricut Machine
Video Tutorial
SVG Cut Files
Quarter Circle
Video Tutorial
Pin
When it comes to sewing curves, pinning is usually a good idea. Star by finding the center of both pieces by folding in half and finger pressing.
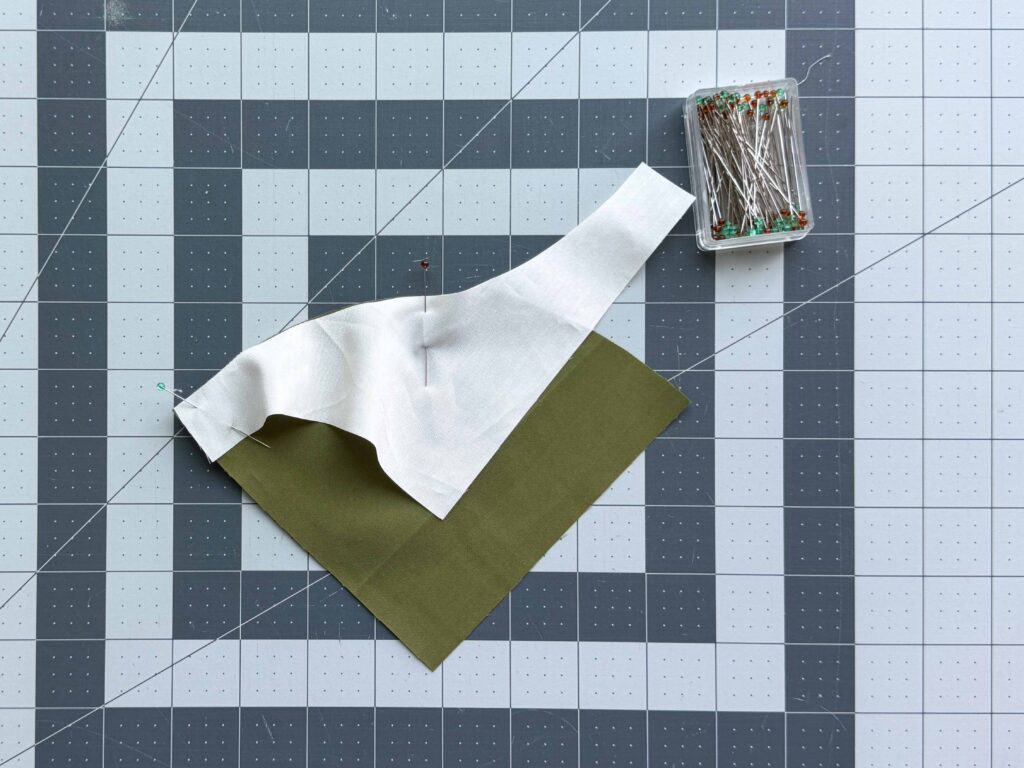
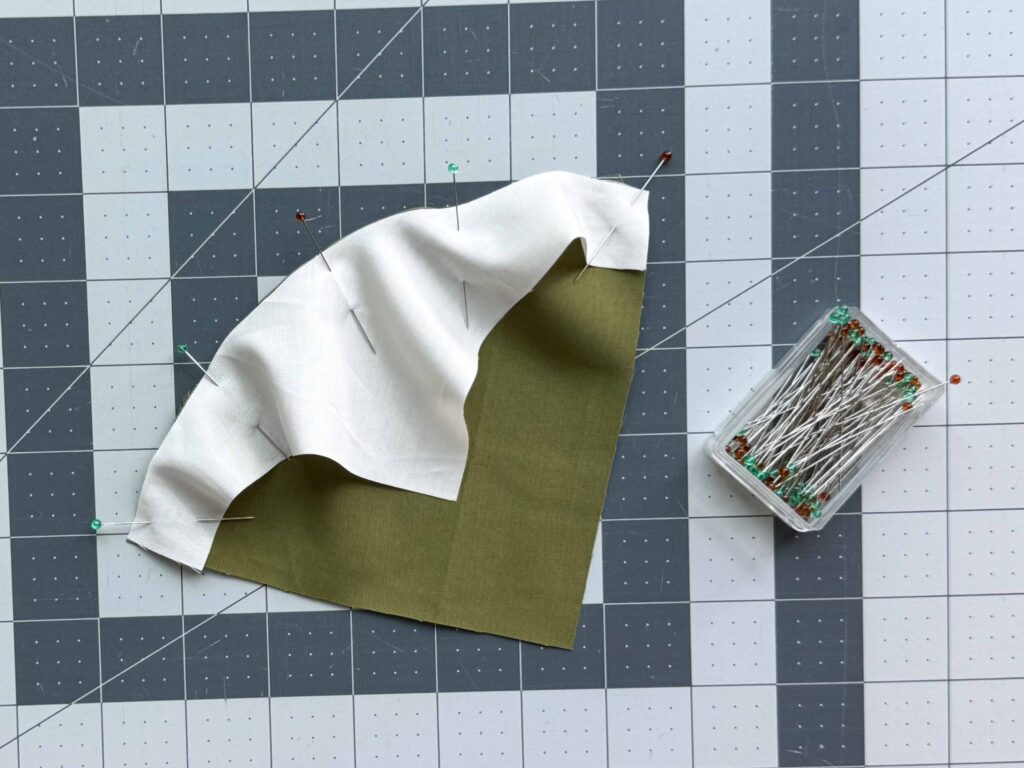
Next, place the convex and concave pieces right sides together, lining up the center creases that you just made. Pin in place, starting at the center.
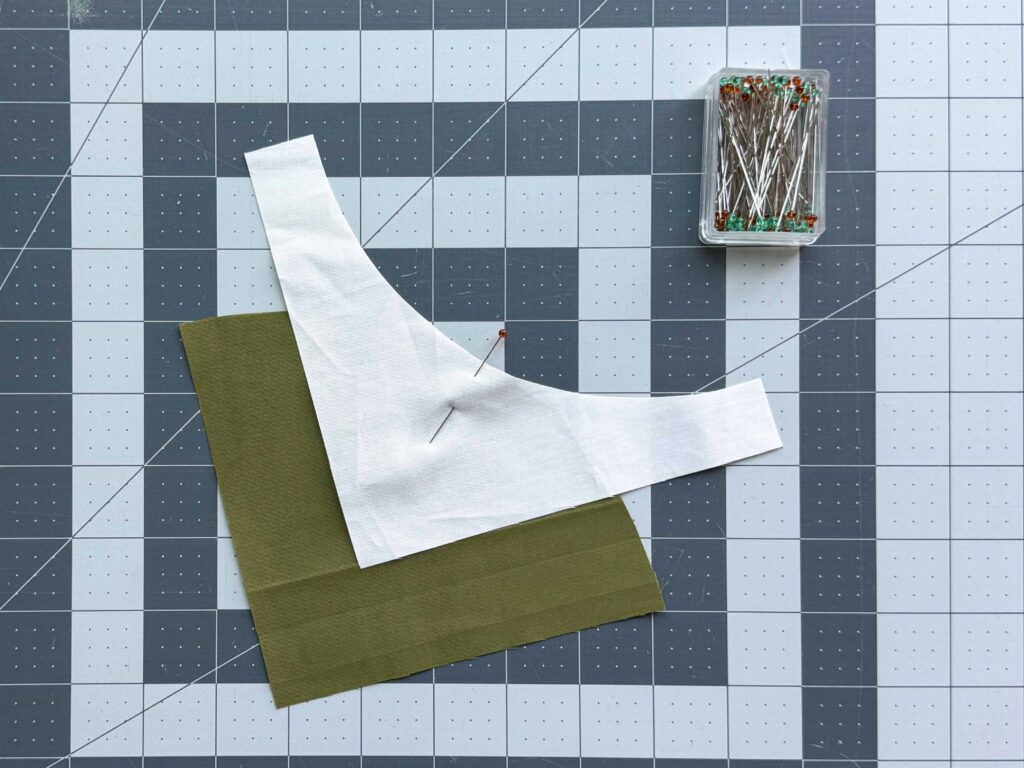
Next pin both ends. Continue to add pins until you feel you can comfortably sew the pieces together with minimal stress.
Sew
Now comes the fun part… sewing! The trick to sewing curves is to just go slowly and trust the process. I recommend sewing with the concave piece on top and keeping the convex piece (on the bottom) nice and flat. Focusing on following the curve of the bottom piece, while adjusting the top fabric as neccessary. Don’t be afraid to stop and make small adjustments to prevent folds and puckers.
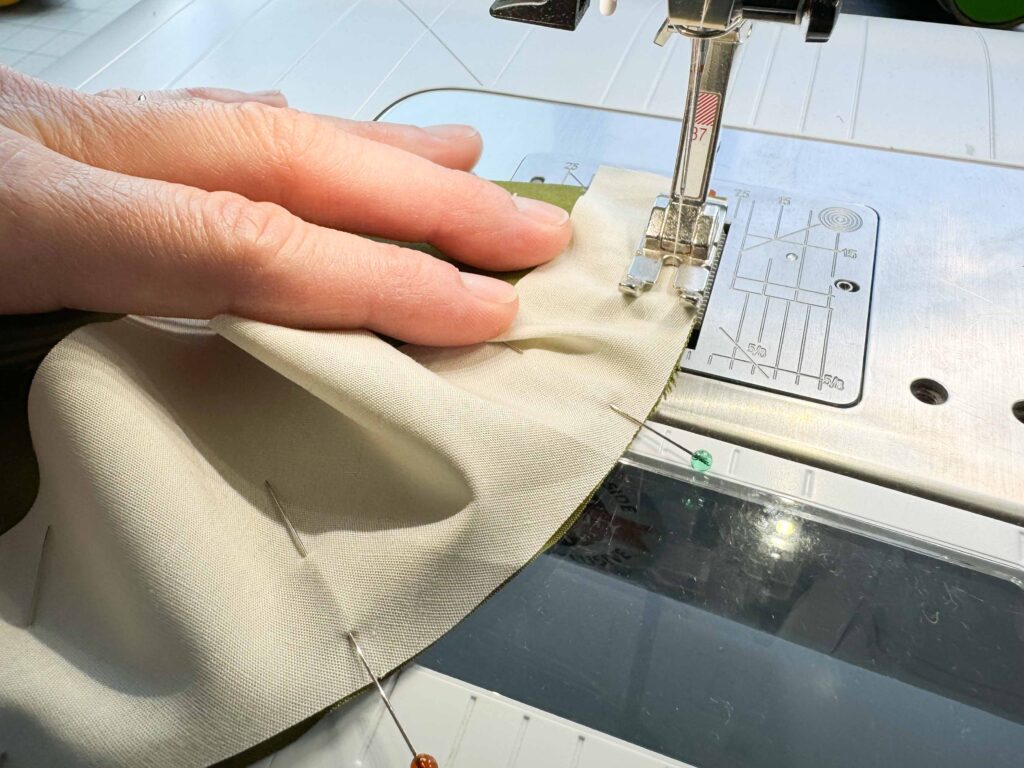
If you need to stop and and make an adjustment, make sure to stop your sewing machine with the needle in the down position before lifting the presser foot. This will keep everything in place and keep your stitch line nice and smooth.
Don’t forget to remove your pins before sewing over them.
Press
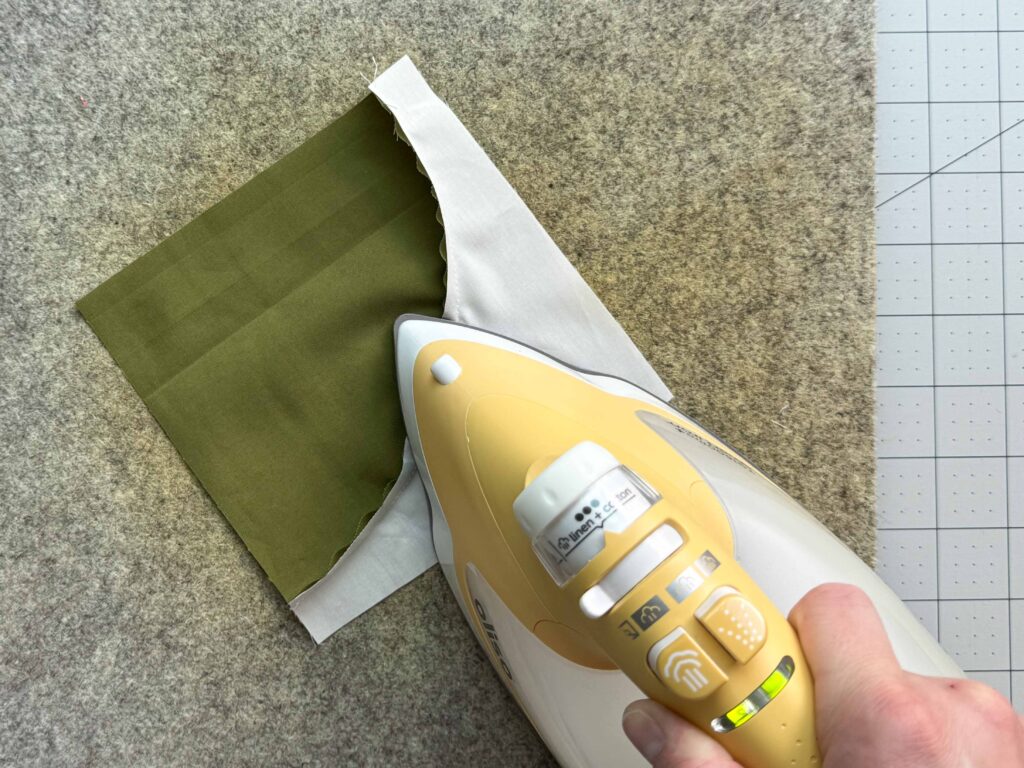
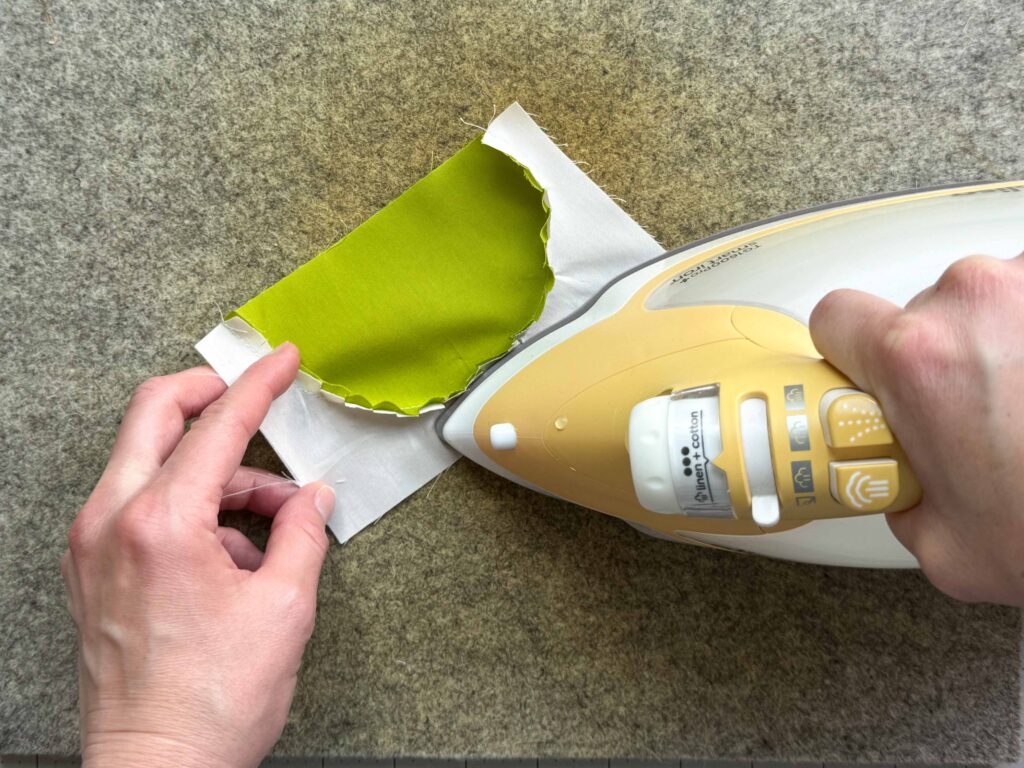
When pressing seams for a curved block, you will typically press to one side or the other. Pressing seams open for curved blocks, is not very common. Most quilt patterns will have specific pressing directions. For this pattern, I am pressing the seam toward the convex curve (the green fabric). Take care not to pull or stretch the block while you’re pressing the seam. Just gently ease the seam over, working around the curve.
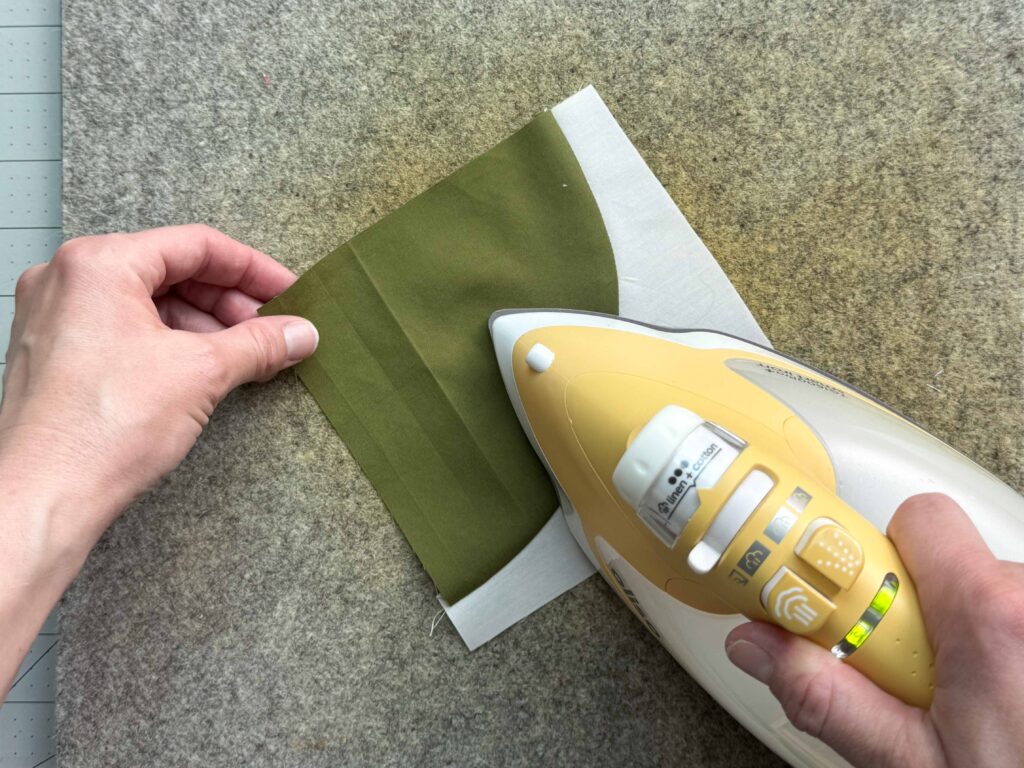
After pressing the seam from the back, I like to flip the block over and press it once more from the front.
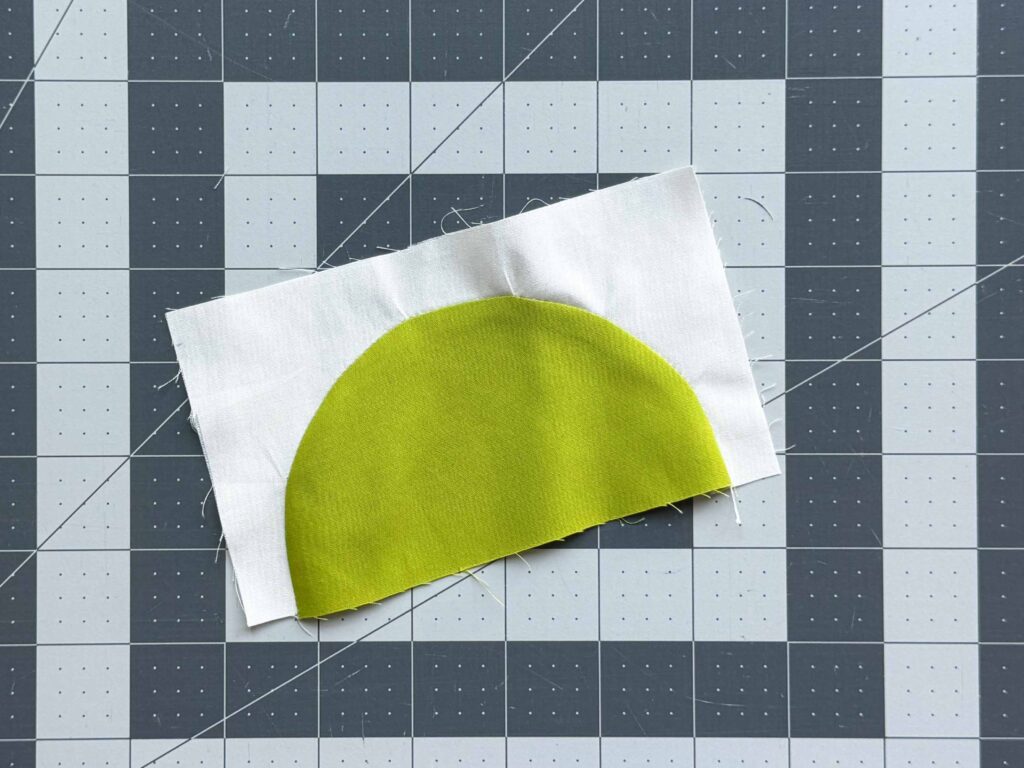
Trim
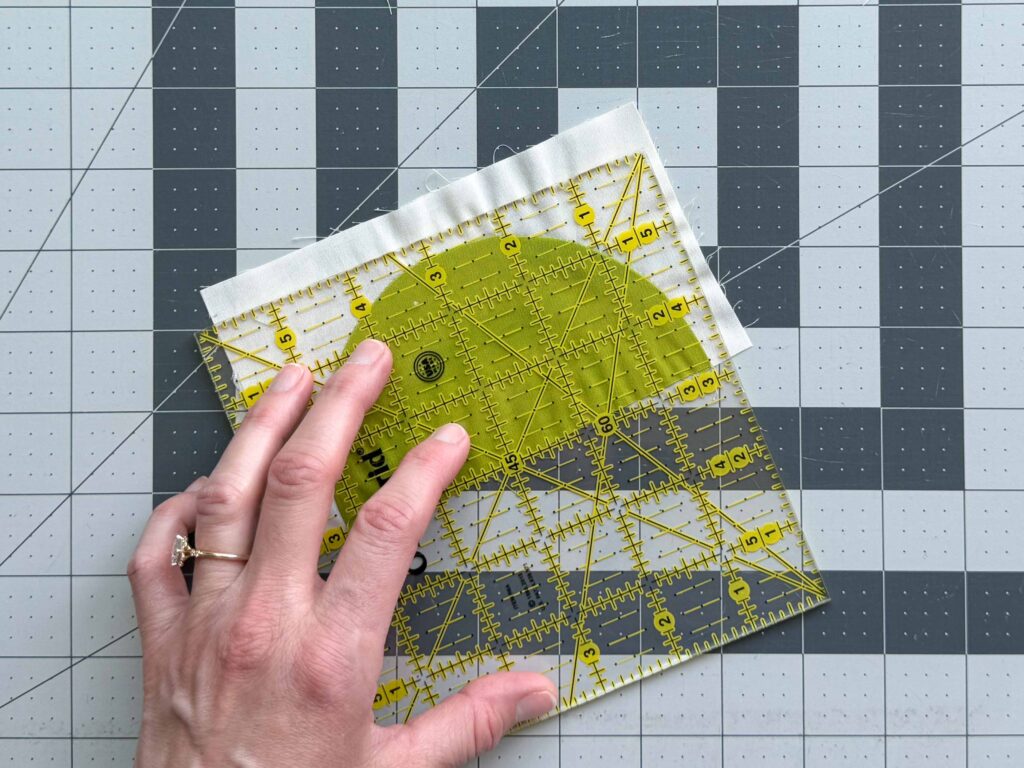
After pressing you will need to trim your block to size. Most templates will provide excess fabric on the concave side, to allow room for trimming and squaring. To trim a quarter circle quilt block, trim fabric from the two sides opposite the quarter circle. Use a quilt ruler to square up the block as best as you can, leaving a 1/4″ (or more depending on the pattern instructions) seam allowance at the corners of the curve.
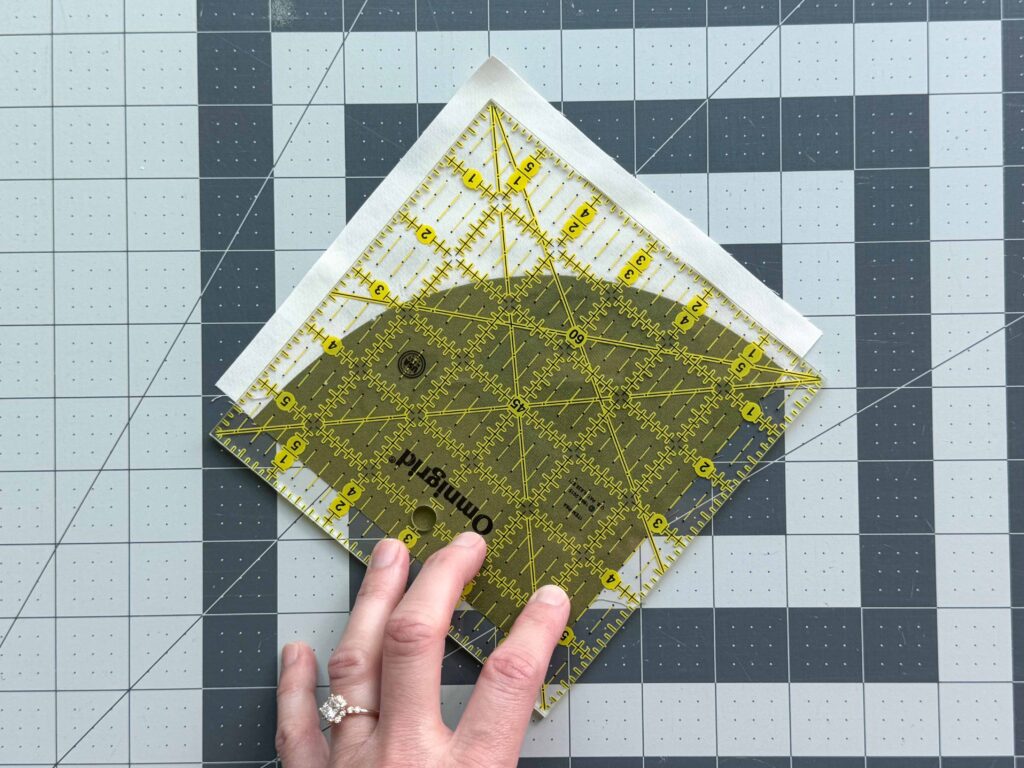
If needed, you can turn the block 180 degrees and square the opposite two sides.
Half Circle
Video Tutorial
Pin
Similar to pinning the quarter-circle block, start by finding the center of both pieces by folding in half and finger pressing.

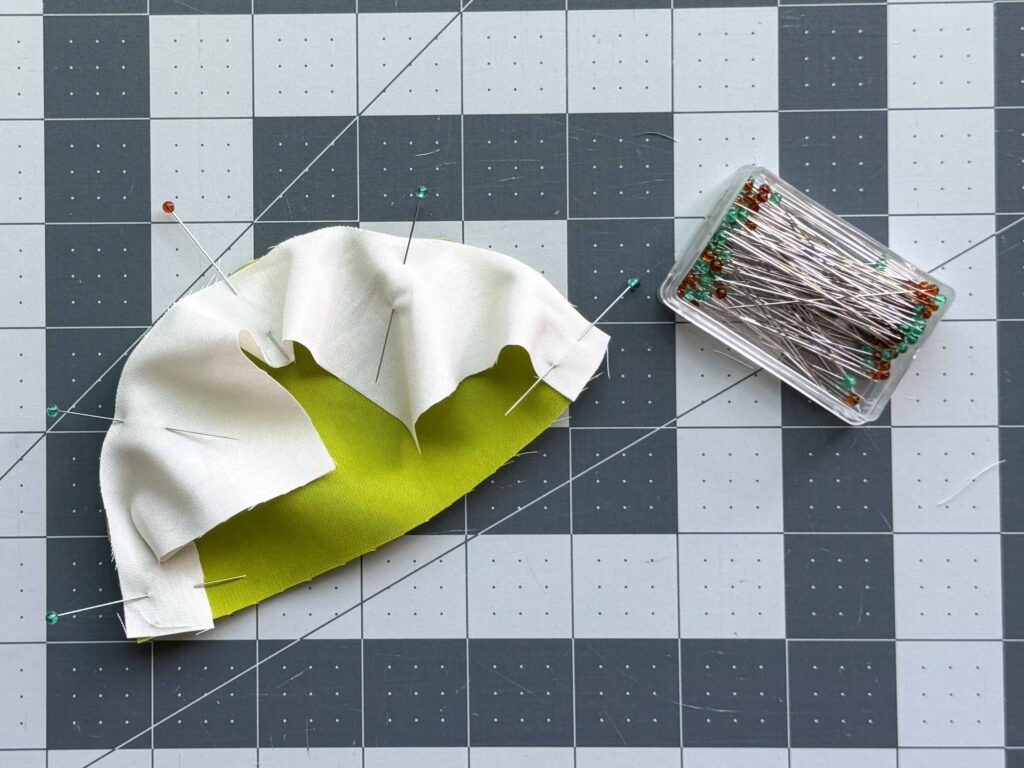
Next, place the convex and concave pieces right sides together and line up the centers. For the half-circle templates pieces, you’ll have two “U”s pointing in opposite directions.
Pin the centers together. Then pin both ends. Continue to add pins until you feel you can comfortably sew the pieces together with minimal stress. I’ve found the half-circles can be a little tricker, especially when they have a smaller radius like this 2.5″ semi-circle. I would suggest adding a couple extra pins to help.
Sew
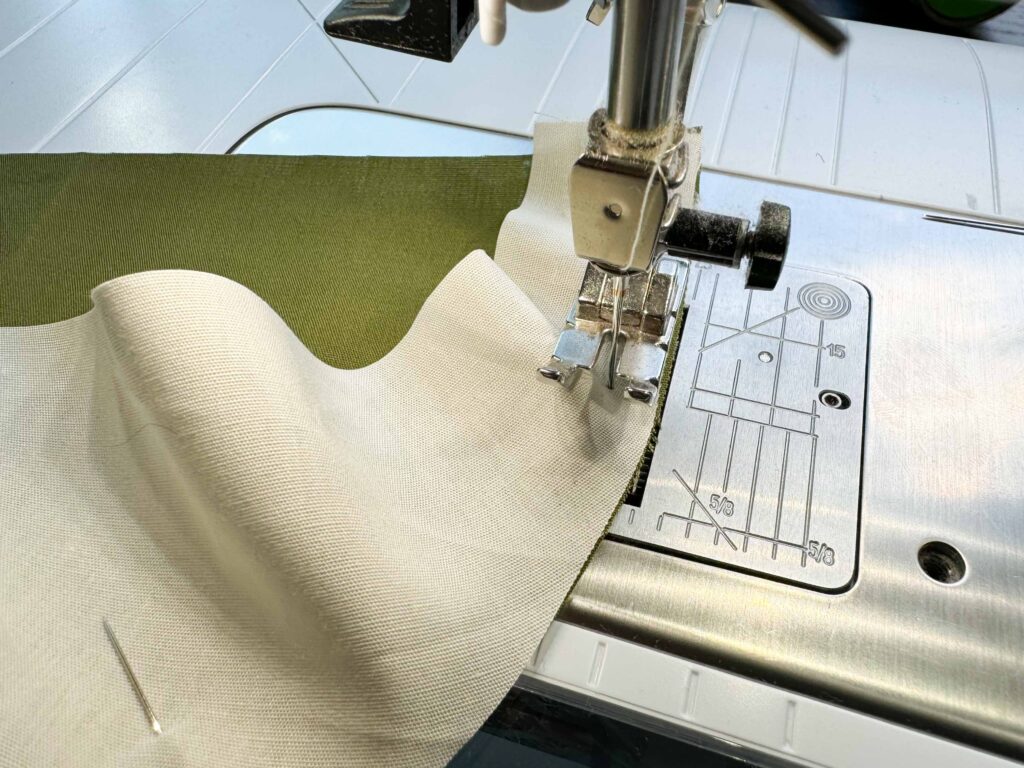
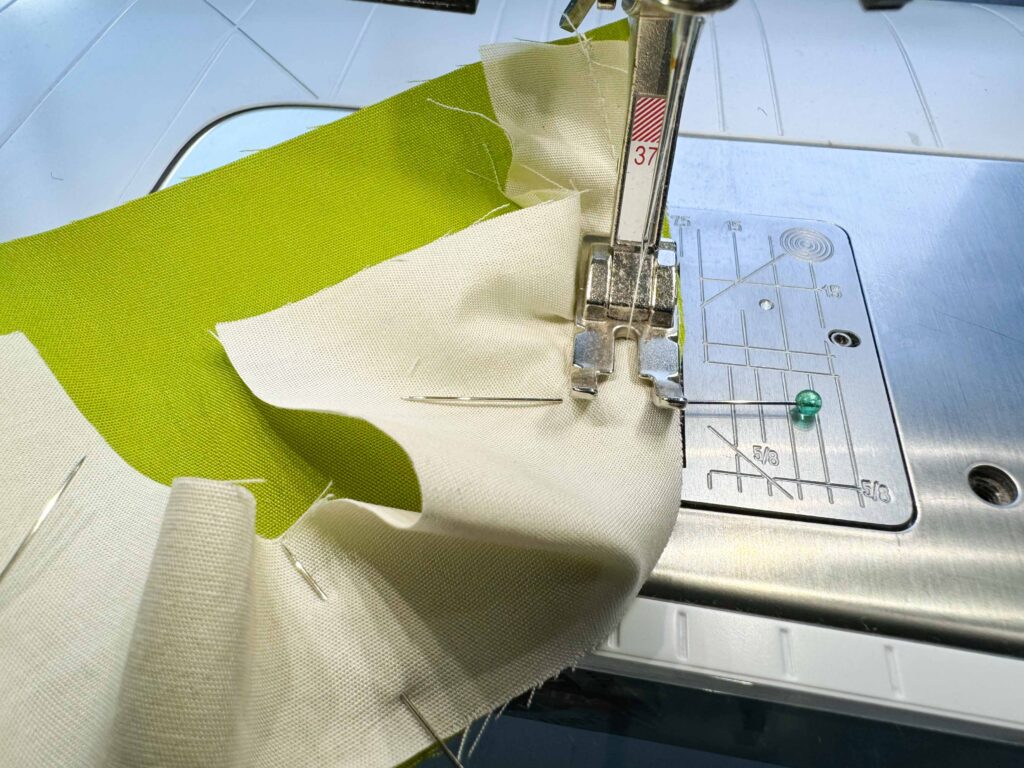
After pinning, it’s time to sew! Line up the presser foot with the edge of the concave piece that is sitting on top. Go slowly and remove the pins before sewing over them. You will likely be sewing very small sections at a time. If you need to stop and adjust anything, make sure to stop your sewing machine with the needle in the down position, lift the presser foot, and then make any necessary adjustments.
Press
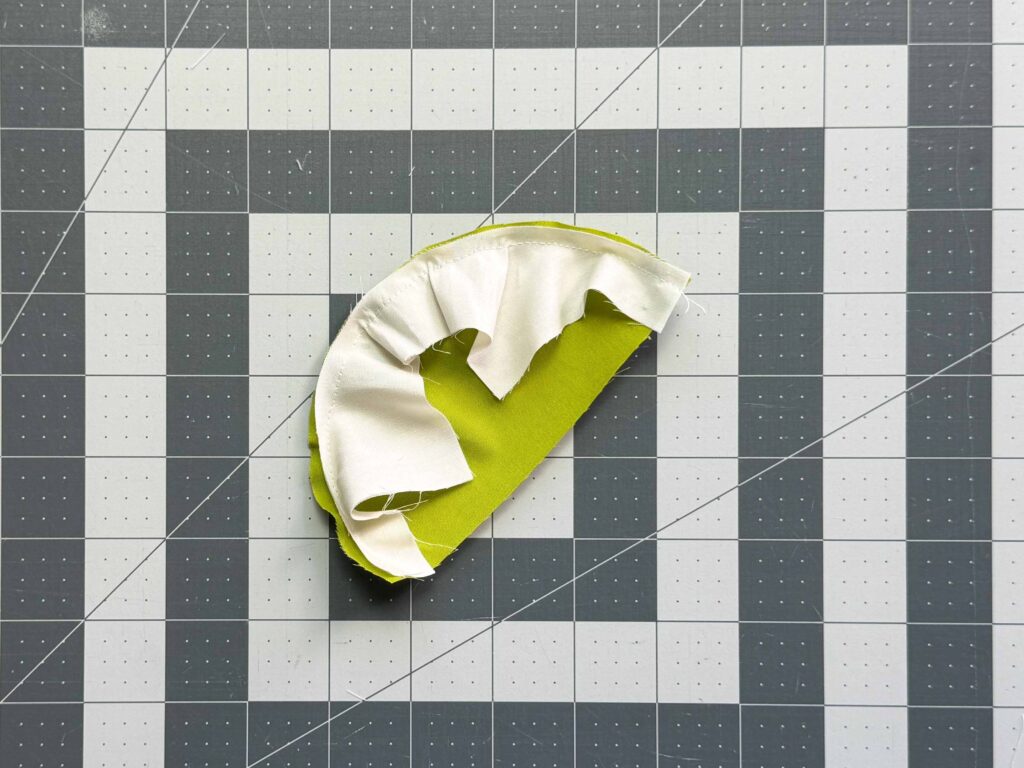
For curves with a smaller radius, like this half-circle block, you may want to clip the seam allowance every 1/4″ – 1/2″ before pressing, making sure to not cut through the stitches. This will take some of the tension off the stretched fabric and help the seam lay flat.
When pressing seams for a curved block, you will typically press to one side or the other. Pressing seams open for curved blocks, is not very common. Most quilt patterns will have specific pressing directions.
Trim
When trimming half-circles, I start by trimming the top and side of the block first, taking care to leave at least 1/4″ seam allowance (or more depending on the pattern instructions) past the “sides” of the curve. The block shown below needs to be trimmed to 3″ x 5.5″ and requires a 1/4″ seam allowance past the sides and top of the semi-circle. Once the side and top of the block is trimmed, I rotate the block 180 degrees and trim the opposite 2 sides, again taking care to meet the required dimensions and leaving the correct seam allowance intact.
Orange Peel
Video Tutorial
Pin
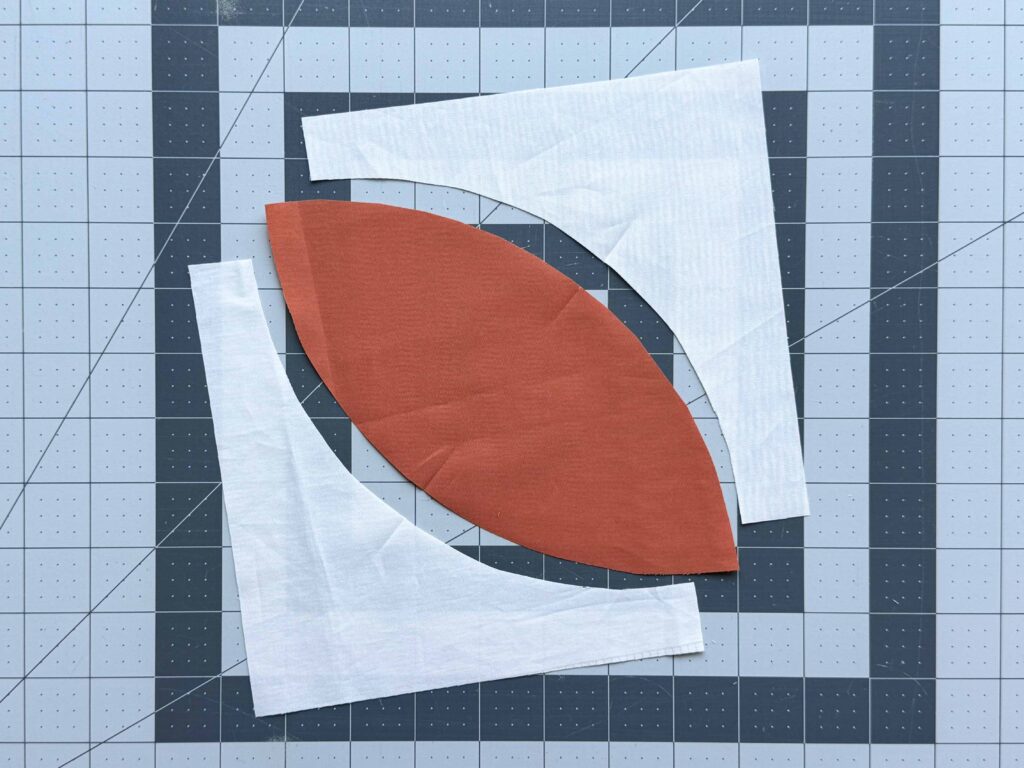
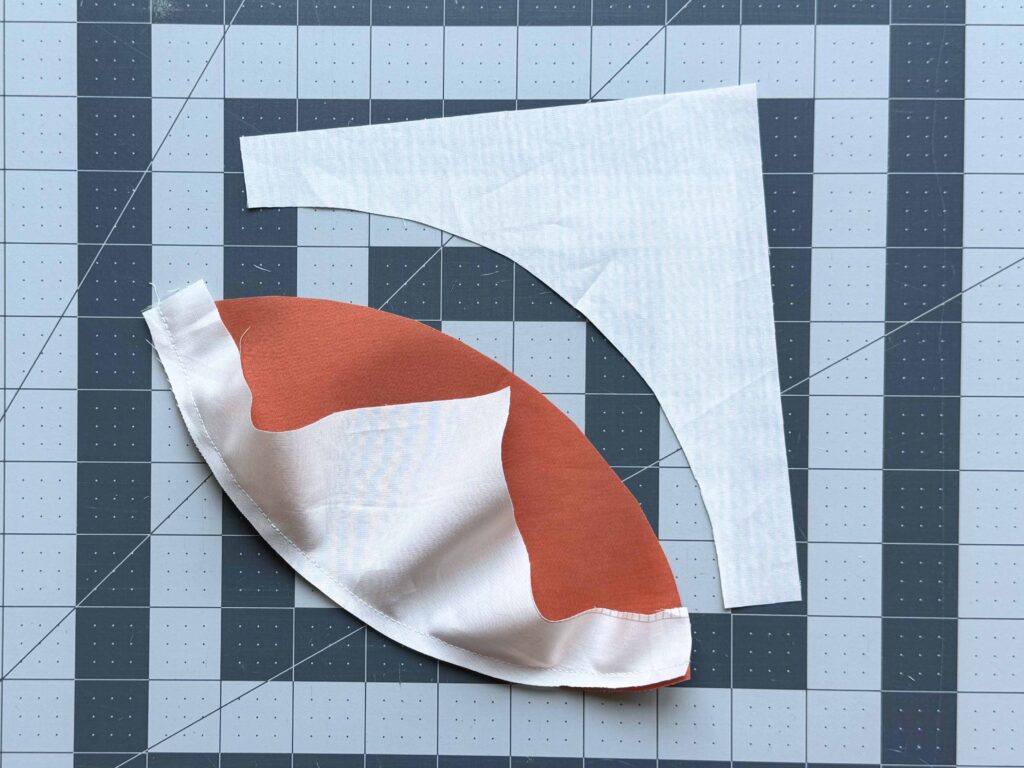
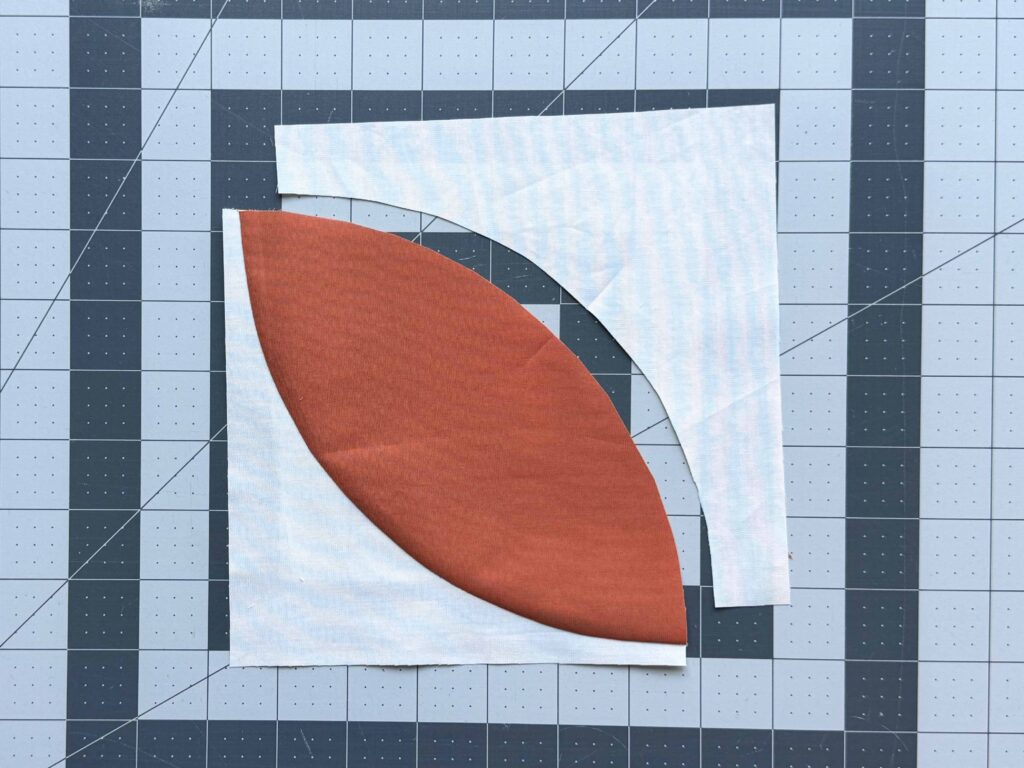
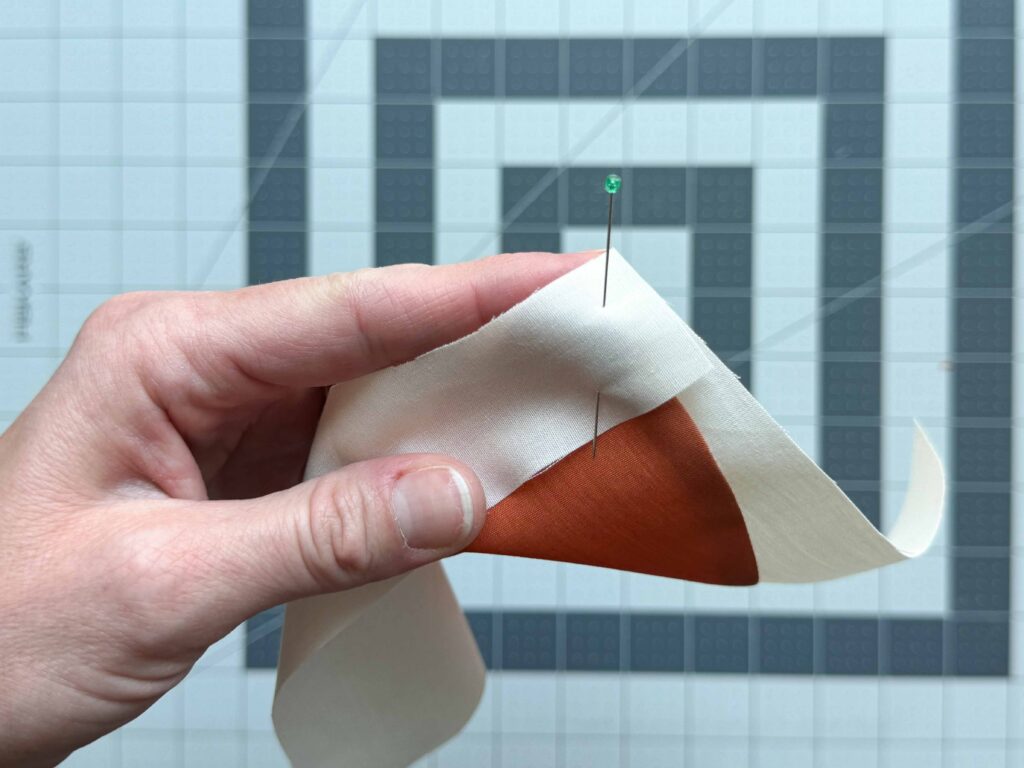
The method for piecing an orange peel block is similar to the quarter-circle block, but now you are adding two concave pieces to either side of the convex piece. Once again, start by finding the center of both pieces by folding in half and finger pressing.
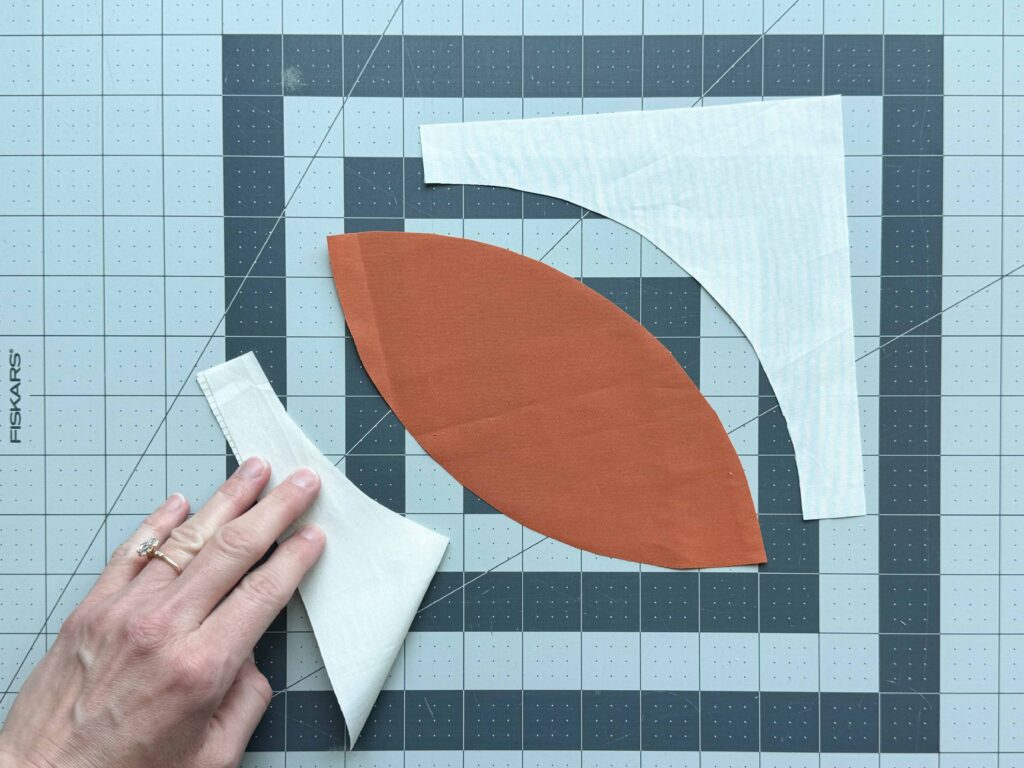
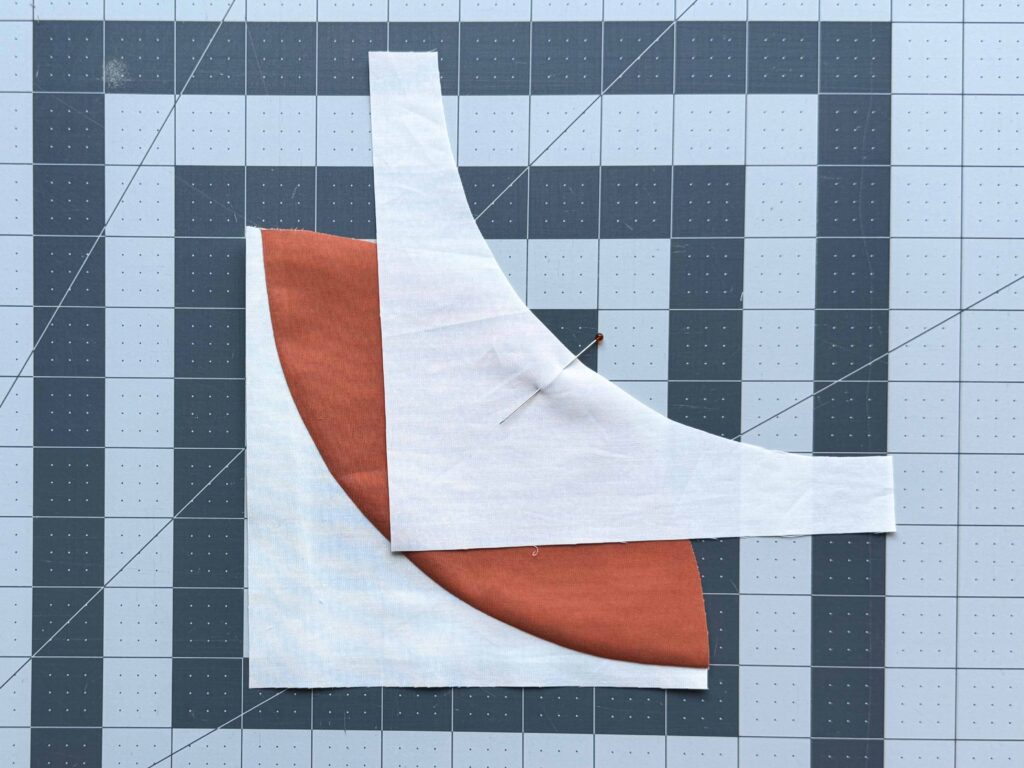
Next, place the convex piece and 1 concave piece right sides together and line up the centers. Pin at the center and then pin both ends. Continue to add pins until you feel you can easily and comfortably sew the pieces together.

Sew
After pinning, it’s time to sew. Line up the presser foot with the edge of the concave piece that is sitting on top. Go slowly and remove the pins before sewing over them. You will likely be sewing very small sections at a time. If you need to stop and adjust anything, make sure to stop your sewing machine with the needle in the down position, lift the presser foot, and make any necessary adjustments. Focus on following the curve of the bottom convex piece, while adjusting the top concave piece.
Press
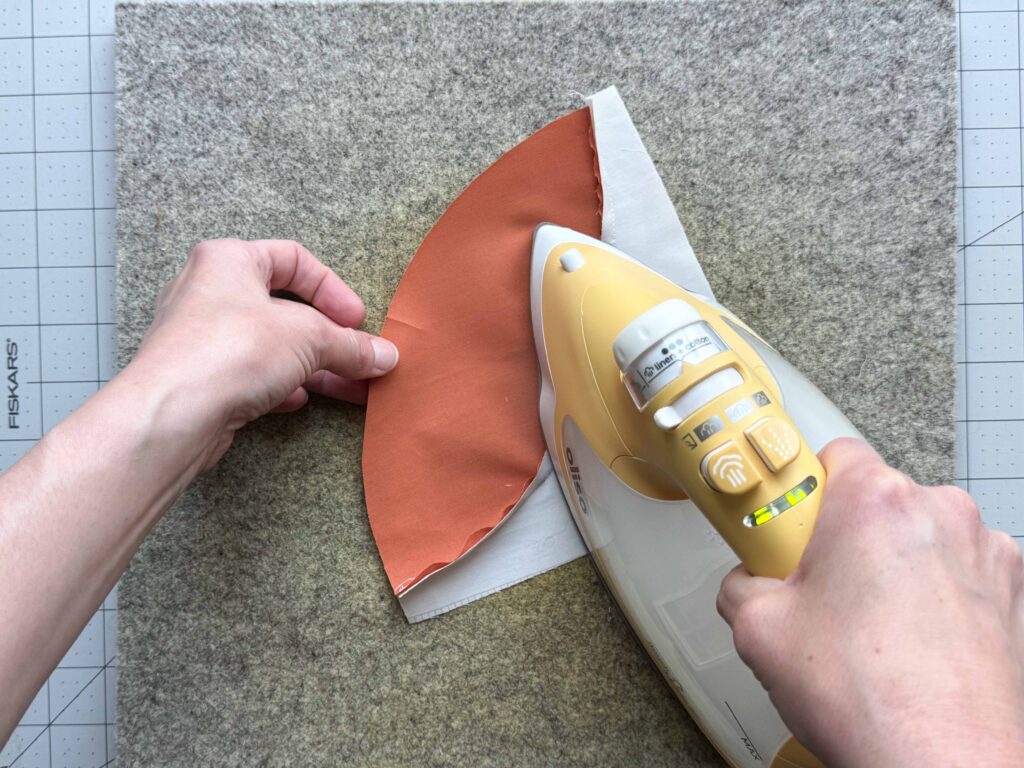
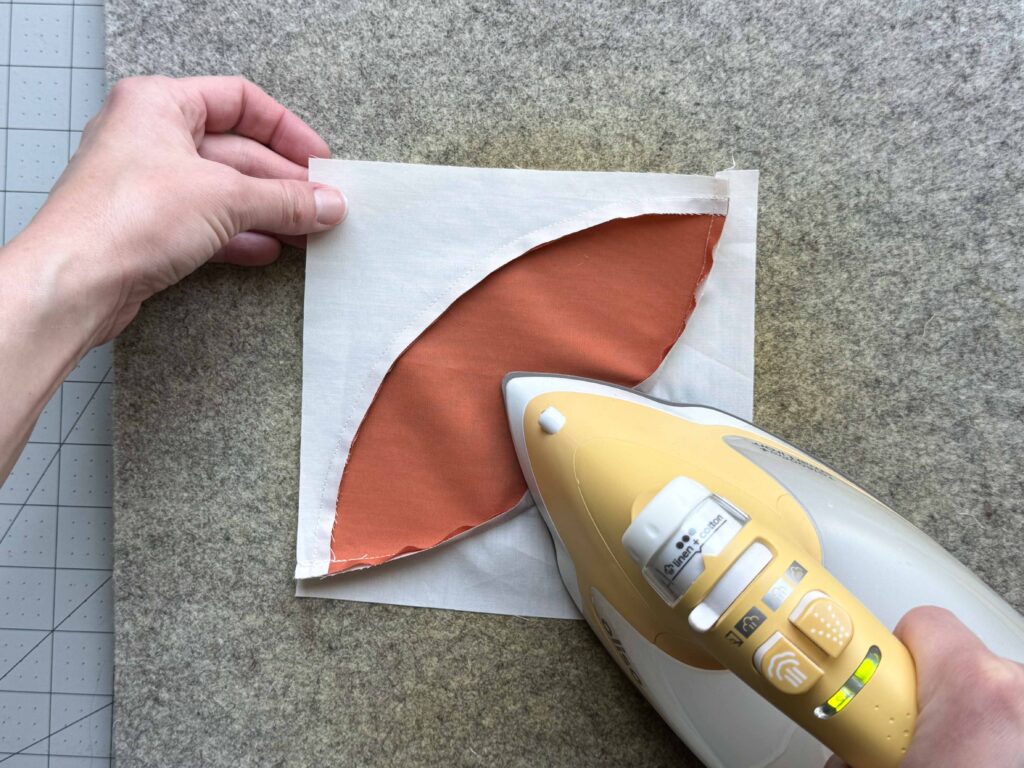
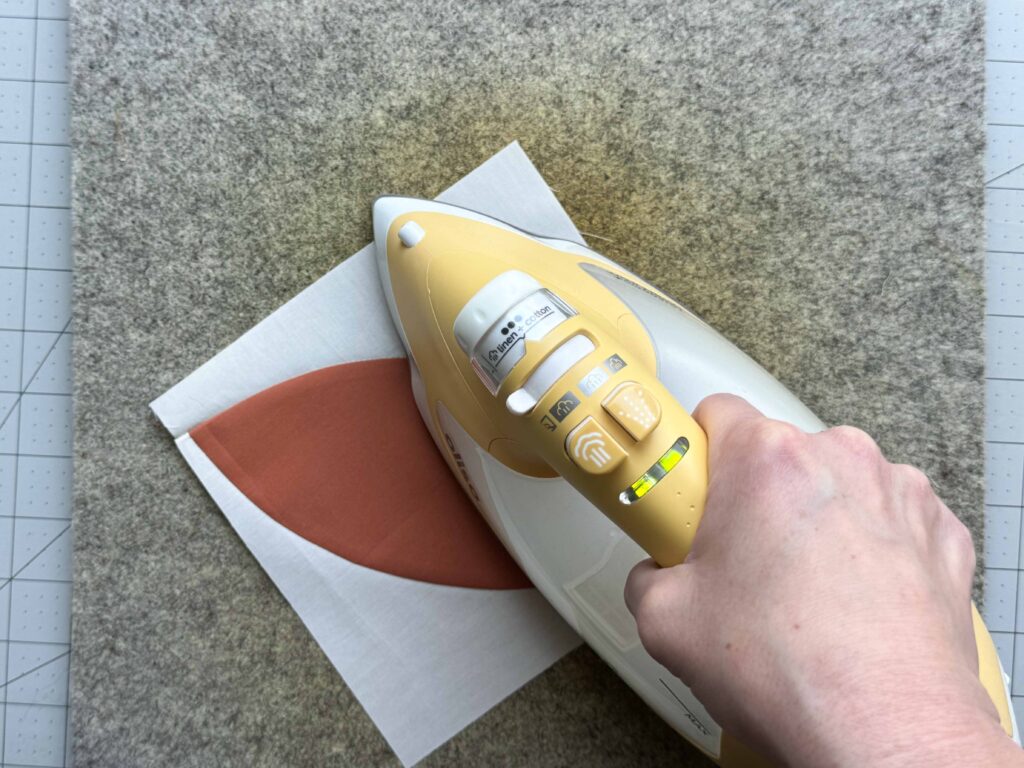
After sewing the first concave piece, you need to press the seam. Press your seam to the side according to the pattern directions. I like to press my curved block from the back first, and then flip and give it a second press from the front.
Trim
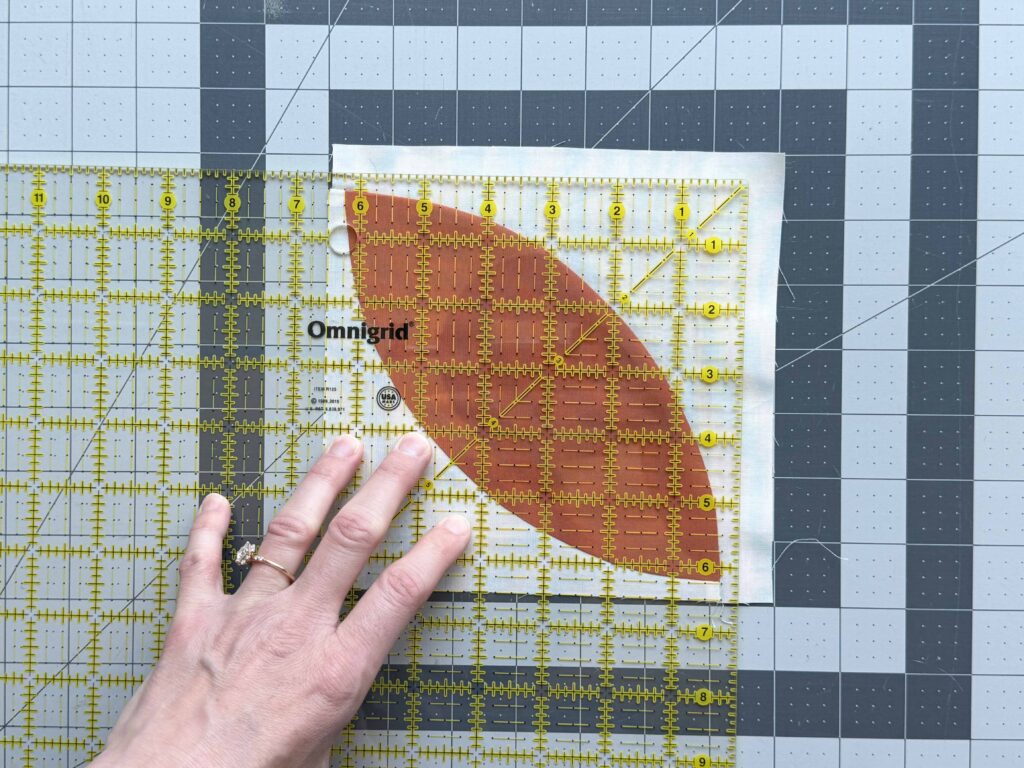
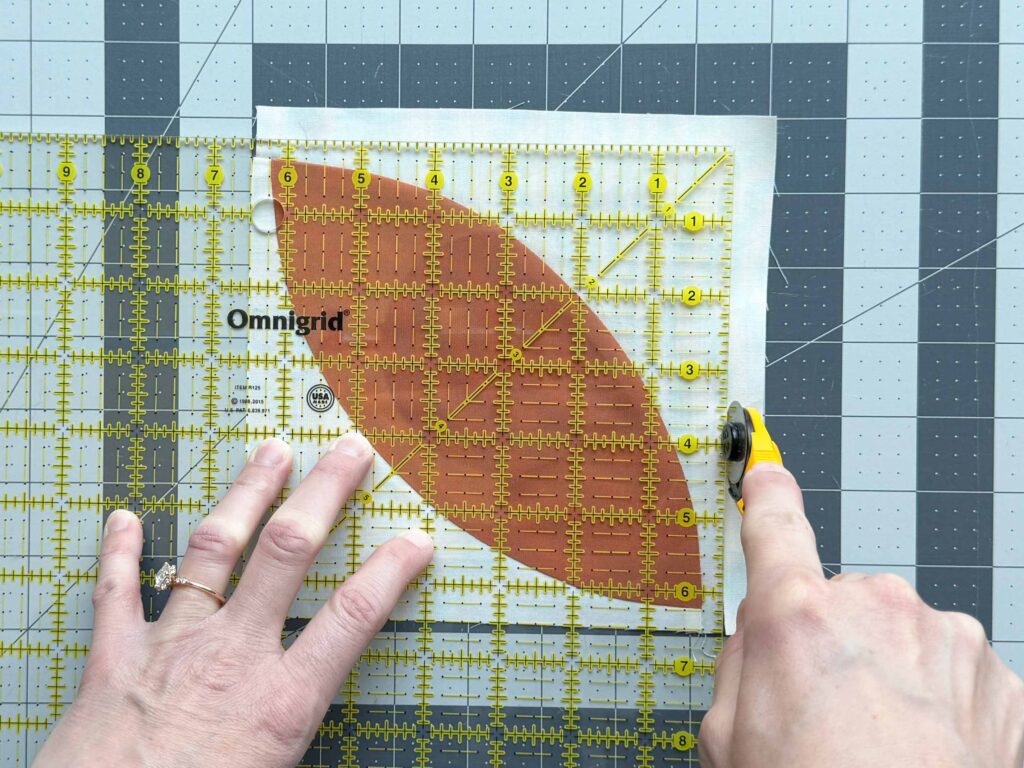
Before sewing the next concave piece, you’ll need to trim the block. Trim fabric from the two straight edges of the concave piece.
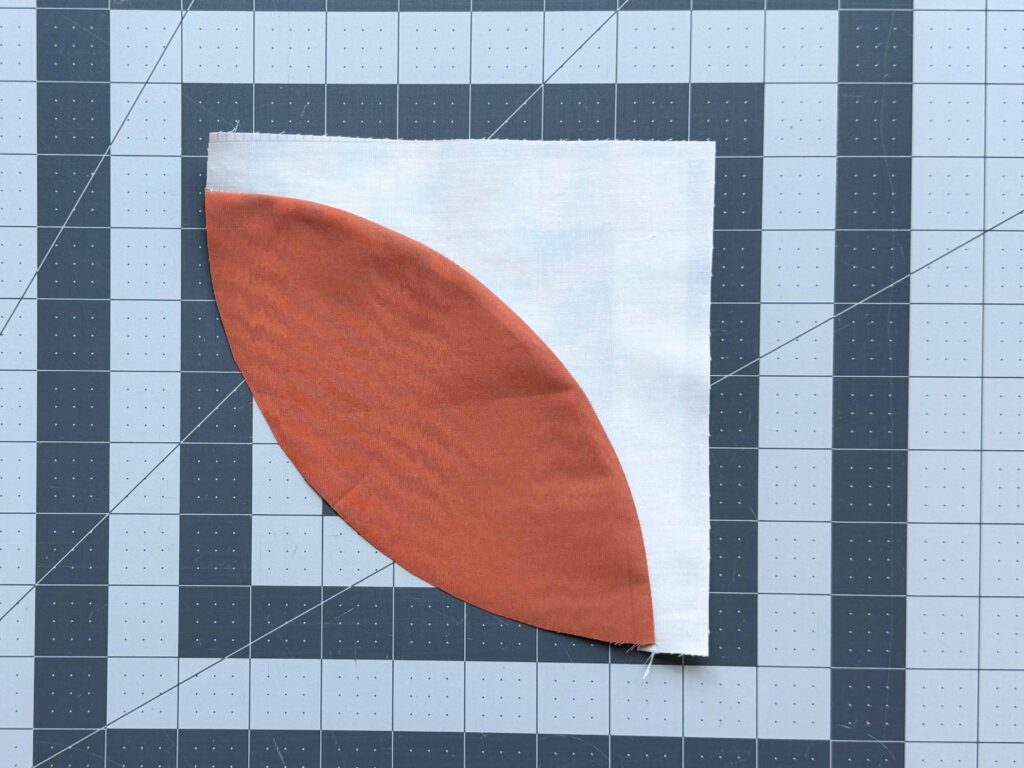
Use a quilt ruler to square up the block as best as you can, leaving a 1/4″ (or more depending on the pattern instructions) seam allowance at the corners of the curve.
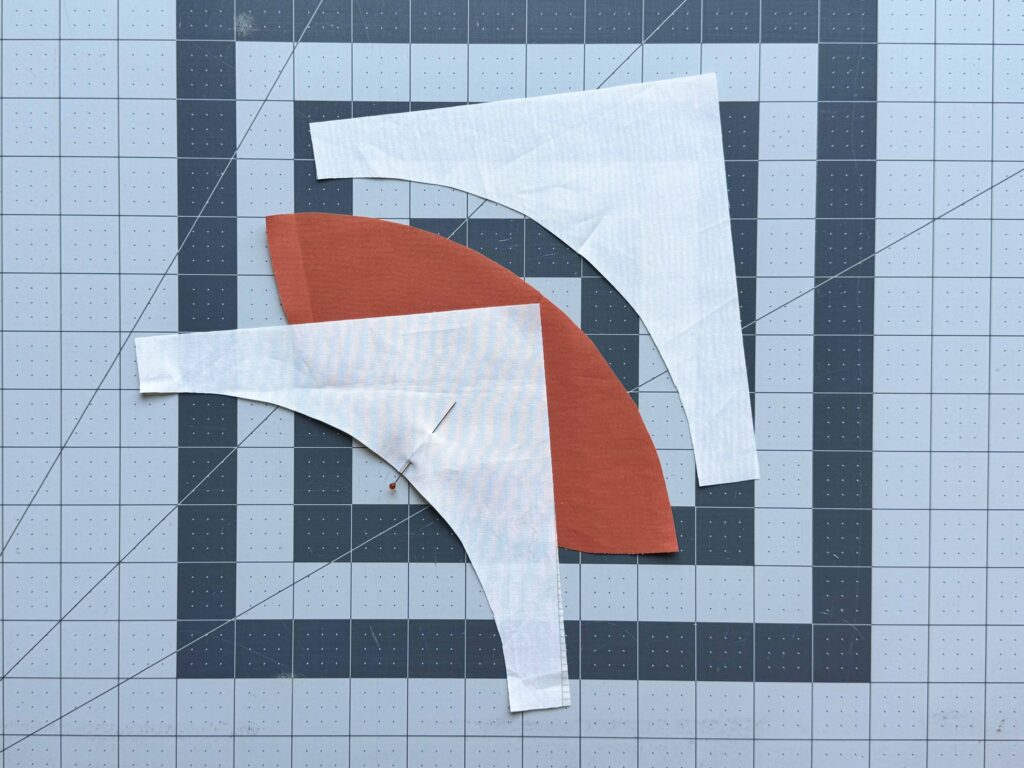
Pin
After trimming the block, repeat the steps for pinning to add the second concave piece to the opposite side. Place the pieces right sides together and pin in place, starting with the center and then the ends.
In the photo below, you can see that you are lining up the end of the second concave piece with the edge of the back ground fabric, rather than the edge of the orange curve.
Press
After sewing the second concave piece to the block, press the seam to the side before trimming.
Trim
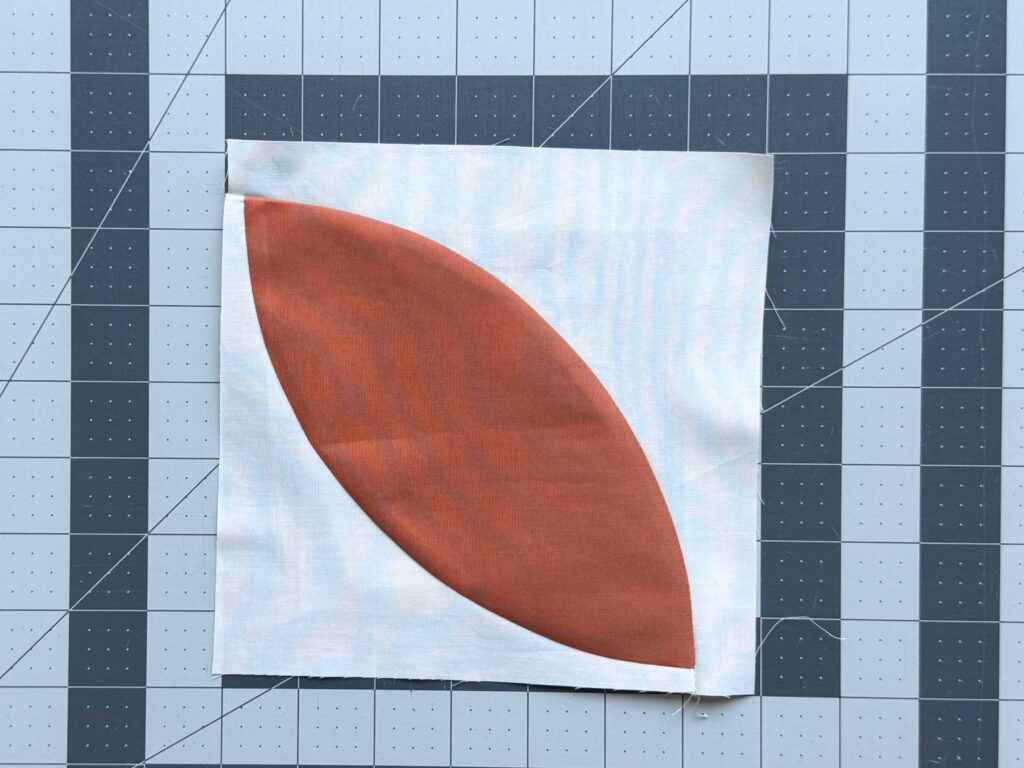
Trim the final orange peel block just as you did previously. Trim fabric from the two sides opposite the orange peel. Use a quilt ruler to square up the block as best as you can, leaving a 1/4″ (or more depending on the pattern instructions) seam allowance at the corners of the curve.
Top 7 Tips
- Check Template Scale
- Cut on the outer line. The inner line is the seam allowance.
- Iron and starch your fabric before cutting.
- Use a ruler while cutting and follow the cutting diagram for the most efficient use of fabric.
- Pin or glue baste.
- Sew slowly
- Have fun!
Conquer Curves Badge

Conquer Curves Badge
The Conquer Curves Badge is designed to challenge scouts by teaching them the advanced sewing technique of creating quilt blocks with curved seams. This badge promotes the development of precision and patience, encouraging scouts to tackle more complex designs in their quilting projects. Requirements Learn more about the requirements for this badge in the Guide Book. Badge…
Pin it for Later