Quilt Photography With a Smartphone
Hey Scouts! In this blog post, we’re going to explore quilt photography using nothing more than your camera phone. One of the joys of quilting is capturing the beauty of your finished quilts with a quality photo. It may feel like you need to be a professional photographer to capture the perfect photo, but the reality is… capturing stunning quilt photos can be done with just a smartphone camera and some intentional staging and edits.
Whether you’re documenting your latest creation for social media or preparing images for a juried show submission, mastering smartphone photography techniques can make a world of difference in showcasing your quilting adventures. With the latest mobile phones, an amateur photographer can now easily capture good-quality images with a few taps on their device. The high-resolution cameras, coupled with editing apps and filters, offer endless possibilities for perfecting quilt photos and getting the best possible results.
Tools Needed
- A Smartphone with a Camera
- Optional: Tripod
- Optional: White Foam Board
- Optional: Props
Composition
Background
Before you start a photo shoot, take some time to consider staging and composition. Choose a clean and clutter-free background that complements your quilt without overpowering it. I would suggest a neutral background, if possible. When shooting overhead, a light or white background is a good choice.
Below is an example of outdoor photos with a distraction-free background vs. a cluttered background. The only difference between these 2 photos is the camera angle. I simply dropped down a couple feet to make sure the houses and power lines were hidden behind the fence and only the sky was visible.
Distraction-Free Background
Cluttered + Distracting Background

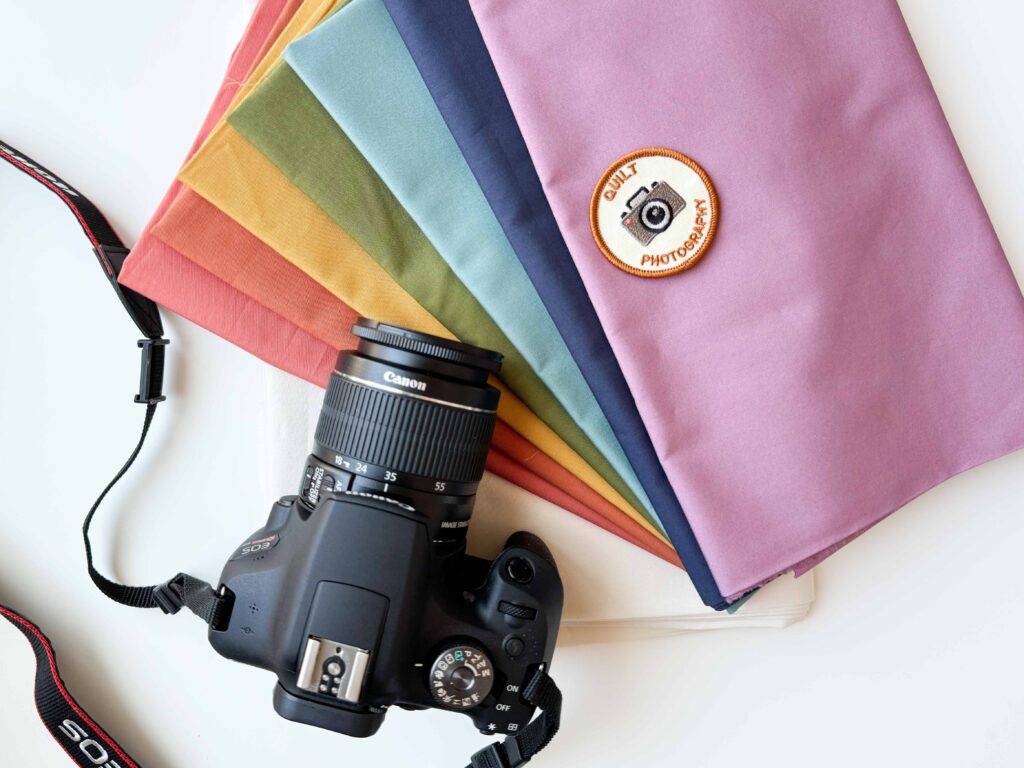
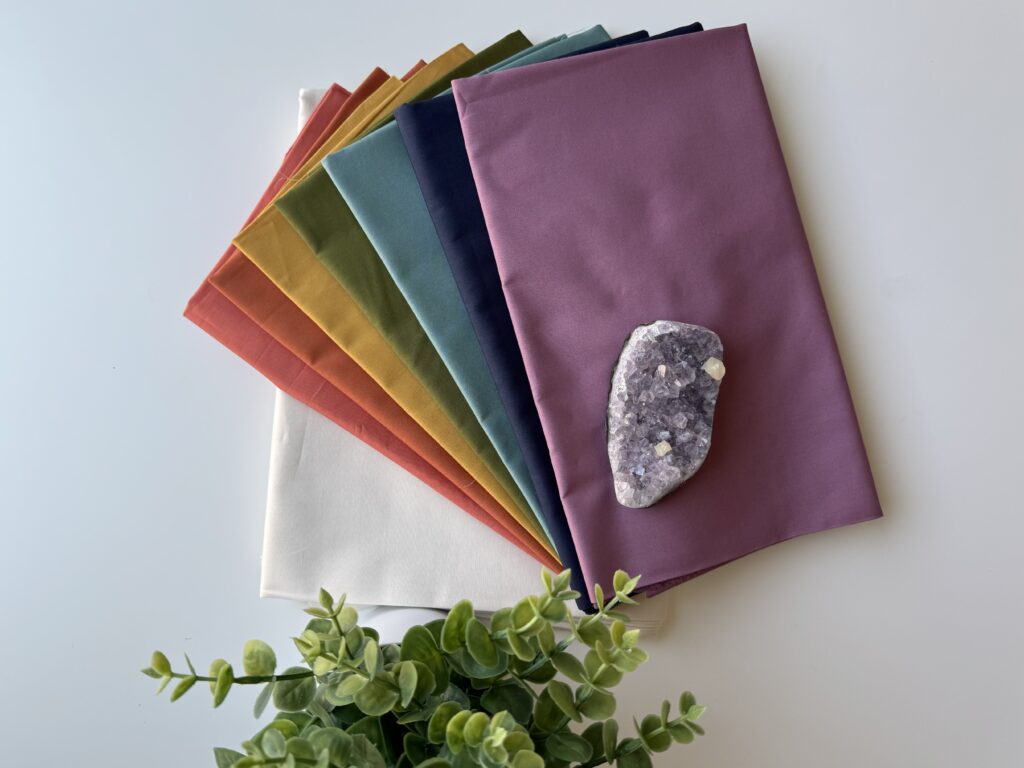
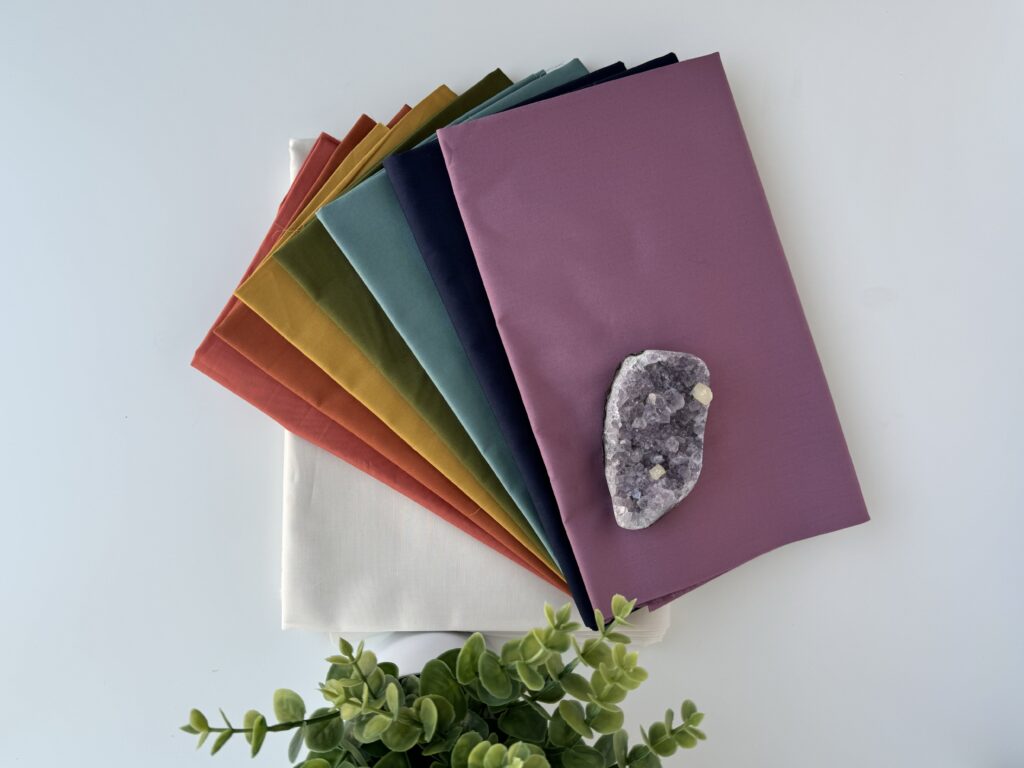
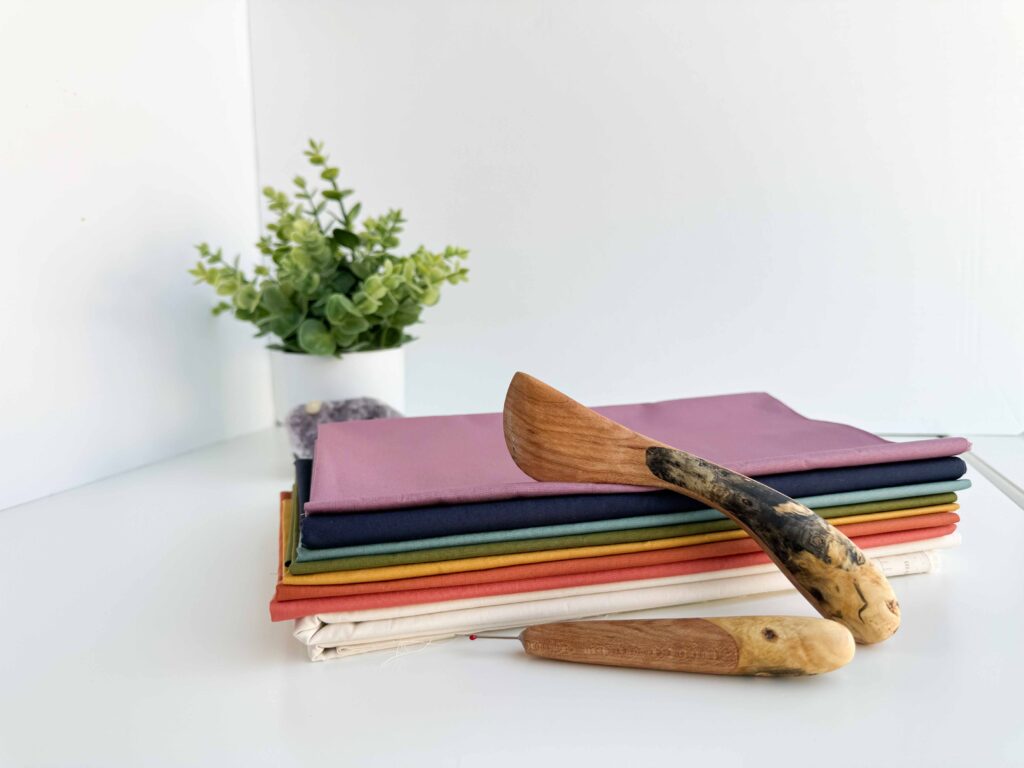
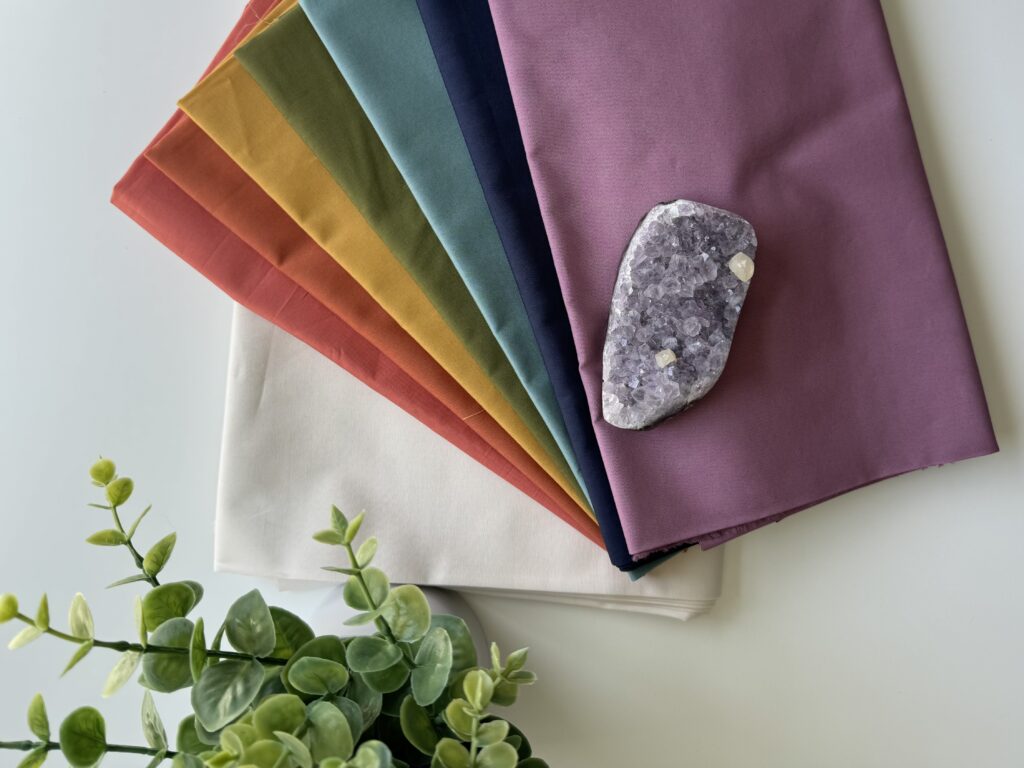
Props
Use props sparingly to add to the overall aesthetic without distracting from the main attraction. Sewing and quilting notions are a great addition to overhead, curated photos like fabric pulls and single blocks. I also love to use seasonal items from my home decor, plants, coordinating fabrics and threads. Another great option is show the item as it’s intended to be used, like the quilted tote bag with the books.


Style
I love to set up styled lifestyle shots like draping a quilt over the foot of a bed or hanging over a quilt ladder. Get creative and use what you have in your home!
Rule of Thirds
Remember the rule of thirds: mentally divide your frame into thirds both horizontally and vertically, and place the most important elements of your composition along these lines or at their intersections for a balanced look. Many camera phones automatically provide this 3×3 grid on the camera viewer. If this balanced look isn’t accomplished when taking the photo, you can always correct this when cropping your photo.

Lighting
Good lighting can make or break your quilt photos. I would argue that lighting is the single most important factor in capturing great photos of your quilts.
Indoor Lighting
When taking indoor photos, it’s important to pay close attention to several factors. First, natural light is the best light. Artificial light from a lamp or ceiling light can distort the colors of your photo and cause a yellow cast. Aim to shoot your quilts during the day near a window to take advantage of soft, diffused light. Avoid direct sunlight, which can create harsh, unflattering shadows and wash out the colors of your quilt.
Near a Window with Direct Light

No Natural Light; Artificial Overhead Light Only

Near a Window with Indirect Light

Pro Tip:
Sometimes you may find that your light source is causing a shadow on parts of your photo. One of my favorite tricks is to use white foam poster boards to reflect light onto areas that need a little extra brightening. In the example below, the first photo was taken near a window with indirect light. It’s not bad, but you can see there are some shadows being cast from the light coming in from the window at the right side of the photo. The second photo was taken at the same time, but with white foam poster board propped up at the bottom and right of the photo to reflect the light coming in from the window. This helps minimize any extra shadows and bring a more balanced light. Don’t be afraid to experiment with different lighting setups to find the one that best showcases the texture and colors of your quilts.
Without White Foam Poster Board
With White Foam Poster Board
The Set-Up

Outdoor Lighting
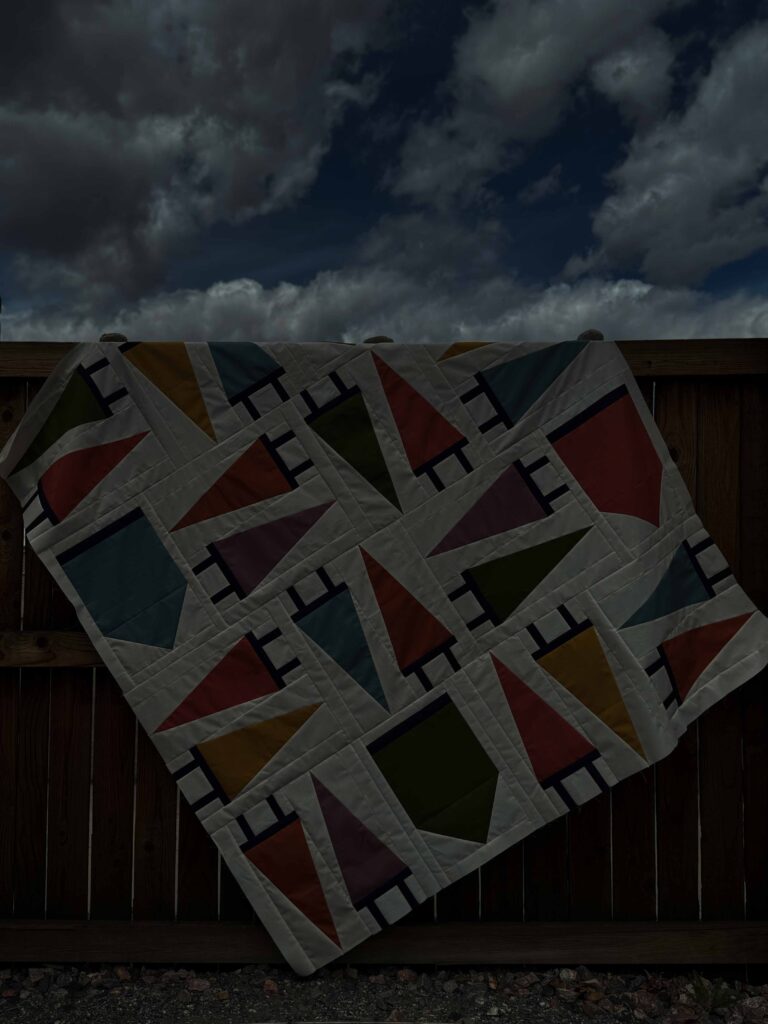
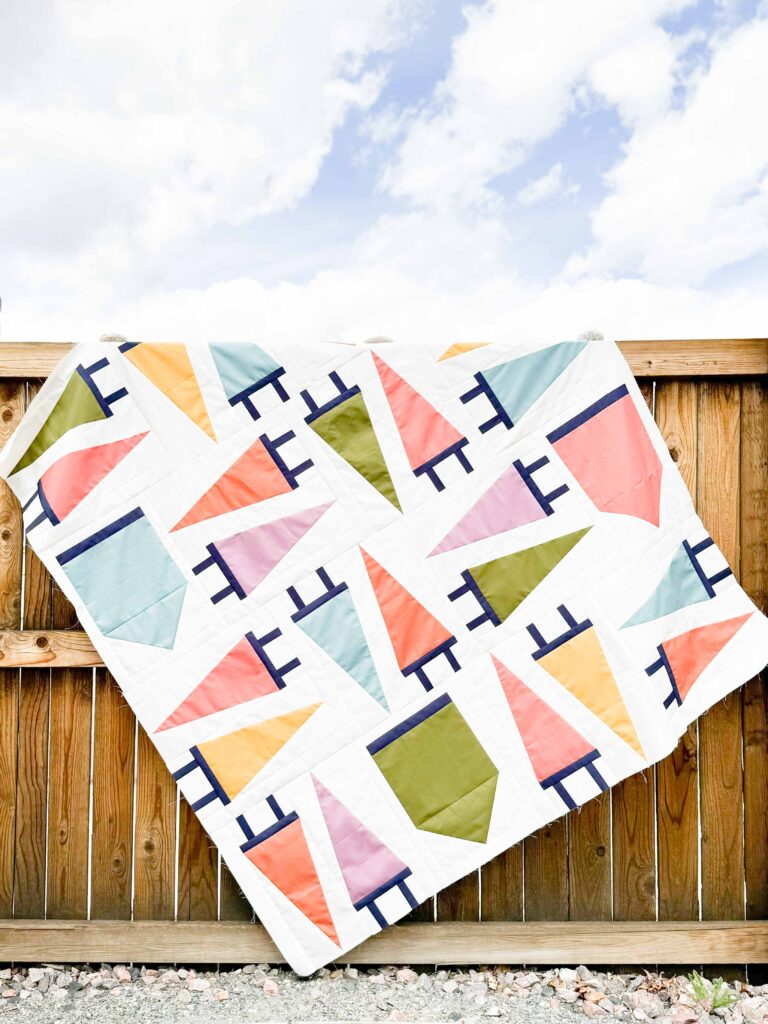
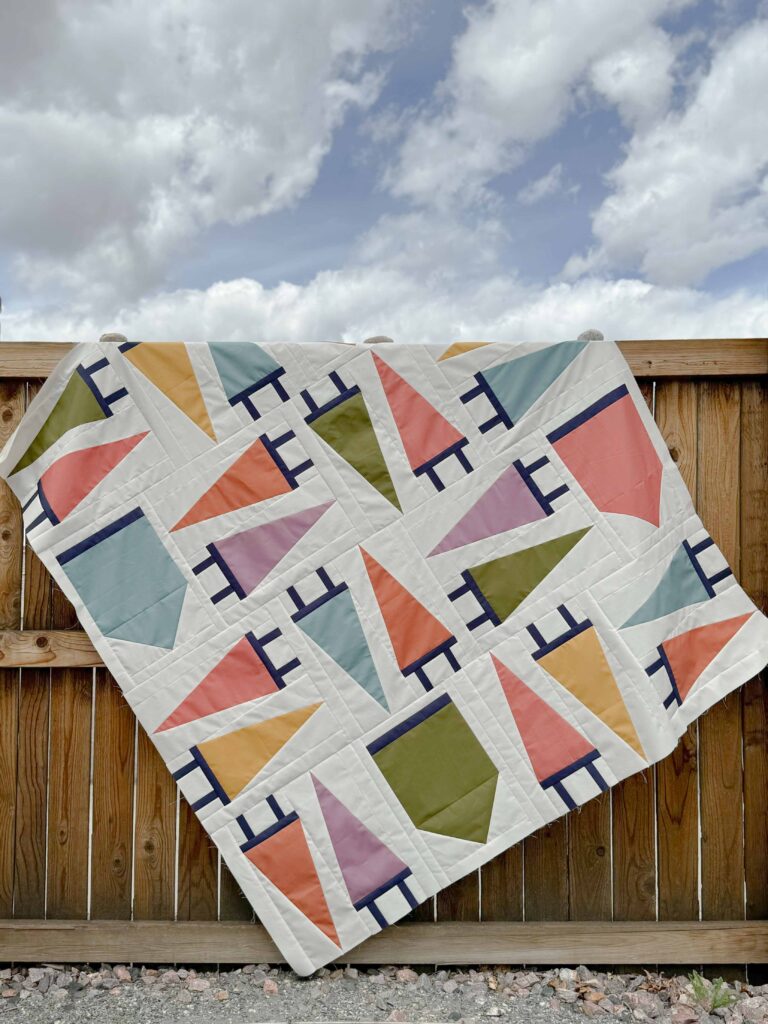
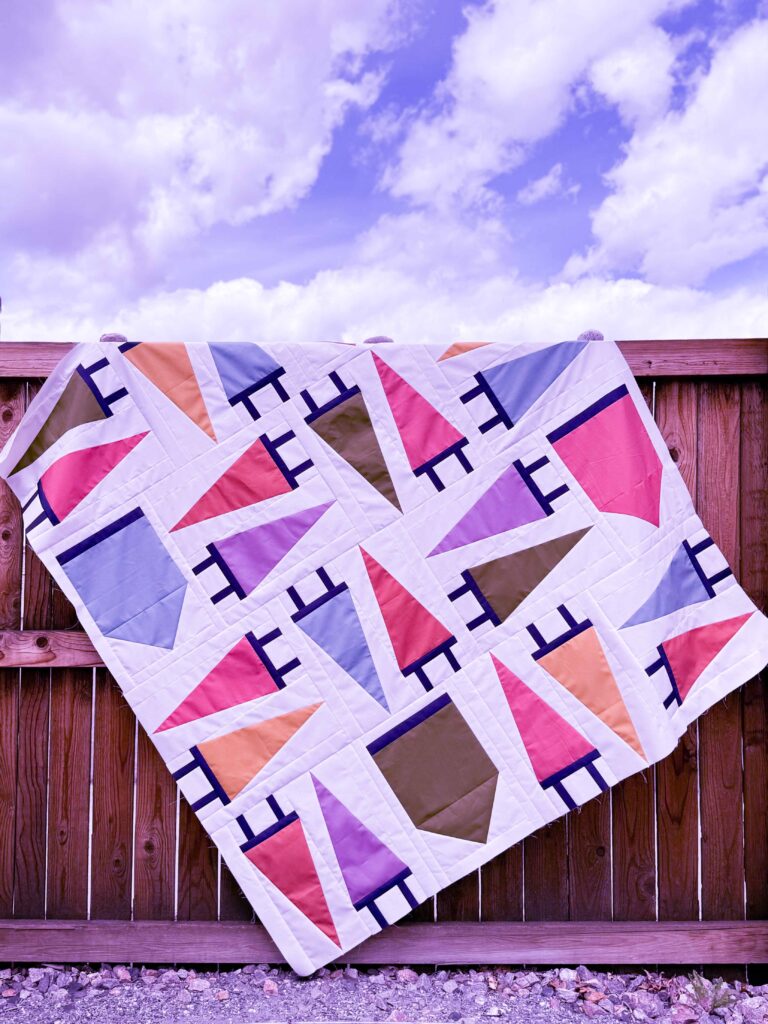
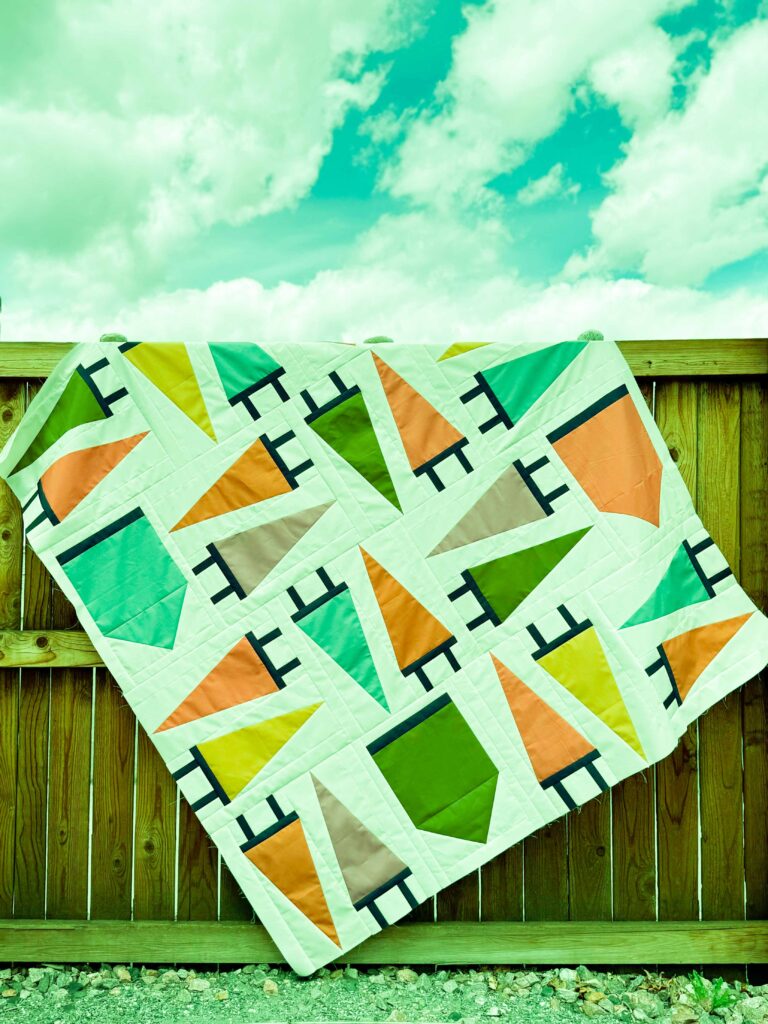
When taking photos outdoors, an overcast day or cloudy day is your best friend. Similar to taking indoor photos, bright sunlight can create unflattering shadows and wash out the colors of your quilt. If full sun is unavoidable, the best place to get diffuse light is in a shady area, like under a tree canopy or in the shadow of a building. Another option is to take photos during the time of day when the sun is at its lowest. In photography, this is called the “golden hour” and is in the late afternoon, shortly before sunset, or in the early morning, shortly after sunrise. Below are some example of outdoor quilt photos, taken on the same day.
Full Sun + Harsh Shadows

Overcast + Unedited

Overcast + Edited with Adobe Light Room App

Phone Settings
Clean Your Camera Lens
The very first thing I recommend is to clean your camera lens! This is an often-forgotten step that makes a world of difference in the quality of your photos. Our camera phones tend to get smudged with fingerprints, so cleaning the lens often while taking photos is crucial.
Turn Off Flash
Next, turn off the flash. Using a flash with your photos will negate all the efforts you made to find the perfect natural light.
Focus
Right before taking your photo, tap the subject on the screen to make sure it is in focus.

Photo Mode vs. Portrait Mode
When taking your photo, choose either Photo or Portrait Mode. Both are great options. The difference is that Portrait Mode will blur the background giving more focus to your subject. This can create some beautiful results and is worth experimenting with. In the examples below, the photo on the left is taken with portrait mode, while the photo on the right is taken with standard photo mode.
Portrait Mode
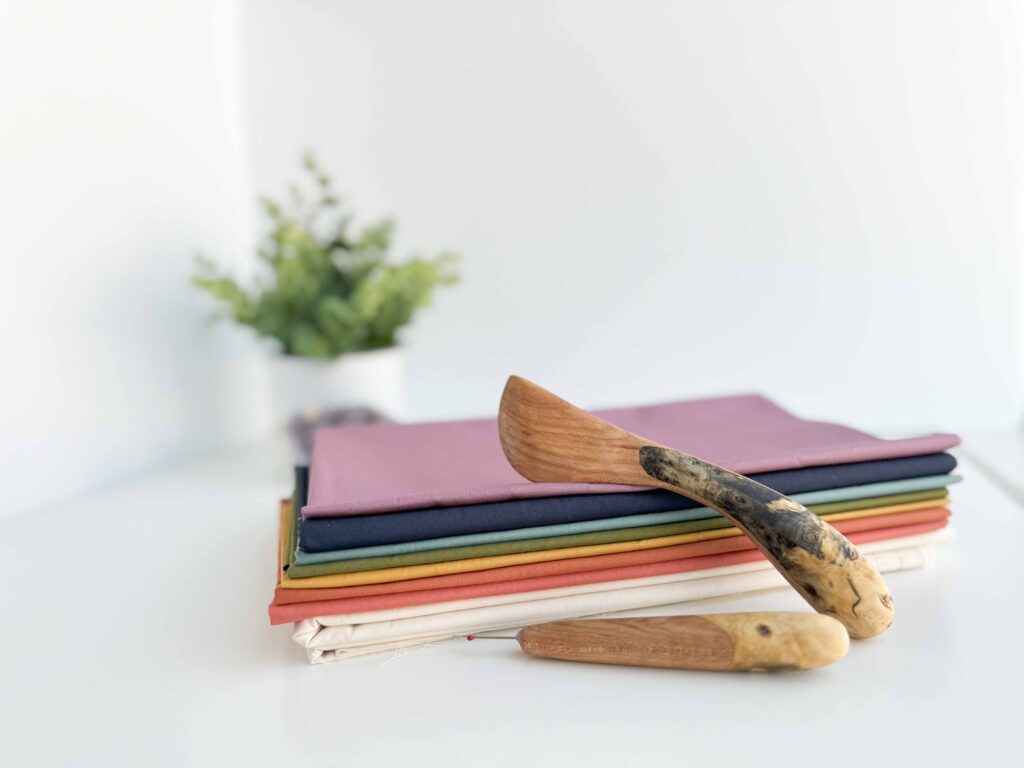
Photo Mode
Aperture (iPhone)
While using an iPhone in portrait mode, you will have the option to set your aperture, aka focal length, aka f-stop, using a scale of 1.4 to 16 This part of photography can get a little technical, but essentially this will determine how much of your photo is in focus and how much of the background is blurred. The smaller the f-number the more shallow your depth of field and therefore more of your background will be out of focus. The larger the f-number, the larger your depth of field and therefore more of your background will be in focus.


Blur (Android)
While using an Android phone in portrait mode, you will have the option to adjust the amount of blur using a scale of 0-7. The smaller the number, the less blurred the background will appear. The larger the number, the more blurred the background will appear.


Shot List
Below is a list of some styled photos you can set up:
Whole Quilt
Overhead photos with a quilt top folded, swirled, or spread out on the floor; or outdoors with a quilt holder.
Lifestyle Shots
Style a quilt at the foot of a bed, hung on a ladder, or draped over a chair or large basket.
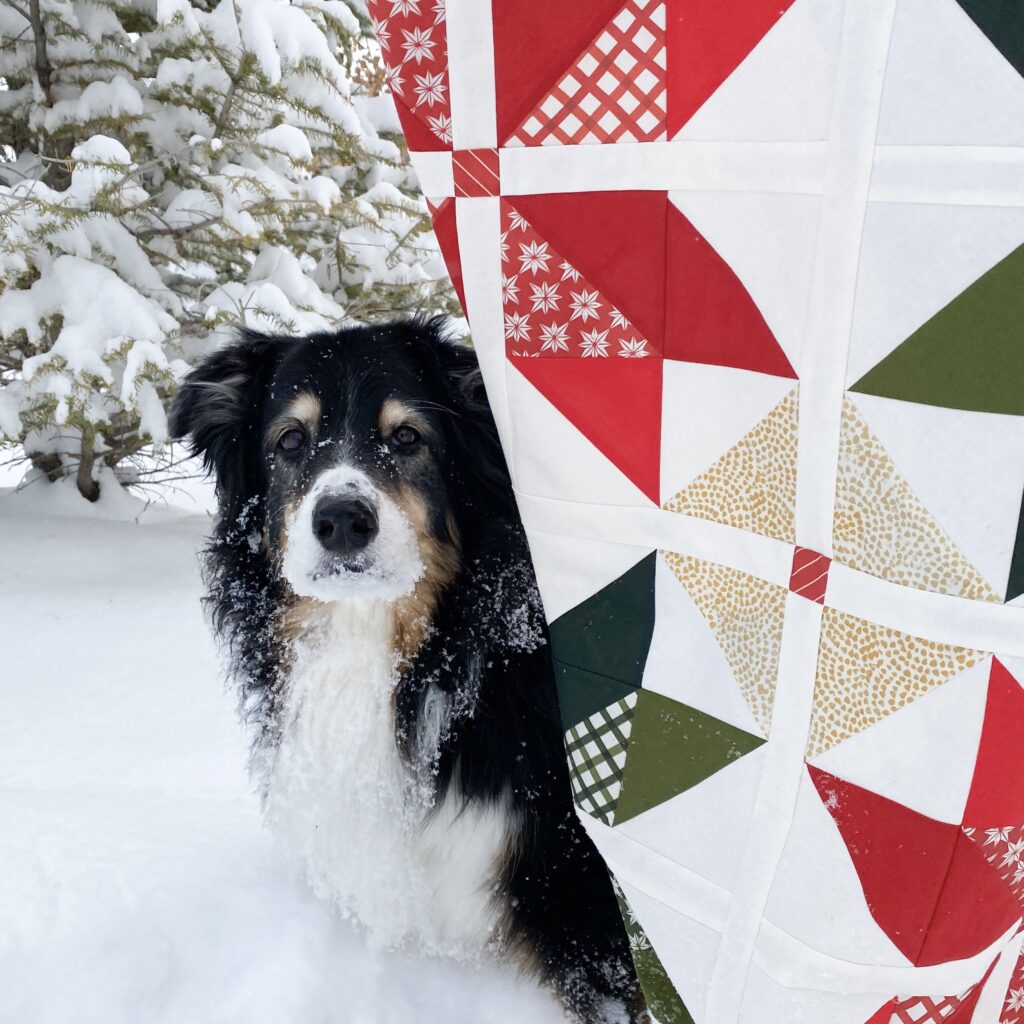
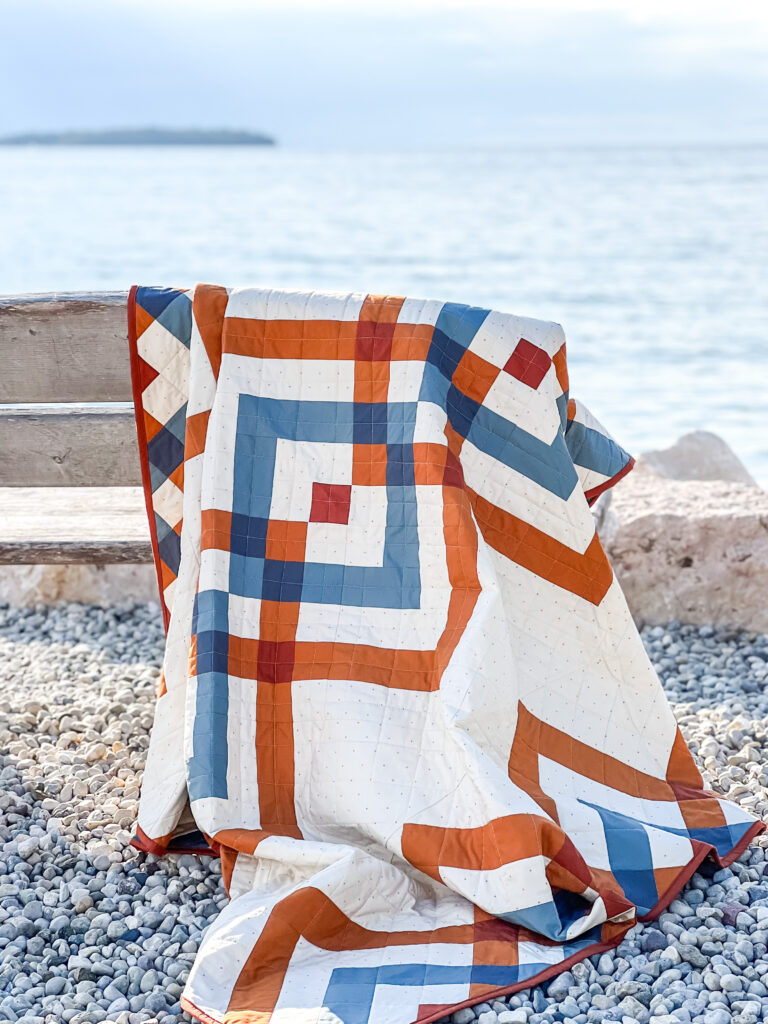
Photo Credit: Abby Luchsinger @abbymaed
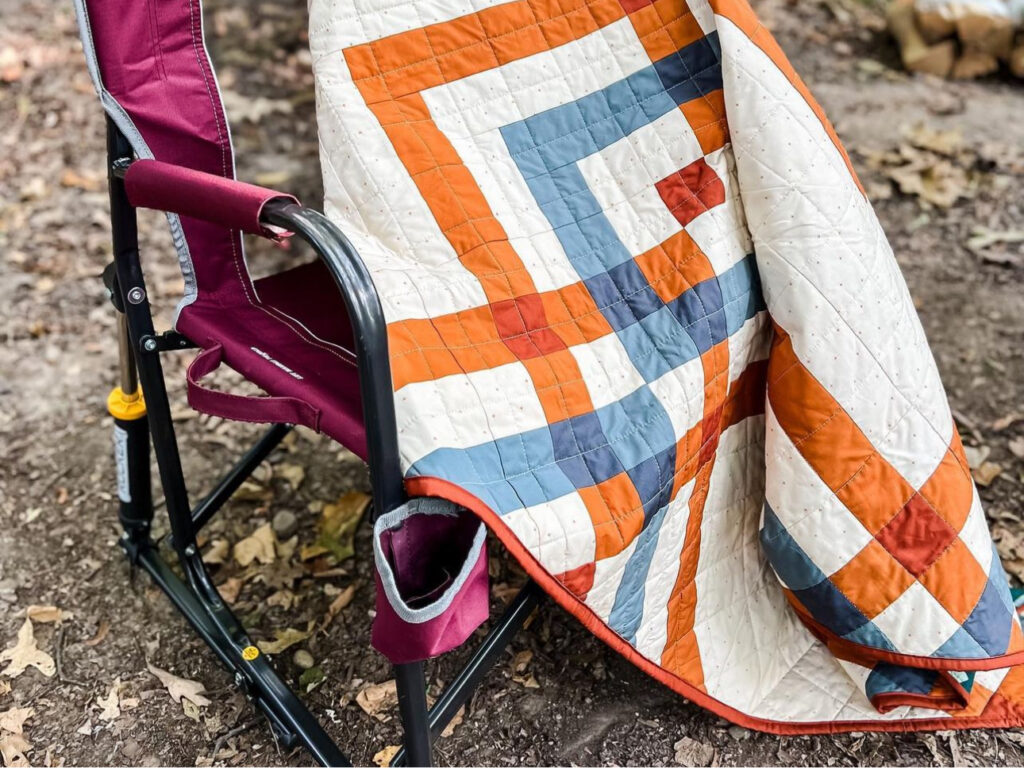
Photo Credit: Abby Luchsinger @abbymaed
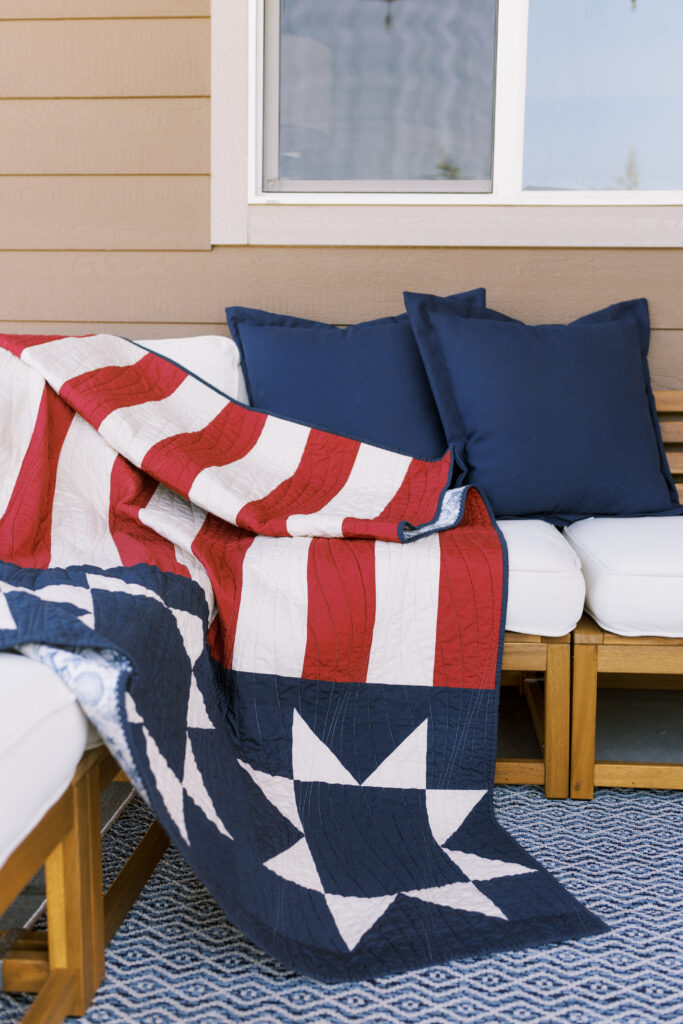
Photo Credit: Melanie Zacek for Quiltfolk Magazine
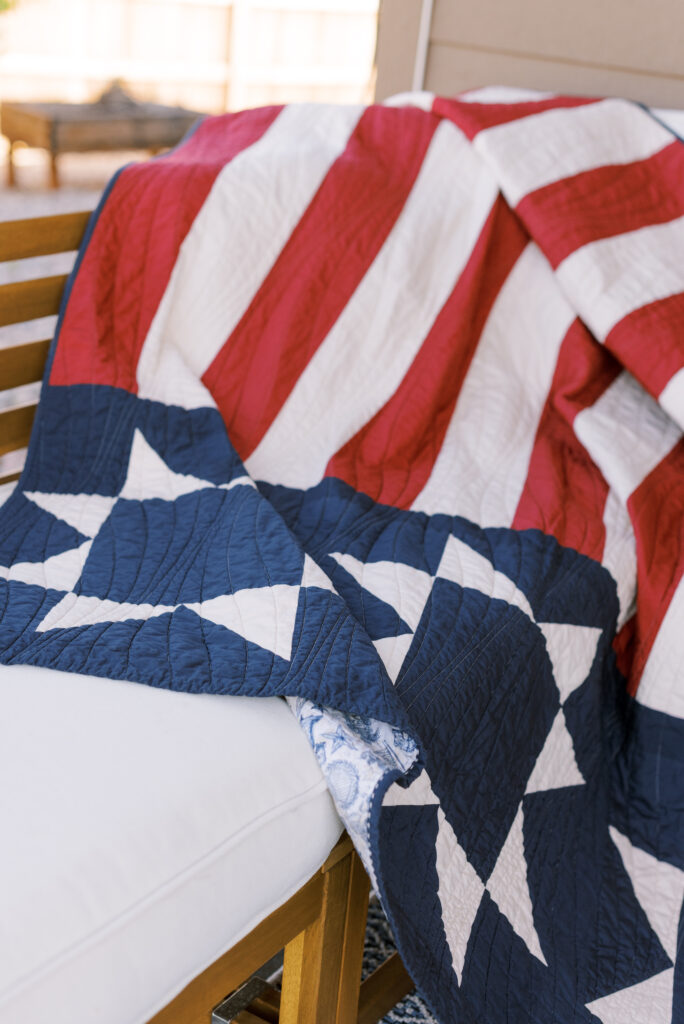
Photo Credit: Melanie Zacek for Quiltfolk Magazine
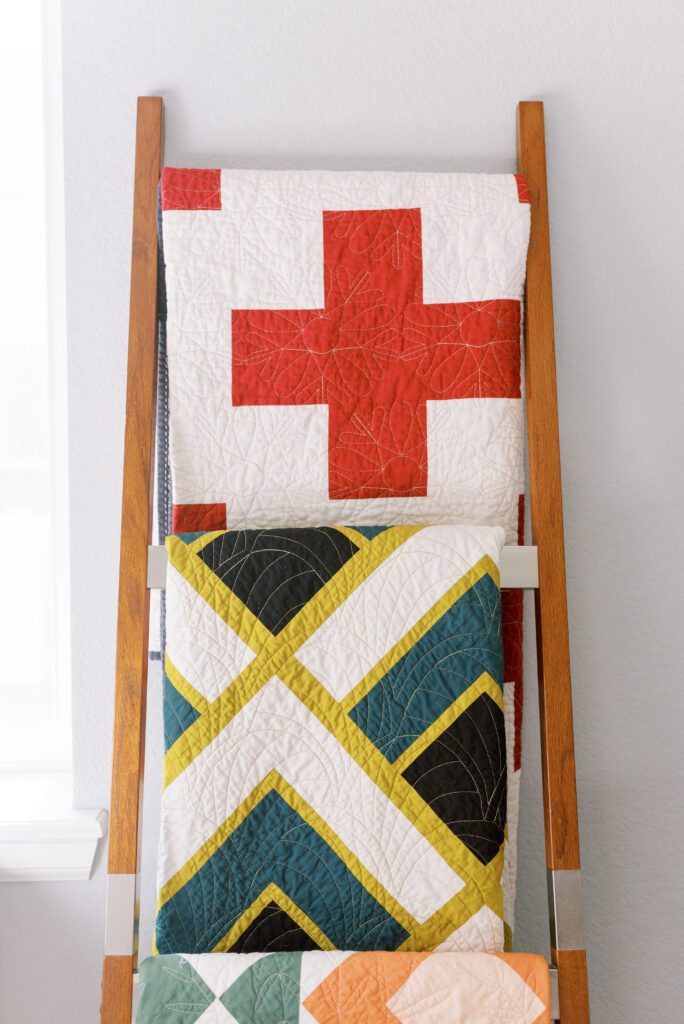
Photo Credit: Melanie Zacek for Quiltfolk Magazine
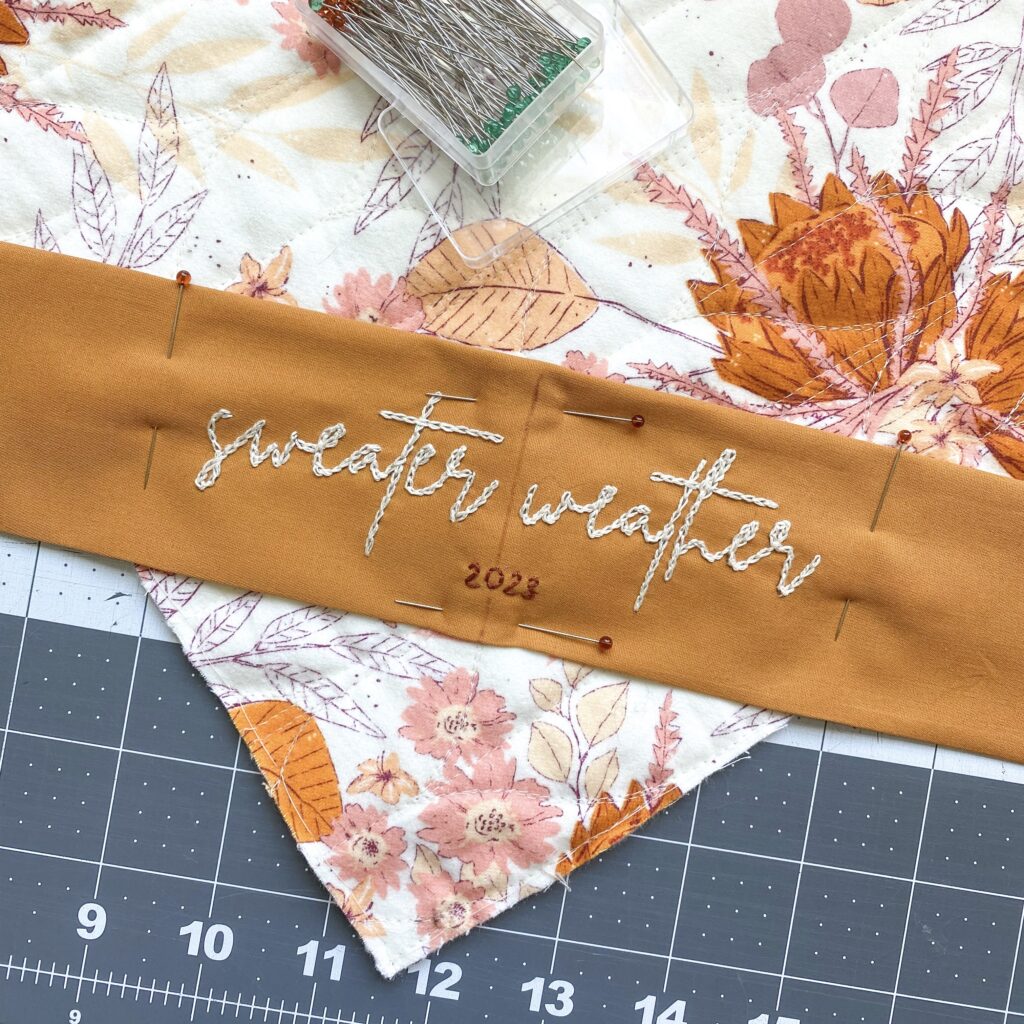
Quilt Details
Capture close-up photos to show the quilting, binding, or a special label.

Photo Credit: Angela Armstrong @angelaarmstrongcreative for Trace Creek Quilting @tracecreekquilting
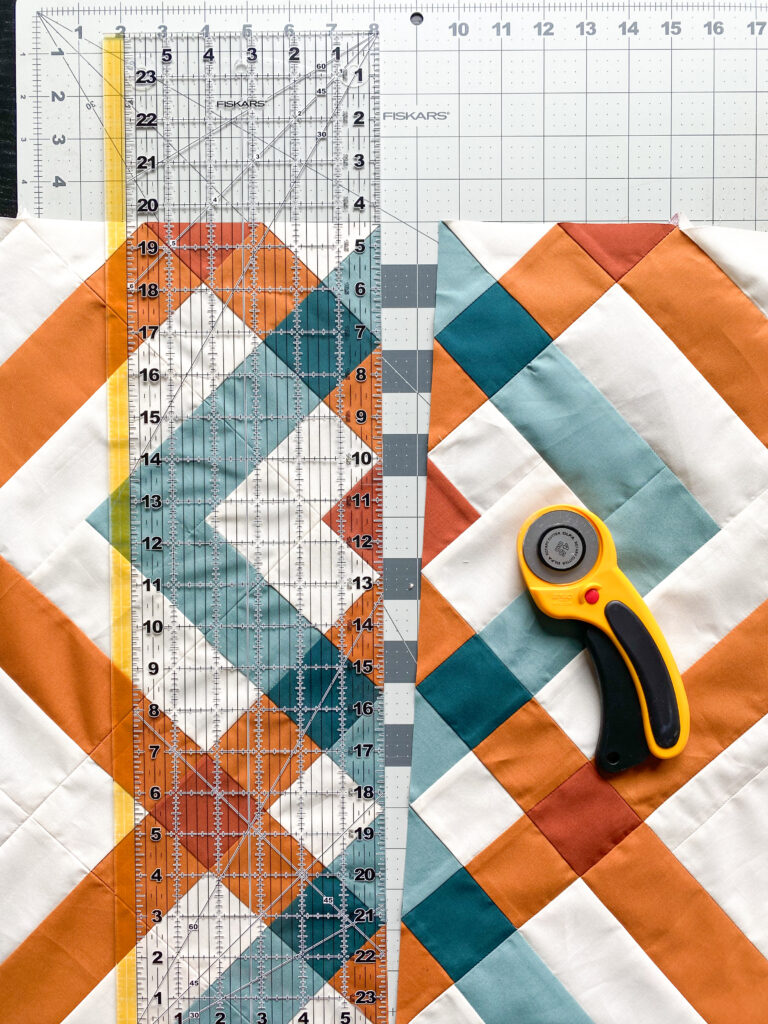
Process Shots
Show your fabric pull, cut fabric pieces, or a finished quilt block.
Editing
Photo Editing Tools
Once you’ve captured your quilt photos, it’s time to polish them up. You can really improve the quality of the image by making some minor adjustments. You can simply use your smartphone’s built-in editing tools or use an app like Canva or Adobe Lightroom Mobile to import and edit.
Adjust Lighting + Color
Regardless of the editing tool you use, they will all have the same features. Here are the ones I use most commonly:
Exposure
Exposure is the brightness of the photo. More exposure will create a lighter and brighter photo. Too much exposure will cause your photo to appear washed out. Less exposure will create a darker and moodier photo, however too little exposure will cause the photo to be too dark.
Low Exposure
High Exposure
Contrast
Contrast is the difference between the lights and the darks in your photo.
Low Contrast
High Contrast

Temperature
Temperature determines how warm (yellow) or cool (blue) the colors are. Adjusting temperature can be especially helpful when trying to correct any “yellow” in a photo.
Warm (Yellow)
Cool (Blue)

Tint
Adjusting the tint will correct for the amount of green and magenta present in a photo.
Magenta
Green
Examples
In the example below, you can see an example of a well-taken, but unedited photo, versus a photo that has been edited slightly. The photo on the left is unedited. The photo on the right was edited using LightRoom. The exposure was adjusted to lighten the overall photo. Be careful not to over-edit; aim for natural-looking enhancements that accurately represent your quilt’s colors and details!
Unedited
Edited

Cropping
Next, crop your photos to remove any distractions and focus attention on the subject of your photo. This is where you should remember the rule of thirds. The rule of thirds is a composition guideline that places your subject in the left or right third of an image, leaving the other two-thirds more open. This is not a hard and fast photography rule (as if those exist) but it’s an easy way to add some interest to a photograph. Below is an example of an uncropped vs. cropped photo.You can see the cropped photo brings the focus in slightly and adds some more interest.
Uncropped

Cropped

Experiment and Have Fun
With these tips and techniques in mind, you’re well on your way to capturing stunning quilt photos with nothing more than your smartphone. Remember to practice, experiment, and above all, have fun showcasing your quilt creations to the world! There’s no harm in taking lots and lots of pictures. The beauty of a smartphone is that you can always delete the photos you don’t love.
Mastering the art of quilt photography with your smartphone opens up a world of possibilities for sharing your quilting adventures with others. By following the photography tips outlined in this guide, from staging and composition to understanding lighting and editing, you can elevate your quilt photography game to new heights. Remember, the beauty of smartphone photography lies in its accessibility and versatility, allowing you to capture stunning images with just a few taps of your screen. So grab your phone, get creative, and start snapping those quilt photos that will surely inspire and delight your fellow quilters everywhere. Happy quilting and happy photographing!
Pin it for Later


