

Sewing curves can feel intimidating, but mastering quilt blocks with beautiful curves opens up a world of creative possibilities. Whether you’re tackling a quarter circle for a Drunkard’s Path block or experimenting with different ways to piece fabric together, curved quilt patterns bring depth and movement to modern quilts. Precision is key when cutting fabric pieces, and using a paper template ensures accuracy for each curved block. In this guide, we’ll walk you through essential curve-sewing techniques, from cutting with templates to stitching smooth curves with confidence. By the end, you’ll have the skills to conquer curved quilting projects, no matter your personal preference in design!
Table of Contents
- About the Badge
- Free Cactus Jack Quilt Block Pattern
- Curve Tutorials
- Part 1: How to Cut Fabric using Paper Templates
- Part 2: How to Sew a Quarter Circle Quilt Block (Drunkard’s Path)
- Part 3: How to Sew a Half Circle
- Part 4: How to Sew an Orange Peel
- Bonus: How to Cut Fabric Using a Cricut
About the Conquer Curves Badge
The Conquer Curves Badge is designed to challenge scouts by teaching them the advanced sewing technique of creating quilt blocks with curved seams. This badge promotes the development of precision and patience, encouraging scouts to tackle more complex designs in their quilting projects.

Conquer Curves Badge Requirements
- Learn about the different types of curved quilt blocks, such as Drunkard’s Path or Orange Peel.
- Understand the tools and techniques required for accurate cutting and sewing of curved pieces, including the use of templates and special sewing feet.
- Demonstrate the ability to sew smooth, even curved seams without puckering.
- Create at least three different types of curved blocks, focusing on maintaining an even seam allowance and alignment throughout.
- Bonus: Assemble these blocks into a small project, such as a wall hanging, table runner, or cushion cover, showcasing your new skill.
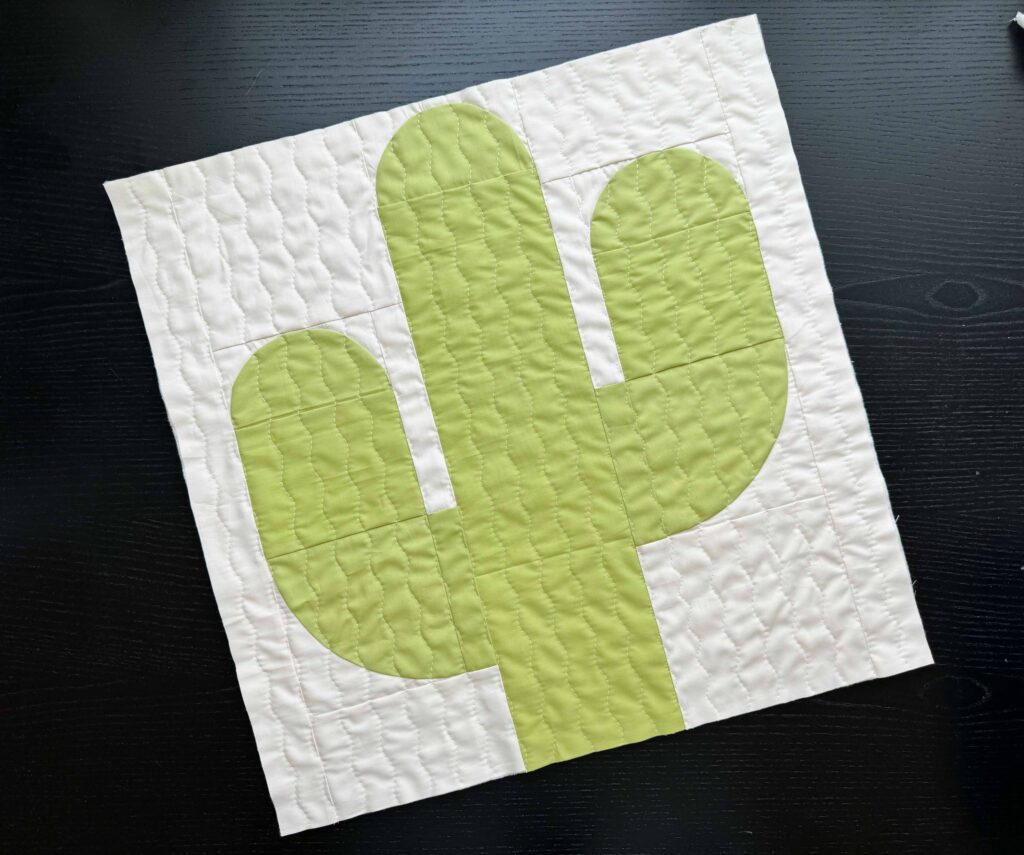
Cactus Jack Quilt Block Pattern
The Cactus Jack pattern is a free quilt block pattern for Quilt Scouts members. It offers the perfect opportunity to practice piecing two different types of curves: the quarter-circle block, also known as the Drunkard’s Path, and the slightly more difficult half-circle block.
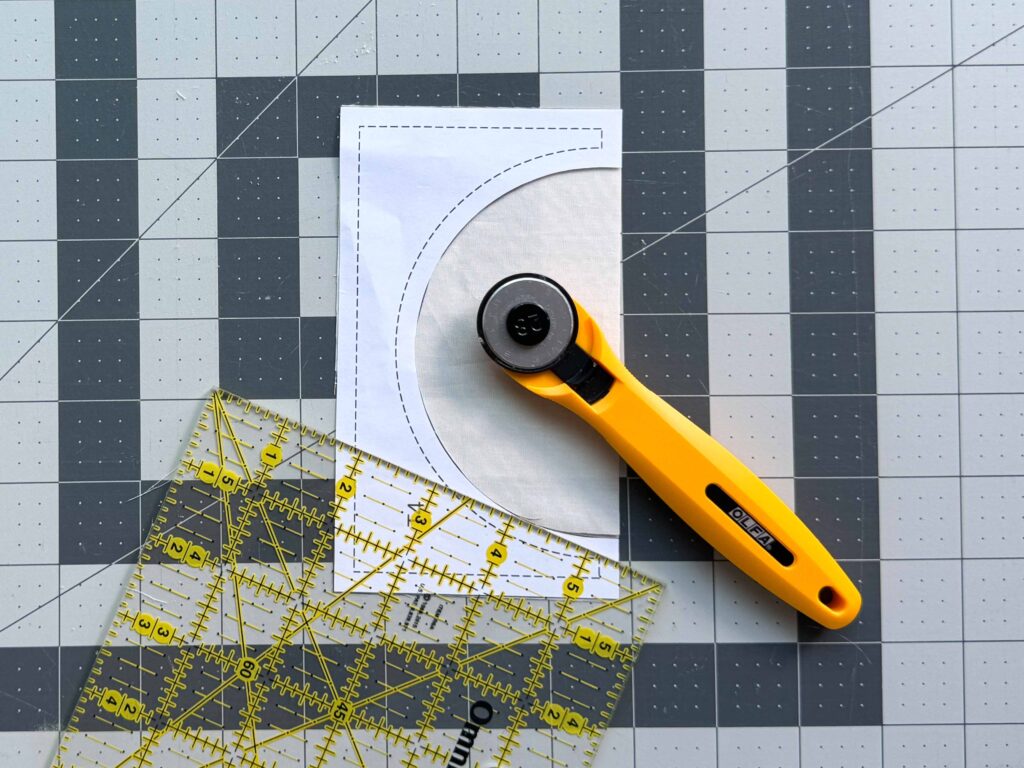
Part 1: How to Cut Fabric Using Paper Templates
In this post, we’re diving into how to cut fabric pieces using paper templates—a super handy skill that makes precision piecing a breeze. So grab your templates, fabric, and rotary cutter, and let’s get started!
Step 1: Print and Check Your Templates
Before you start cutting, make sure your paper templates are printed to scale.
- Look for the 1-inch test square on your template.
- Lay an acrylic ruler over it to confirm that it measures exactly 1 inch by 1 inch.
- If it’s off, check your printer settings and reprint at 100% scale (no shrinking or enlarging!).
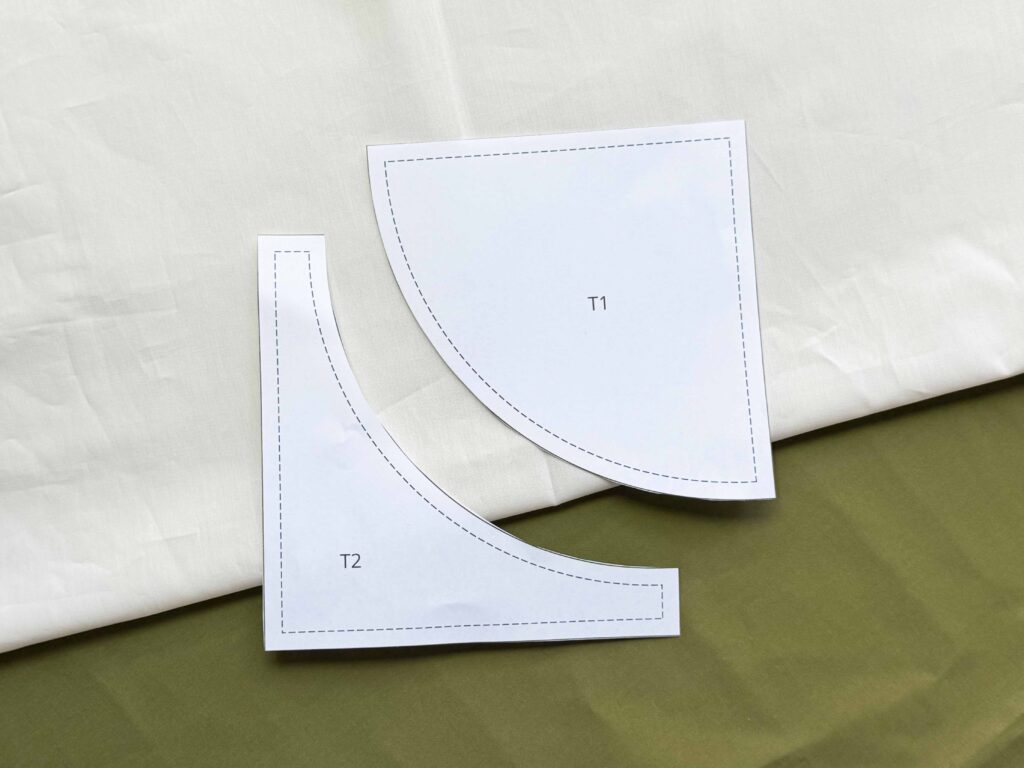
Step 2: Cut Out Your Paper Templates
Once your templates are correctly printed, cut them out using either a rotary cutter or scissors.
- Cut along the outer edge of the template.
- Most templates will have an inner line marking the seam allowance—don’t cut along this line!
Step 3: Prepare Your Fabric
Before placing your template on the fabric:
- Iron your fabric to remove wrinkles.
- Lay it out nice and flat on your cutting surface.
- Arrange your fabric for the most efficient cuts (less waste = more fabric for future quilts!).
Step 4: Position and Secure the Template
Place the paper template on your fabric and hold it in place.
Here’s a pro tip:
Lay a small acrylic ruler on top of the template while cutting. This helps:
- Keep straight lines crisp.
- Prevent fabric and paper from shifting.
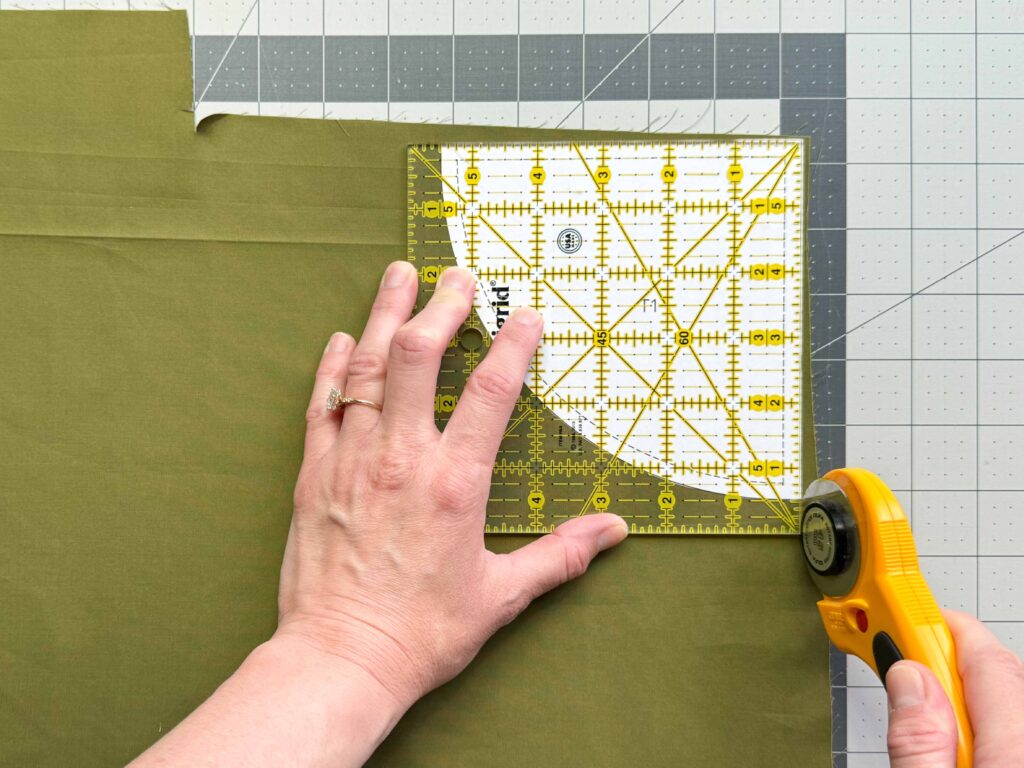
Step 5: Cut the Fabric Pieces
Start by cutting the straight edges first, then move on to the curved edges.
For curved cuts:
- Instead of cutting right on the template’s outer edge, align your ruler’s ¼-inch marking with the template’s seam allowance line.
- Use your ruler as a guide and slowly cut with your rotary cutter for a smooth, continuous curve.
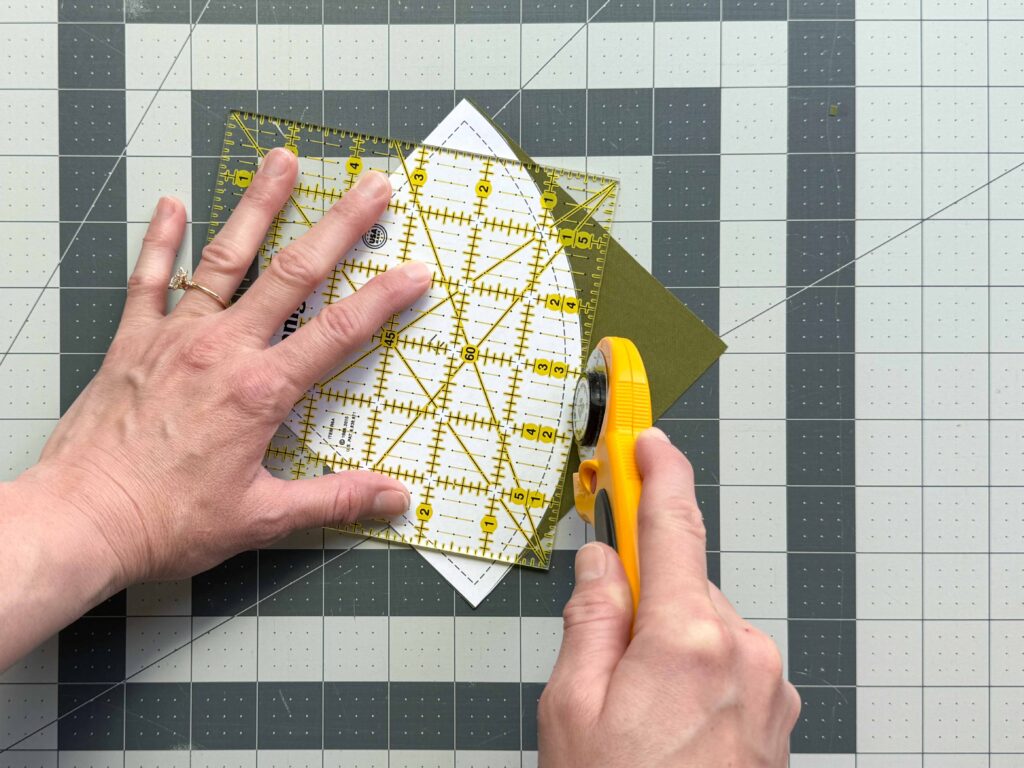
Cutting Smaller Curves? Use a 28mm rotary cutter for better control—especially for curves with a 2.5″ to 3″ radius (like semicircles!).
Step 6: Cutting Concave Pieces
For shapes like the Orange Peel unit, you’ll need two matching concave pieces.
- Fold your fabric in half before placing the template.
- Cut both pieces at once to save time and ensure perfect symmetry.


+ show Comments
- Hide Comments
add a comment