

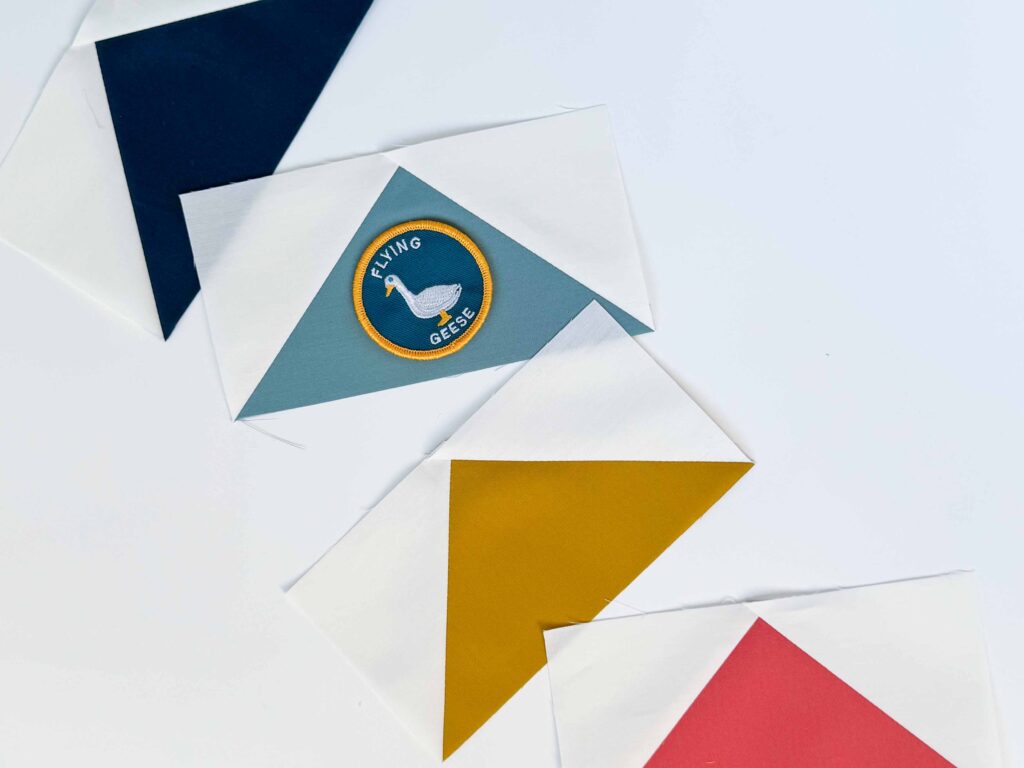
Flying Geese quilt blocks are a staple in quilting. They add movement, contrast, and versatility to designs. But making them can get a little… tricky. The challenge? Some methods create waste, others require precision, and some are just time-consuming. If you’ve struggled with bias edges, fabric waste, or accuracy, you’re not alone.
Luckily, there are multiple ways to construct Flying Geese blocks, each with its own pros and cons. Whether you want a no-waste method, a quick approach, or a foolproof technique, there’s a method for you. In this guide, you’ll learn five different ways to make Flying Geese blocks, complete with step-by-step instructions, tips, and video tutorials. Let’s get started!
Table of Contents
- About the Badge
- Downloadable Flying Geese Formula Charts
- Construction Methods
- Method 1: Traditional Construction
- Method 2: Stitch + Flip Method
- Method 3: No-Waste Method
- Method 4: Eleanor Burns Method
- Method 5: Foundation Paper Piecing
- How to Trim Flying Geese Blocks Video Tutorials
- Regular Quilting Ruler
- Creative Grids Ultimate Flying Geese Tool
- Bloc_Loc Flying Geese Rulers
- Quilt in a Day Flying Geese Ruler
About the Badge
The Flying Geese Quilt Badge aims to enhance Scouts’ precision and technique in quilting by mastering the Flying Geese block, a popular and versatile quilt block. This badge encourages the development of meticulous cutting, piecing, and sewing skills.
Badge Requirements
- Understand the mathematics and geometry involved in creating perfect Flying Geese blocks, including how to calculate fabric dimensions.
- Demonstrate the ability to cut fabric accurately using the proper tools and techniques.
- Sew multiple Flying Geese blocks, focusing on maintaining uniformity in size and shape, and perfect alignment of points.
- Construct a mini quilt or a quilted item that incorporates Flying Geese blocks into its design.
This post may contain affiliate links, which means that I may earn a small commission if you make a purchase using these links. As an Amazon Associate, I earn from qualifying purchases.
Amazon Storefront
Flying Geese Must-Haves – Shop My Amazon Picks!
Flying Geese Formula Charts
This Flying Geese PDF includes charts for 4 different construction methods — including: Traditional, Stitch + Flip, Zero-Waste, and Eleanor Burns’ method. 🤓 Each chart has formulas for sizes 1” x 2” to a jumbo 7.5” x 15”. I even included an extra chart for the Stitch + Flip method in case you like a little extra room for trimming (It’s me. I like extra room for trimming 🙋♀️)
Method 1: Traditional
This method is the most obvious and straight forward approach — piecing 3 triangles together. Even though this method is the most basic, it can be a bit tricky because of the bias edges of the triangles.
👍 Pros: No waste. No trimming.
👎 Cons: Only produces 1 Flying Geese block at a time. Triangles have bias edges.
How to Construct Flying Geese with the Traditional Method
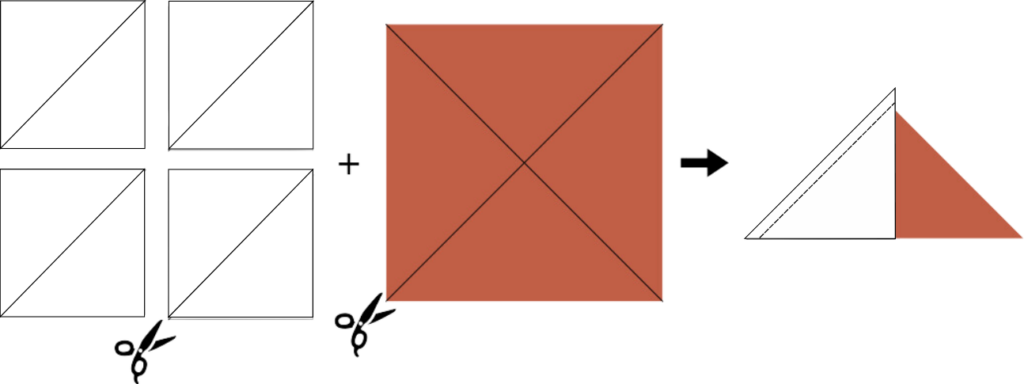
- Start with 4 small squares and 1 large square.
- Cut the large square in half diagonally. Cut in half again to make 4 large triangles.
- Cut the 4 small squares in half diagonally to make 8 small triangles.
- Place 1 small triangle on top of 1 large triangle and align the lower left corners as shown. Sew along the edge using a ¼” seam allowance.
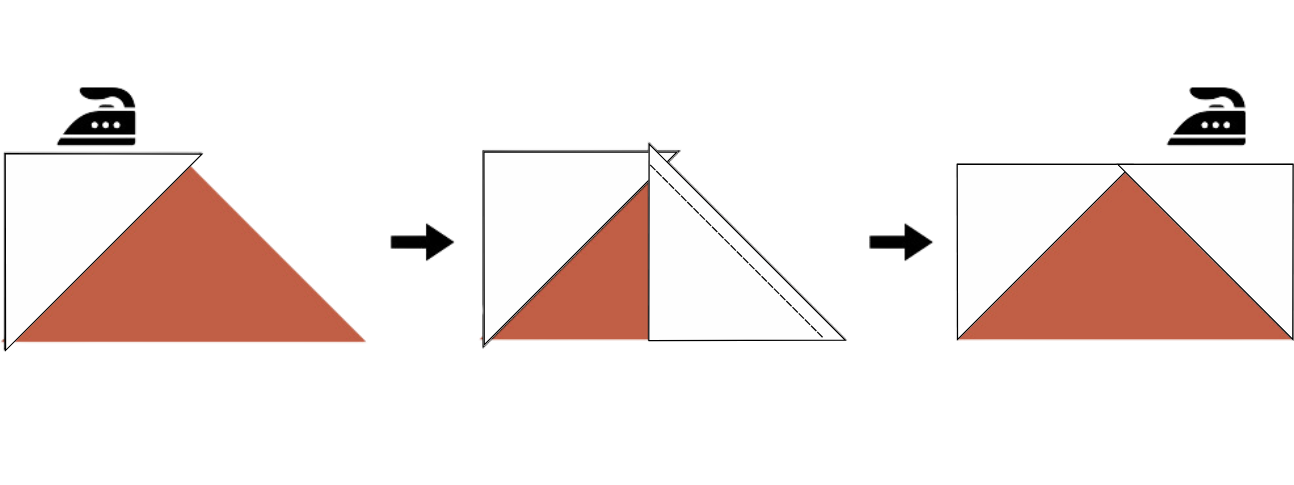
- Flip open and press.
- Repeat steps 4 and 5 with the another small triangle on the opposite side.
- Repeat steps 4-6 to make 4 flying geese blocks.
- Trim the dog ears using scissors or a rotary cutter.
Video Tutorial
Troubleshooting + Tips
- This method creates bias edges which can stretch. Starch and press your fabrics before cutting to minimize any stretch.
- Pin in place before sewing.
- Use a scant ¼” seam
- Take extra care when pressing seams.


+ show Comments
- Hide Comments
add a comment