

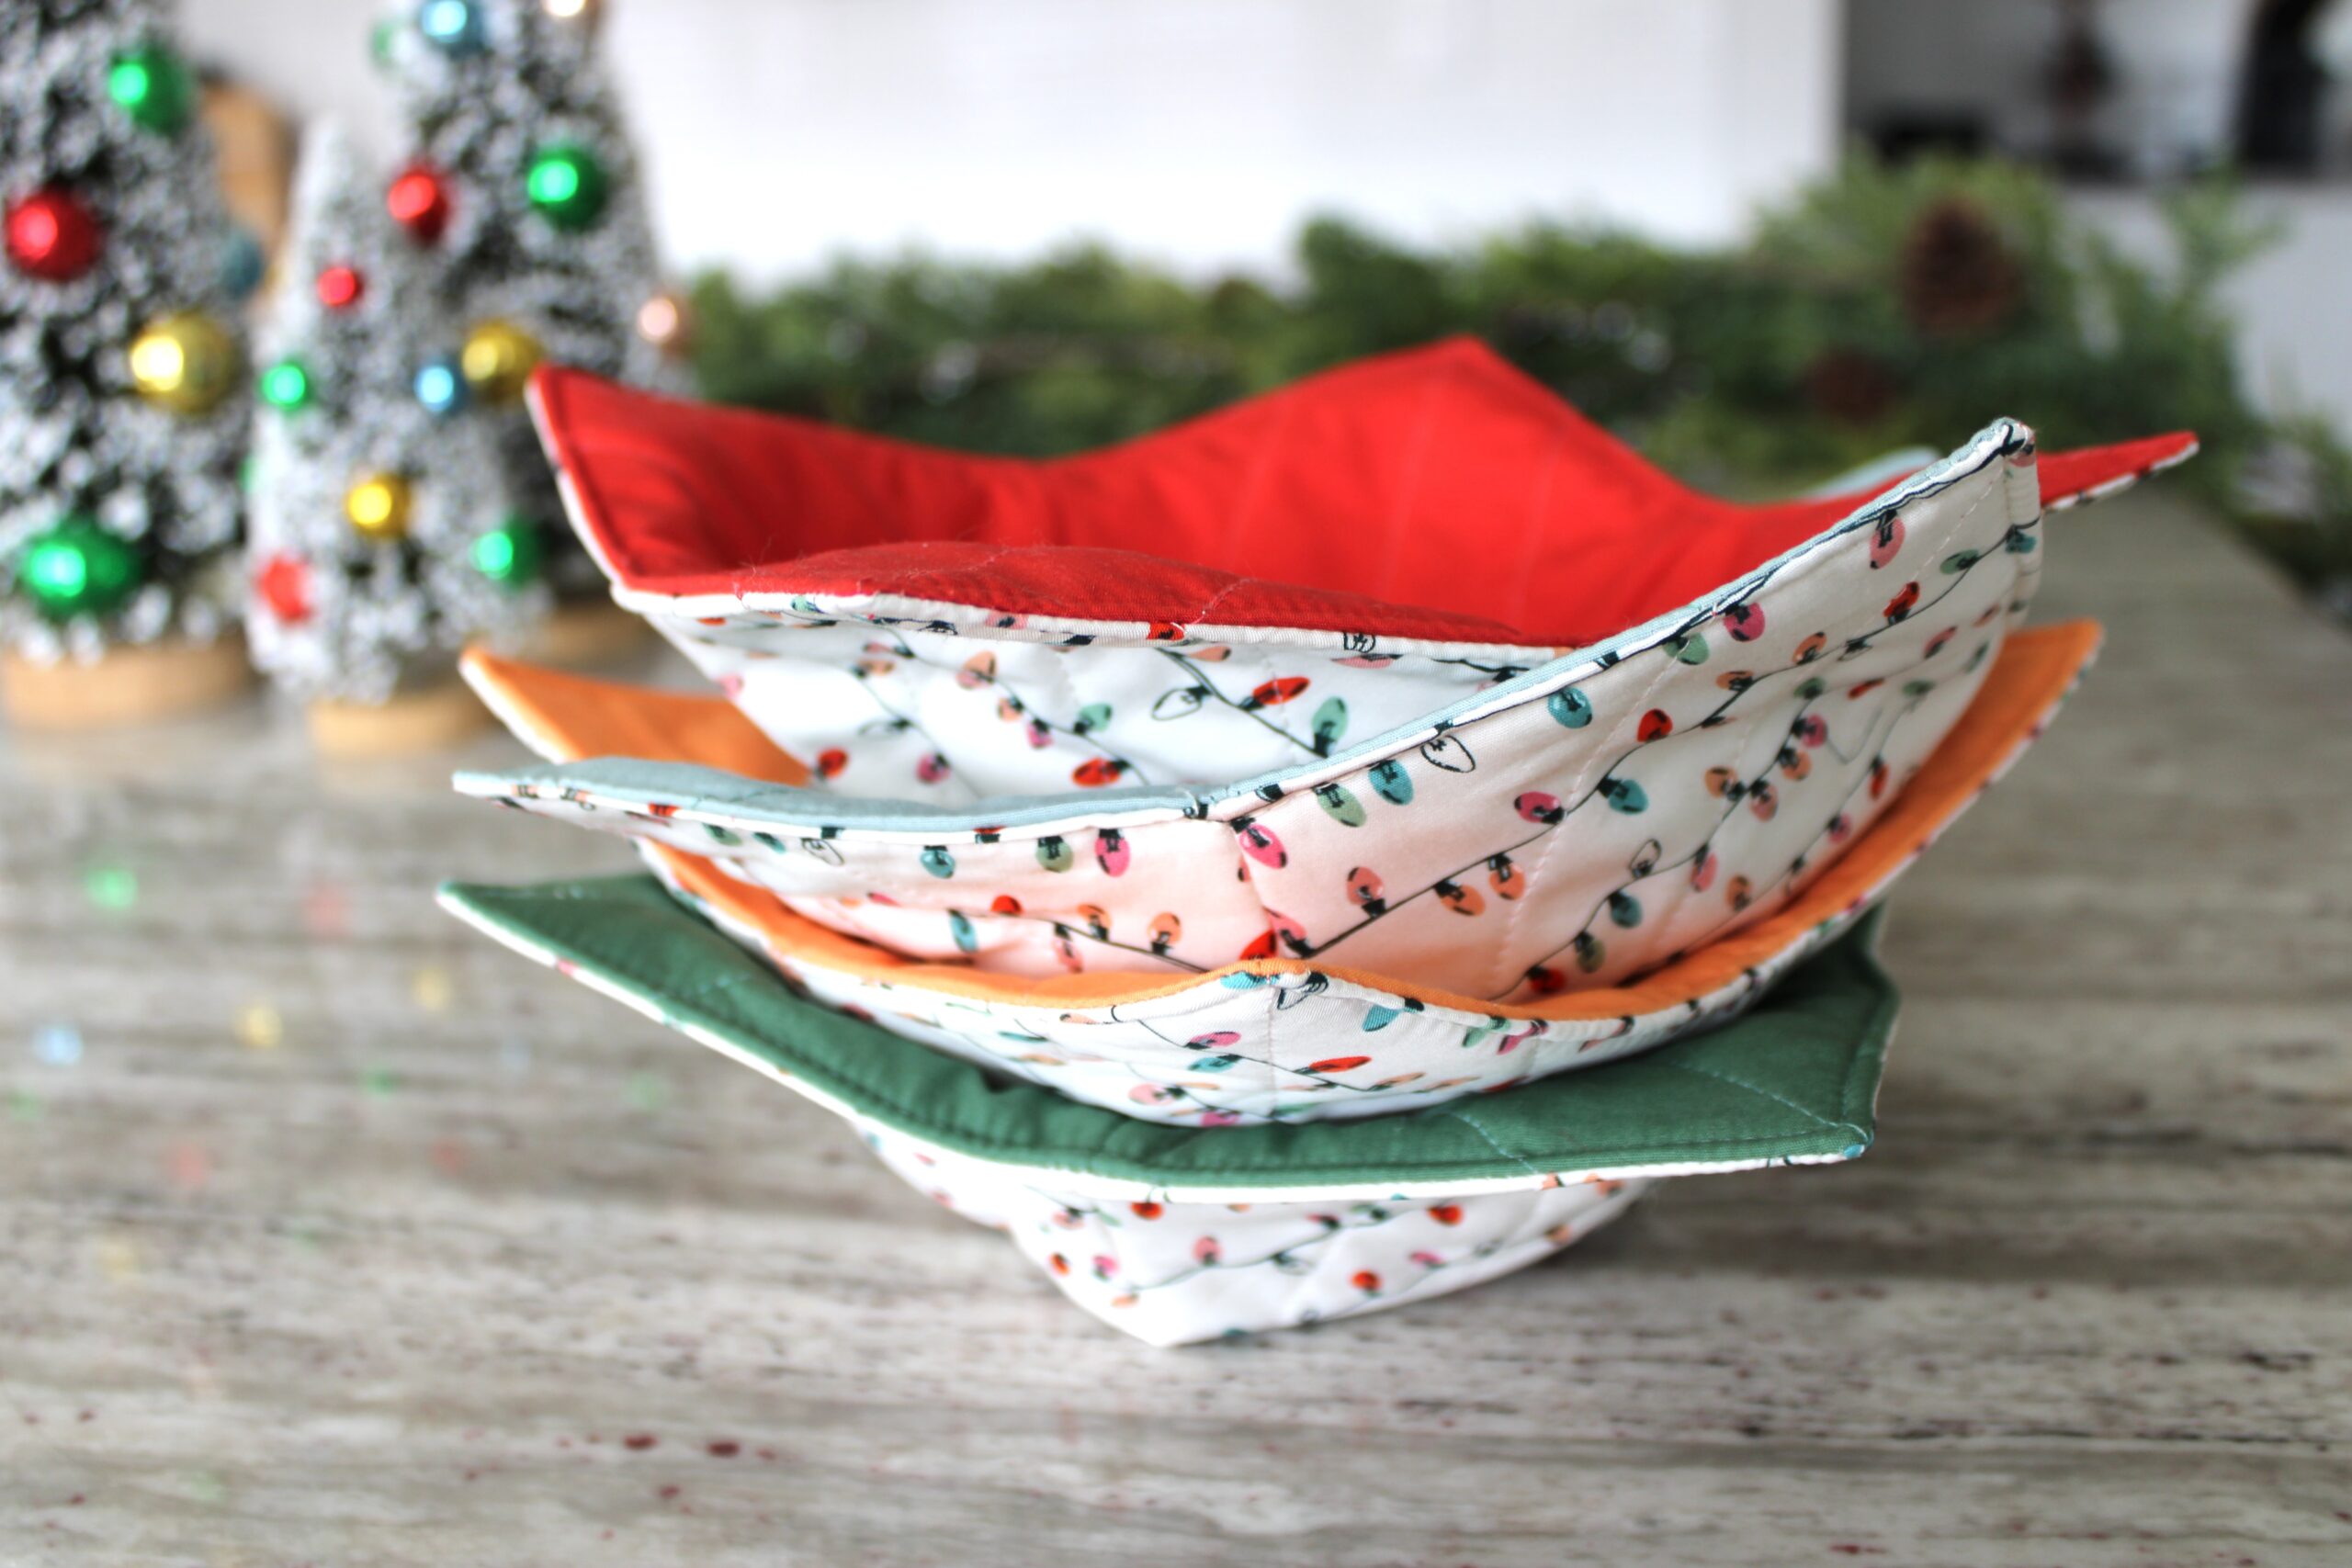
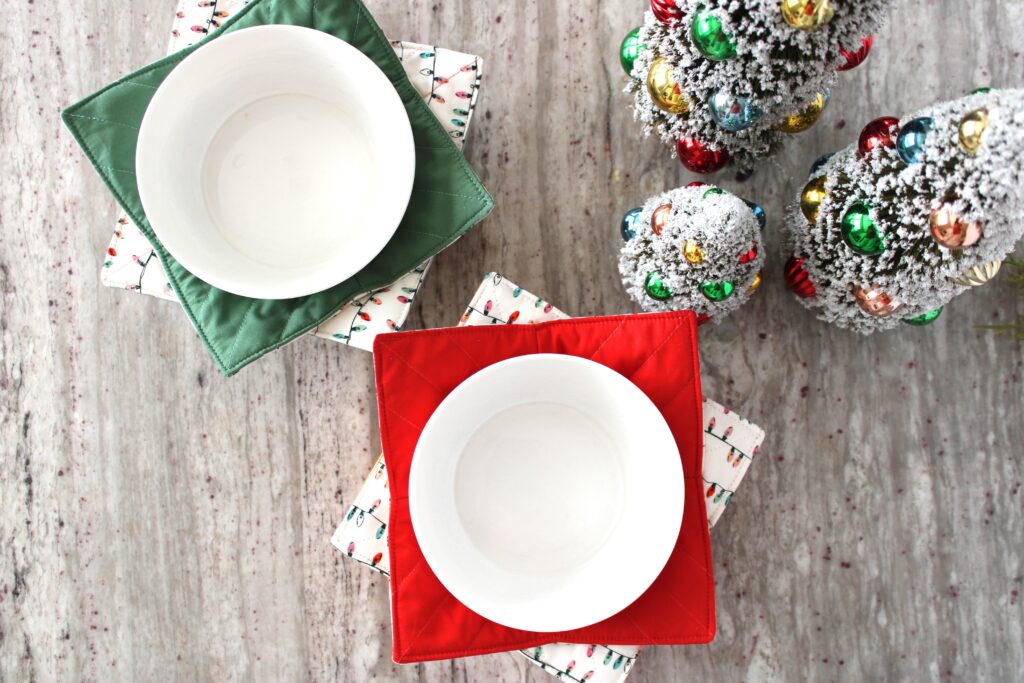
A snug little fabric hug for your soup, snacks, or late-night mac-n-cheese 🥣✨ Bowl cozies are one of those “once you make one, you make twelve” projects — fast, satisfying, and chef’s kiss giftable. Here’s the full step-by-step so you can stitch up your own cozy set.
Supplies
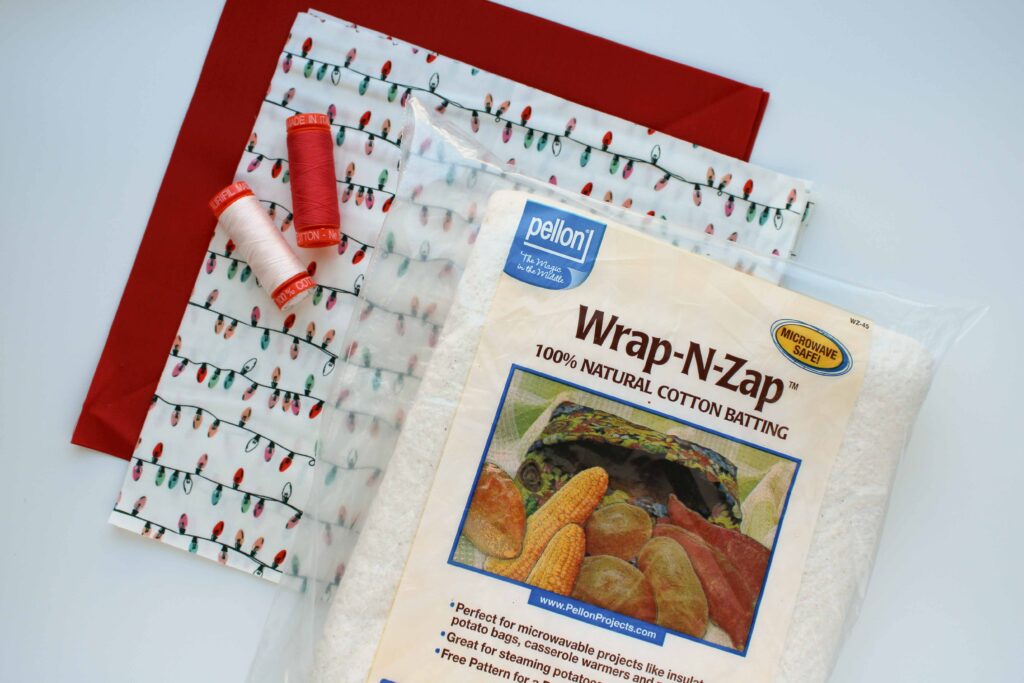
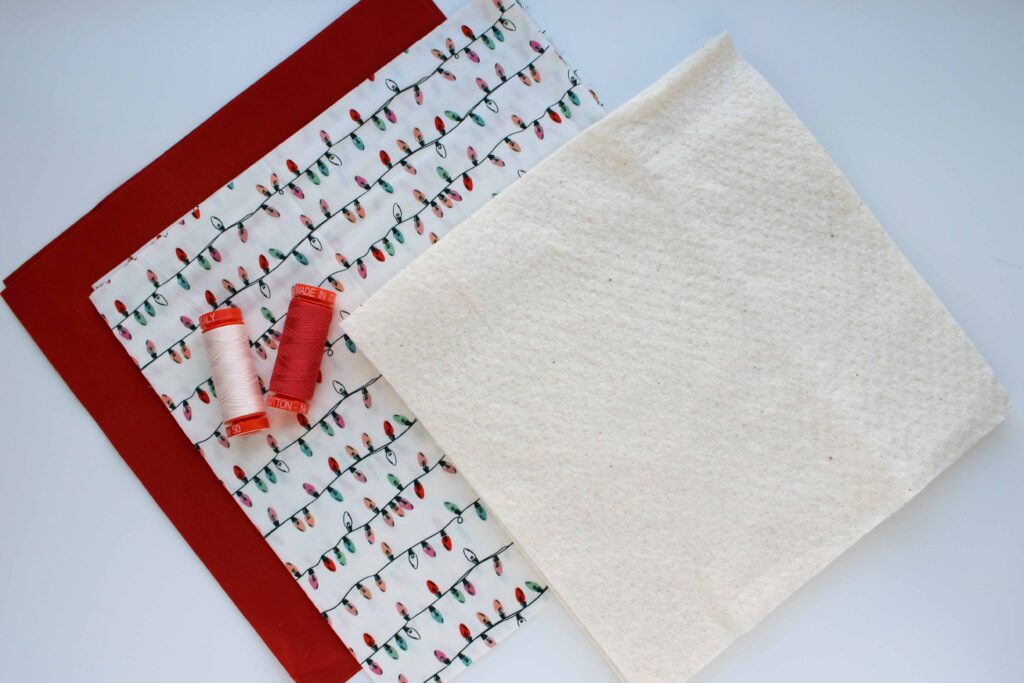
- (2) 10″ squares of 100% cotton fabric
- (2) 9″ squares of batting (Wrap-N-Zap or other microwavable batting recommended)
- 100% cotton thread (so the whole project stays microwavable)
- Fabric scissors or rotary cutter
- Ruler + marking tool
- Sewing machine + iron
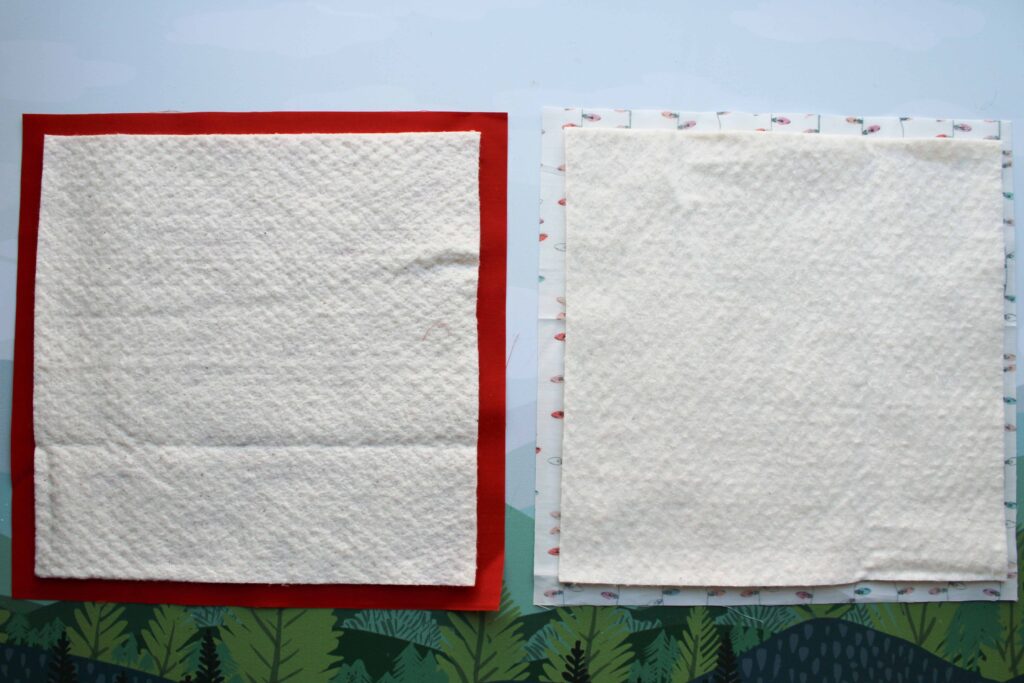
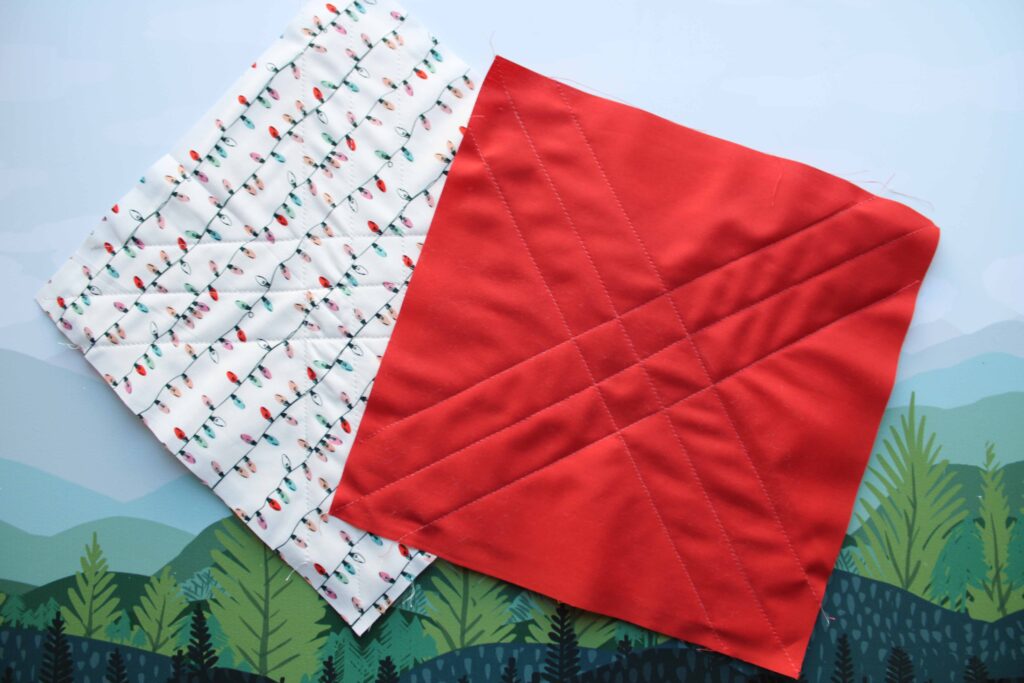
Step 1: Quilt Your Fabric Squares
- Place a 9″ batting square centered on the wrong side of a 10″ fabric square.
- Quilt as desired. A simple “X” from corner to corner totally works. You can also get fancy with a diagonal grid.
- Repeat with the second fabric + batting square.
You now have two quilted 10″ squares.
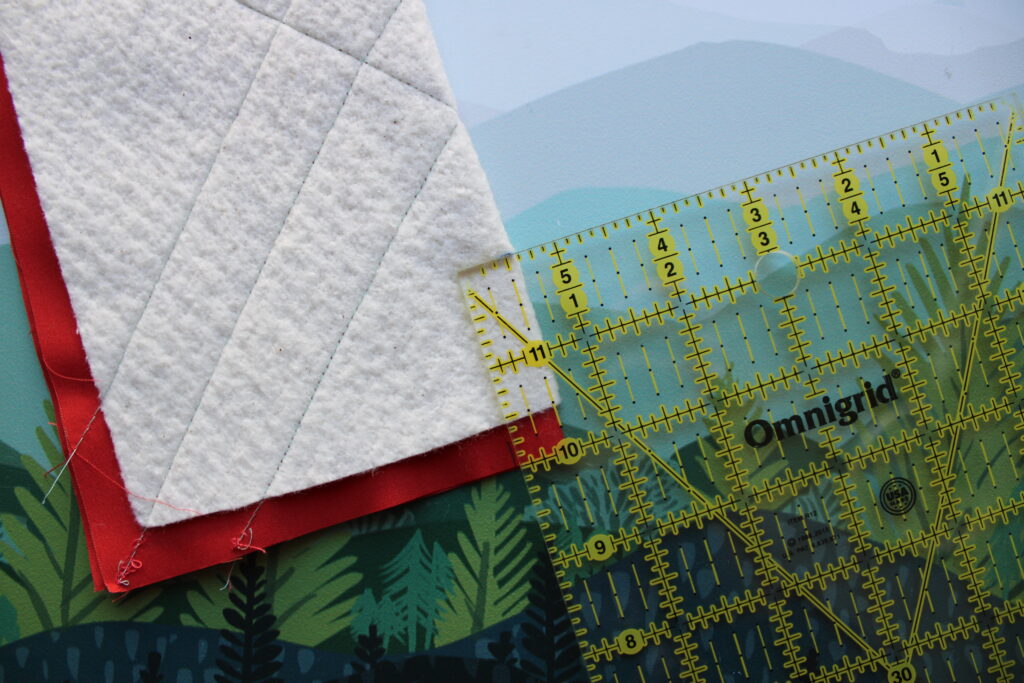
Step 2: Create the Darts
This is what gives the cozy its shapely little bowl form.
Dart Pair 1
- Fold one quilted square in half.
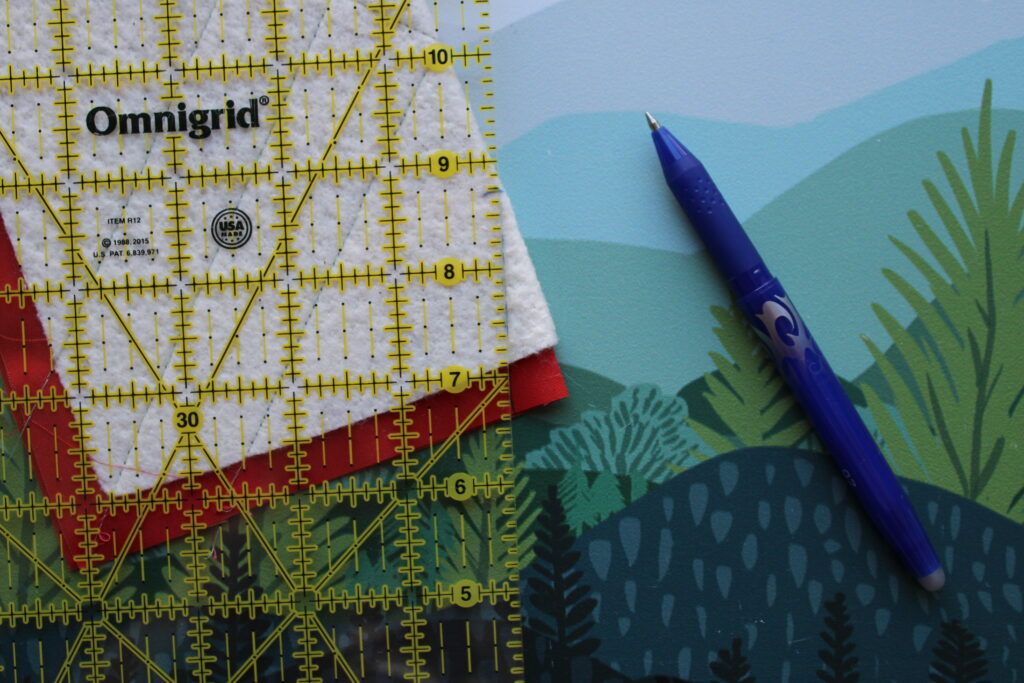
- At one folded corner, mark:
- ½” in from the fold
- 2″ down from the raw edge
- Connect the marks.
- Cut on the mark to create a V-shaped wedge.
- Repeat on the opposite folded corner.
- Unfold to reveal two darts.
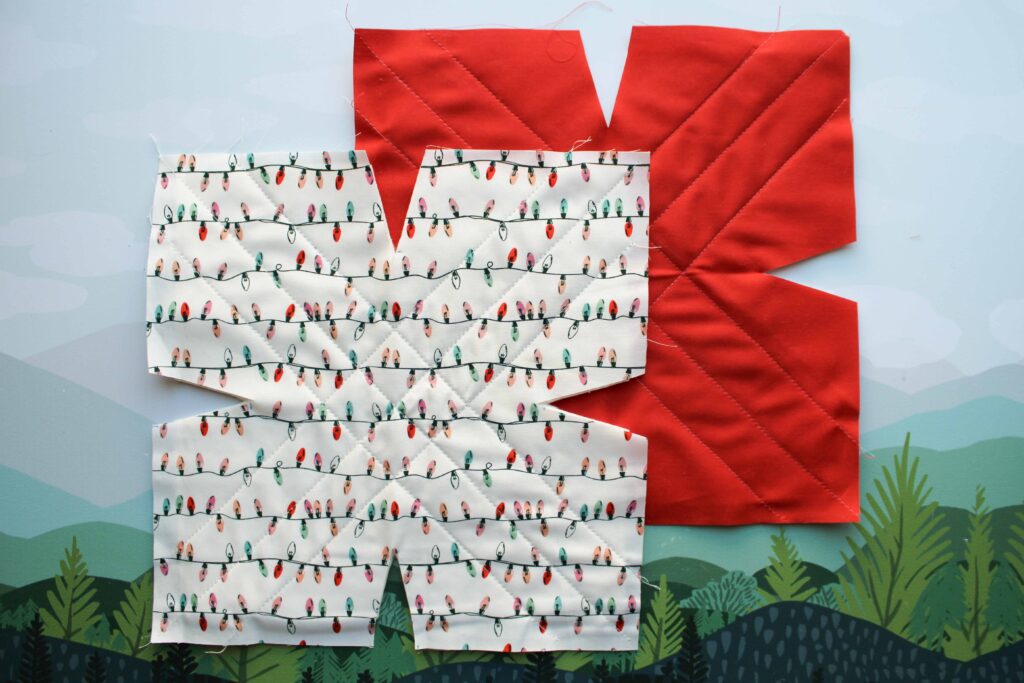
Dart Pair 2
- Fold the same square in half the other direction.
- Repeat the marking + cutting steps.
- Unfold again — you now have four darts total.
- Repeat this whole dart-making process on the second quilted square.
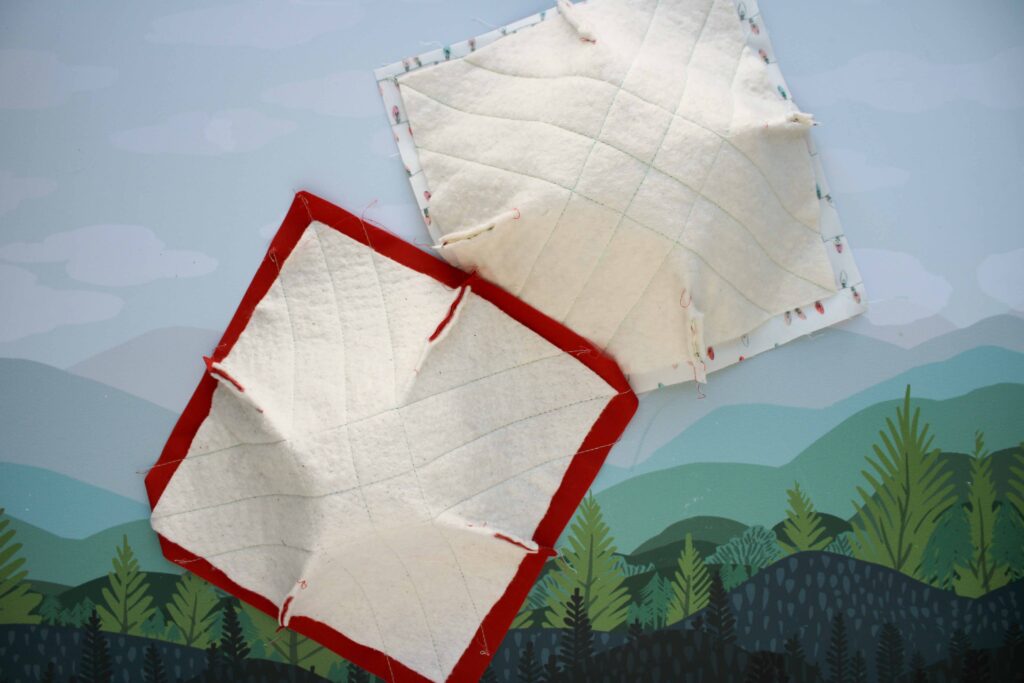
Step 3: Sew the Darts
- On one quilted square, pinch each dart so the raw edges meet right sides together.
- Sew each dart using a ¼” seam allowance.
- Do this for all 4 darts.
- Repeat for the second quilted square.
Your cozy pieces now look like two adorable little fabric mountain peaks.
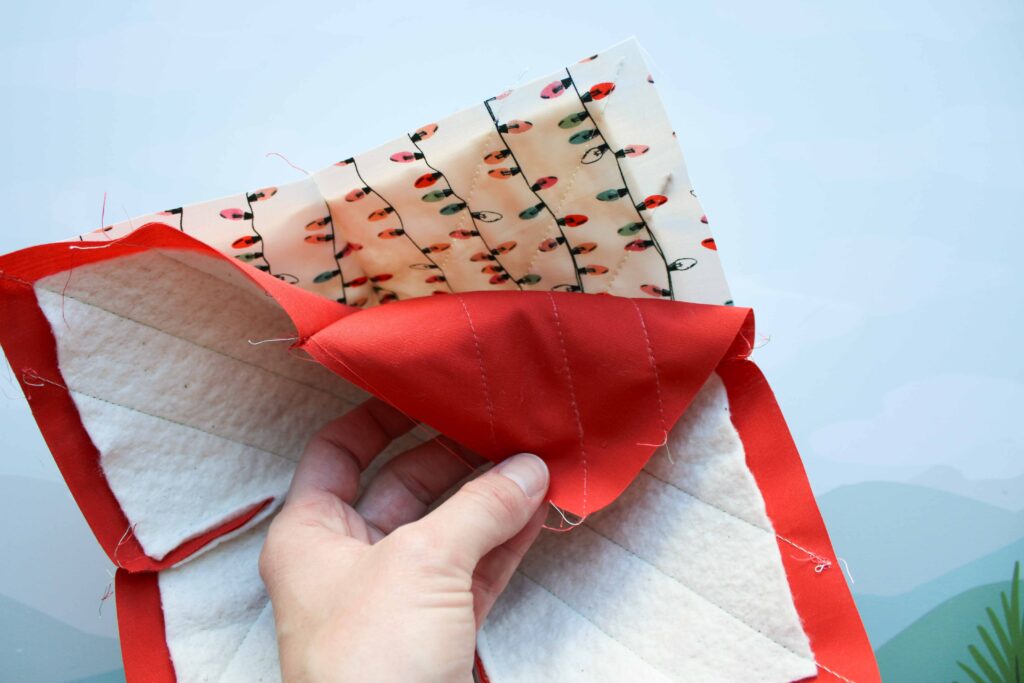
Step 4: Sew the Two Halves Together
- Place the two bowl-shaped pieces right sides together, nesting them neatly.
- Sew around the entire outer edge using a ½” seam allowance, leaving a 3″ opening for turning.
- Don’t forget to backstitch at the start and end of the opening.
- Snip excess fabric at each corner to reduce bulk.

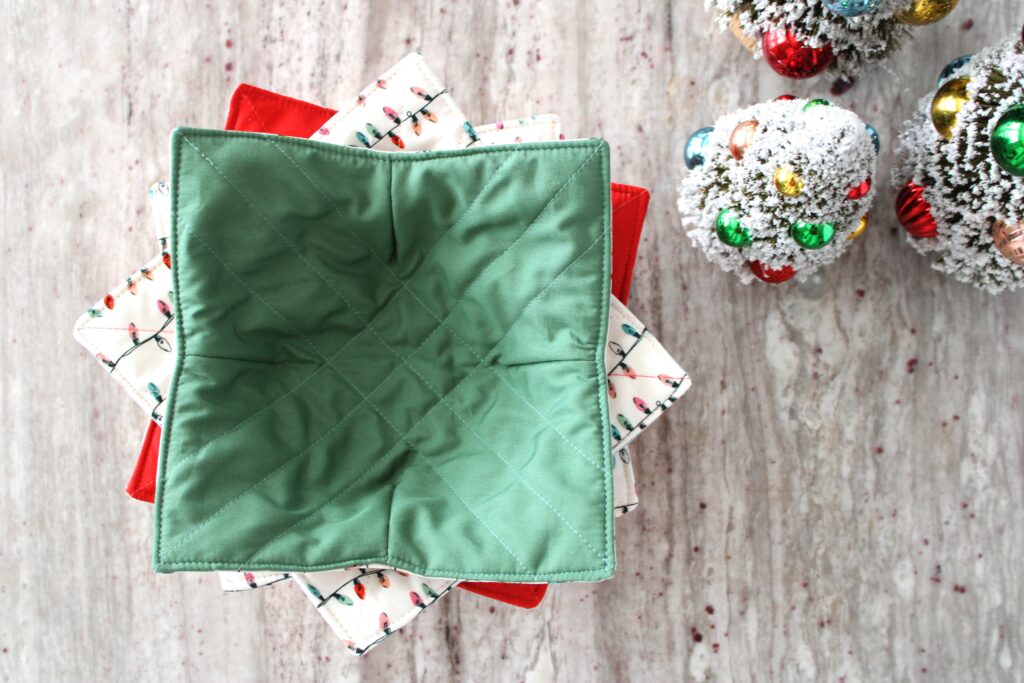
Step 5: Turn & Topstitch
- Turn the cozy right side out through the opening.
- Use a point turner or chopstick to press out all the corners and curves.
- Press the whole thing flat — including the seam allowance at the opening.
- Finish with a ⅛” topstitch around the entire outer edge. This closes the opening and crisps up the shape.
Scout Tip 🌲
Choose a thread color that plays nicely with your fabric. A coordinating (or intentionally contrasting!) topstitch adds major polish and makes your cozy look store-bought in the best “I-made-this” way.
Not on the List Yet?
Not getting these cozy daily surprises in your inbox yet? 24 days of quilty cheer, straight to your inbox — no wrapping required.


I love these!! I’ve been wanting to make to make these and love Megan’s presentation/instructions. Any chance there’s a .pdf of the instructions available? I do much better working from paper copies. 🙂
Hey Christy! The PDF is now on the member site! 🙂