

There are a lot of quilting techniques that feel mysterious until one day they just… click.
Nesting seams is one of those.
These days, nesting seams is second nature for me. But that wasn’t always the case. Like many quilters, I spent my early quilting years pressing almost everything open because it felt simpler and less fussy. And honestly? That approach worked just fine for a while.
But over time, as I started caring more about crisp points, smooth intersections, and quilts that went together with less wrestling at the machine, nesting seams quietly became one of my most-used skills.
Not because it’s fancy.
Not because it’s “advanced.”
But because it works.
If you want seams that line up beautifully without excessive pinning or stress, nesting seams are a trail worth exploring.
Pressing seams open vs. pressing to the side
There’s no single “correct” way to press seams — and anyone who tells you otherwise might be a little lost on the trail.
Pressing seams open can:
- reduce bulk
- keep seam allowances very precise
- help quilt tops lie flat
But it can also:
- take more time
- interrupt the flow of piecing
- make alignment trickier at intersections
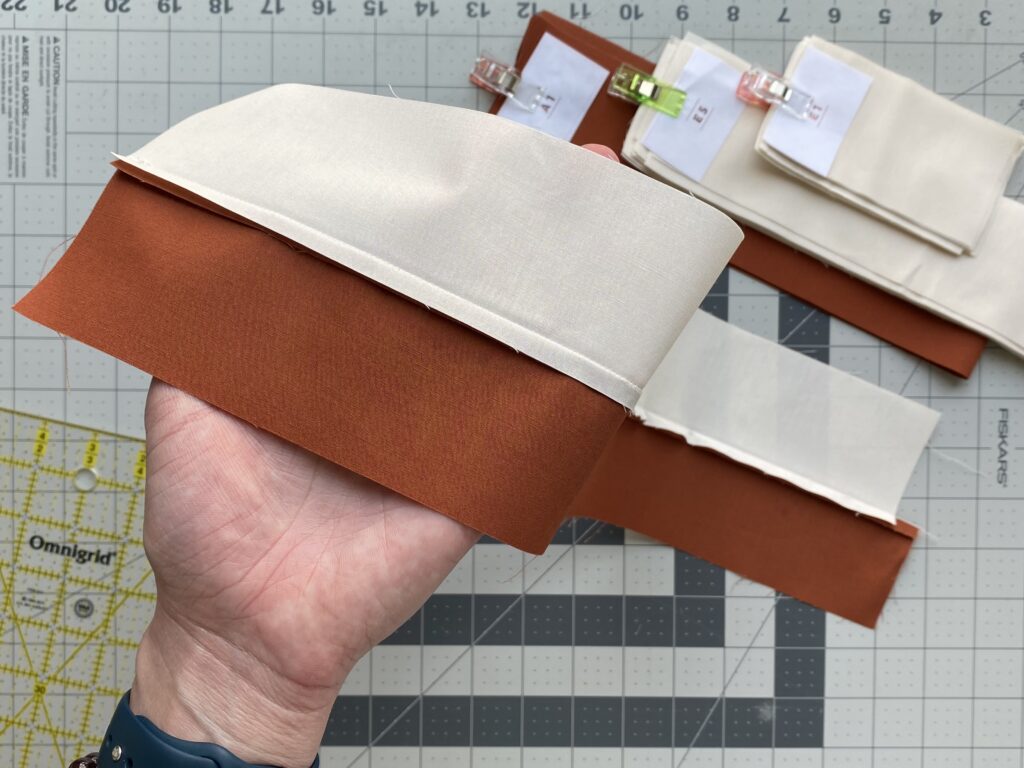
Pressing seams to the side is often faster and more efficient, especially when piecing rows or repetitive blocks. When done intentionally, it also opens the door to nesting seams — which can make matching intersections significantly easier.
As a general rule, side-pressed seams are pressed toward the darker fabric to avoid shadowing through lighter pieces.
What does “nesting seams” actually mean?
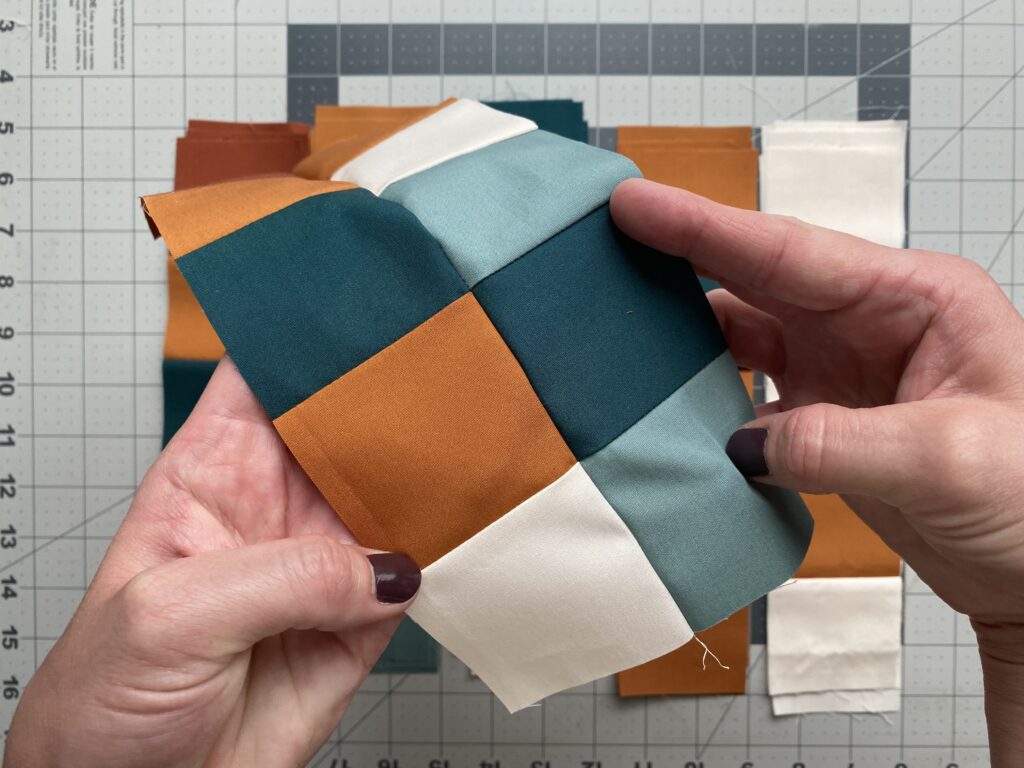
Nesting seams simply means pressing neighboring seams in opposite directions so they fit together like puzzle pieces when sewn.
When two seams are pressed in opposite directions and placed right sides together, the seam allowances naturally butt up against each other. This creates a tiny “lock” that helps intersections line up cleanly — often without needing a pin at all.
It’s not complicated. It just requires a little forethought.
How to create nesting seams
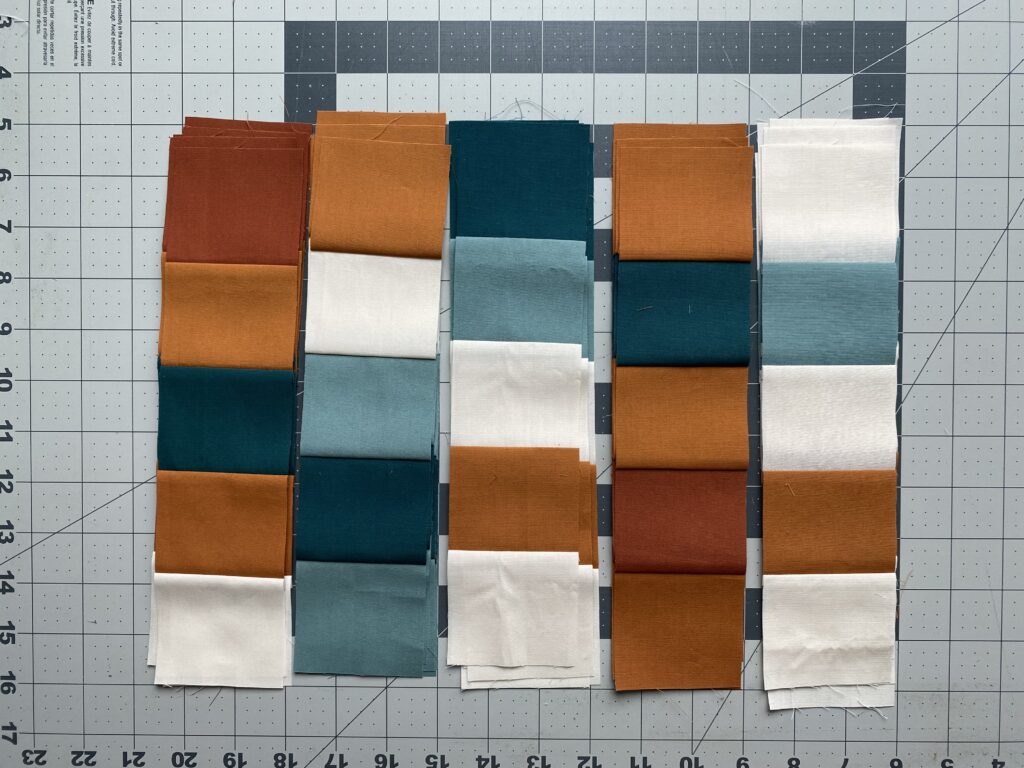
1. Press seams in alternating directions
When piecing rows or block sections, press the seams of one row in one direction, and the neighboring row in the opposite direction.
For example, in a nine-patch block:
- Row one: press seams up
- Row two: press seams down
- Row three: press seams up again
This alternating pattern sets you up for perfect nesting when rows are joined.
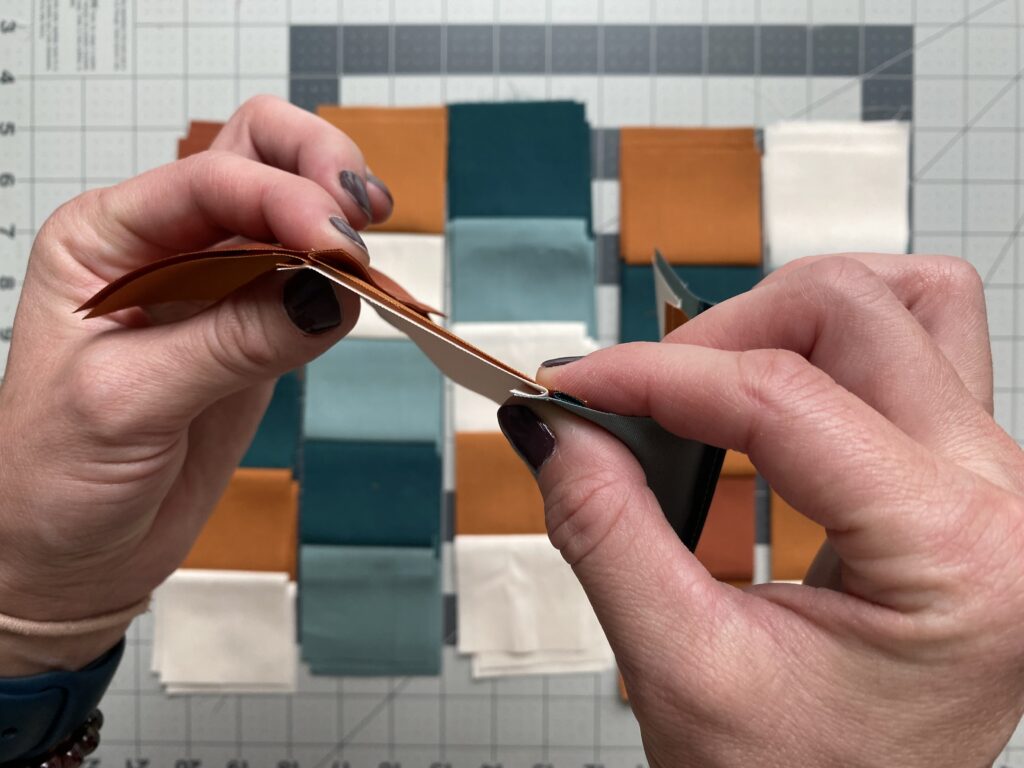
2. Line up the rows and let the seams lock
Place the rows right sides together, matching raw edges. Slide the rows slightly until you feel the seams nest together — you’ll feel a tiny click or resistance when they’re aligned.
At this point, you can:
- pin the intersection
- use fork pins
- or confidently head straight to the machine
That “locked” feeling is your green light.
3. Sew with intention, not tension
Sew the rows together using a ¼″ seam allowance, pausing briefly at intersections if needed to make sure everything stays nested.
There’s no rush here. Smooth, steady stitching beats speed every time.

4. Press the new seam
Once sewn, the joining seam can be pressed open or to the side — whichever makes the most sense for the block or quilt layout.
The key is that the nested seams underneath did their job before the iron ever showed up.
Field-tested tips for beautifully pressed seams
Press, don’t iron
Dragging the iron back and forth stretches fabric and distorts seams. Instead, lift and place the iron, applying heat and pressure without movement. It’s a small habit that makes a big difference.
This post may contain affiliate links. If you choose to purchase through them, it helps support Quilt Scouts at no extra cost to you. Thank you for supporting this little creative camp.
Wool pressing mats are quietly magical
Wool pressing mats absorb heat and reflect it back into the fabric, essentially pressing seams from both sides at once. They’re especially helpful for crisp intersections and blocks with lots of seams. I like the Wool Pro-Press Link Mat from Oliso — link them up to make a larger pressing mat!

A clapper is a power move
A quilter’s clapper absorbs heat and moisture as seams cool, locking them into place. It’s not essential — but once you use one, it’s hard to go back. Check out Modern American Vintage for some one-of-a-kind quilter’s clappers.
Use spray sparingly and intentionally
A light mist of a quilting or crafting spray can help seams relax and press flatter, especially when paired with a clapper. Fragrance-free options are usually kinder to long sewing sessions. The Magic Premium Quilting & Crafting Spray is my fave.
Why nesting seams earns a permanent place in your skill set
Nesting seams aren’t about perfection, they’re about support. They support your piecing, your confidence, and a smoother, more enjoyable sewing experience.
Like many Scout Skills, this one doesn’t require mastery, just curiosity and a willingness to try something slightly different.
And once it clicks? You’ll find yourself using it everywhere.


+ show Comments
- Hide Comments
add a comment